In this tutorial we’ll add enemies to the dungeon level 1 and 2.
This tutorial continues the sub-series for setting up the dungeon.
We’ve connected the first 2 levels of our dungeon, now it’s time to add enemies to them – we’ll add spawned combatants like we did in the forest region (north half) of the World scene.
We already set up a prefab with a Move AI Range, a Combatant Spawner and a placed Battle – the Combatant Spawner Range prefab, we’ll use it to place battles.
Dungeon Level 1 #
Open Dungeon Level 1 (Assets/Scenes/Dungeon/).
Level Zone #
First, we’ll add a Level Zone to the scene – it’ll be used by the spawned combatants to set their level.
Add the level zone either using the scene hierarchy context menu (ORK Framework > Zome > Level Zone (Scene)) or the Makinom scene wizard (Create Game Object > Level Zone (Scene)).
Level Settings #
Unlike in the World scene, we’ll use a minimum level of 5 for our combatants (as well as basing the level on the player level).
- Use Minimum Level
Enable this setting. - Minimum Level
Set to 5. - Set Levels
Enable this setting. - Set Level
Select Player. - Minimum Offset
Set to -1. - Maximum Offset
Set to 1.
Battle 1 #
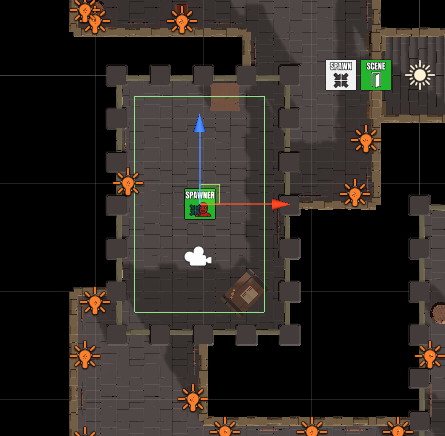
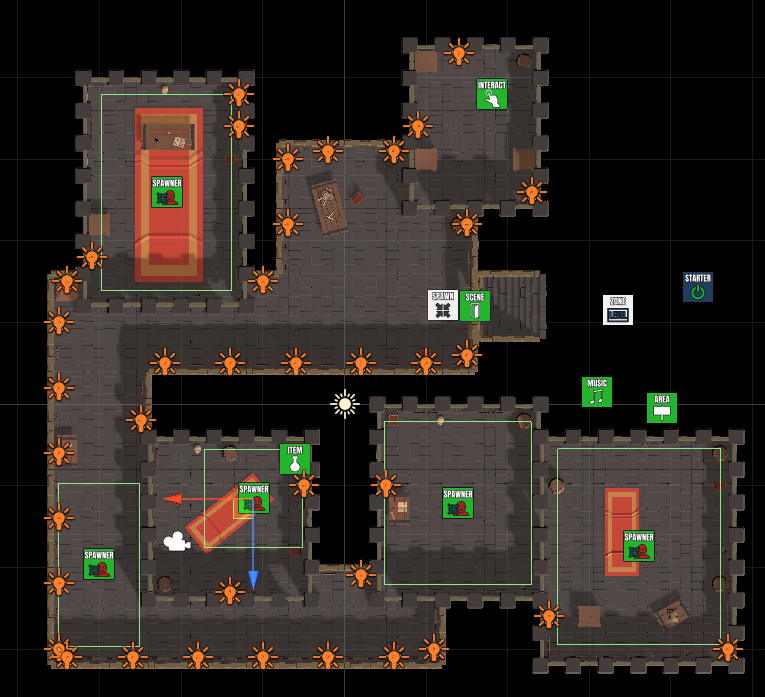
Add a Combatant Spawner Range prefab to the room in front of the stairs (i.e. on the way to the small key).
Change the following settings.
Box Collider #
Adjust the box collider on the Combatant Spawner Range root object.
For my placement, this size is good.
- Size
Set to X=12, Y=20, Z=20.
Combatant Spawner > Combatant Settings > Combatant 0 #
We’ll also update the combatant spawner on the Combatant Spawner child object.
Use a single, random combatant for this first battle.
- Combatant Group
Select 1x Random.
Battle 2 #
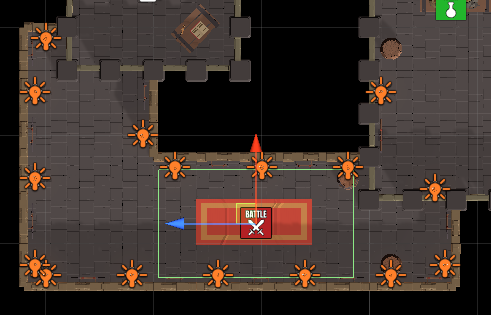
Copy the previous Combatant Spawner Range game object and move it to the corridor to the 2nd room.
Change the following settings.
Transform #
We’ll rotate the game object to align the battle spots with the corridor.
- Rotation
Set to X=0, Y=-90, Z=0.
Box Collider #
- Size
Set to X=10, Y=20, Z=18.
Combatant Spawner > Combatant Settings > Combatant 0 #
Change the used group on the Combatant Spawner child object.
- Combatant Group
Select 1x Tank, 1x Supporter.
Battle 3 #
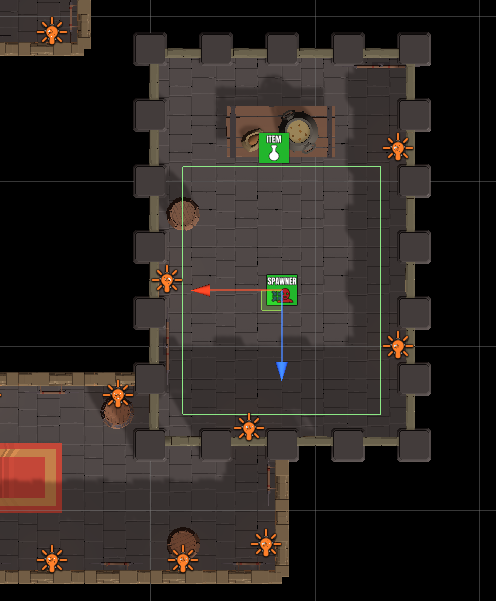
Copy the previous Combatant Spawner Range game object and move it to the 2nd room (with the small key).
Change the following settings.
Transform #
We’ll rotate it again.
- Rotation
Set to X=0, Y=-180, Z=0.
Box Collider #
- Size
Set to X=12, Y=20, Z=15.
Combatant Spawner > Combatant Settings > Combatant 0 #
Change the used group on the Combatant Spawner child object.
- Combatant Group
Select 1x Tank, 1x Physical DPS.
Additional Item Collectors #
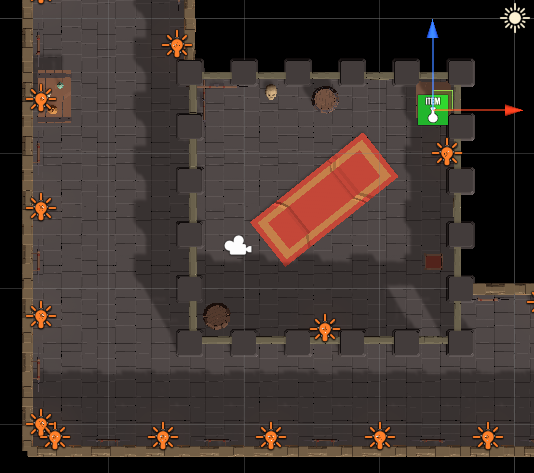
Add some additional item collectors to the scene to have the player something to pick up and enjoy.
You can add item collectors either via the scene hierarchy context menu (ORK Framework > Item Collector) or the Makinom scene wizard (Create Game Object > Item Collector).
E.g. I’m adding:
- Potion x3
- Revive Potion x1
And that’s it for level 1 – don’t forget to save the changes.
Dungeon Level 2 #
Open Dungeon Level 2 (Assets/Scenes/Dungeon/).
Level Zone #
Add a level zone either using the scene hierarchy context menu (ORK Framework > Zome > Level Zone (Scene)) or the Makinom scene wizard (Create Game Object > Level Zone (Scene)).
Level Settings #
- Use Minimum Level
Enable this setting. - Minimum Level
Set to 7. - Set Levels
Enable this setting. - Set Level
Select Player. - Minimum Offset
Set to -1. - Maximum Offset
Set to 1.
Item Collector (Small Key) #
We also need to add another key to open the level’s trapdoor.
Add an item collector either via the scene hierarchy context menu (ORK Framework > Item Collector) or the Makinom scene wizard (Create Game Object > Item Collector).
Place the item collector on the crate in the lower left room.
- Use Scene ID
This should be enabled and have the scene ID 0 assigned, since this is the first item collector added to the scene.
Collection Settings #
- Collection Type
Select Single.
Item Settings #
- Spawn Prefab
Enable this setting.
Change the already added Item 0.
- Type
Select Item. - Item
Select Small Key. - Quantity
Select Value >Value.
Set the value to 1.
Battles #
Place battles using the Combatant Spawner Range prefab.
Adjust the Box Collider of the Move AI Range to fit the rooms the battles are placed in, rotate them as needed and select the groups you want to use.
I’m using:
- 1x Tank, 1x Mage
- 1x Tank, 1x Physical DPS, 1x Mage
- 1x Tank, 1x Mage, 1x Supporter
- Dragon (single combatant)
The Dragon is placed by the small key’s item collector. To use a single combatant, change the following setting of the Combatant Spawner.
Combatant Spawner > Combatant Settings > Combatant 0 #
Change the used group on the Combatant Spawner child object.
- Use Group
Disable this setting. - Combatant
Select Dragon.
Additional Item Collectors #
Add some additional item collectors to the scene to have the player something to pick up and enjoy.
You can add item collectors either via the scene hierarchy context menu (ORK Framework > Item Collector) or the Makinom scene wizard (Create Game Object > Item Collector).
E.g. I’m adding:
- Revive Potion x1
- Revive Potion x1
- Antidote x3
- Shield 1 x1
- Magic Potion x1
- Magic Potion x1
- Axe 1 x1
- High Potion x1
- Cure Potion x1
- Cure Potion x1
Enter Level 3 #
We’ll now update the trapdoor in the level 2 scene to load Dungeon Level 3 and add a spawn point in front of the trapdoor.
Scene Changer #
Select the Entrance_Trapdoor_Block game object in case it’s no longer selected.
Adjust the following setting.
Scene Change Settings > Scene Settings > Target Scene 0 #
- Target Scene
Set to Dungeon Level 3.
Spawn Point #
Create a Spawn Point in front of the trapdoor, either using the scene hierarchy context menu (Makinom > Spawn Point) or the Makinom scene wizard (Create Game Object > Spawn Point).
The spawn point automatically receives the spawn ID 1, since this is the next unused spawn ID. We’ll adjust the rotation for our player’s spawn.
Transform #
- Rotation
Set to X=0, Y=180, Z=0.
Spawn Point #
- Use Rotation
Enable Y, disable X and Z.
That’s it for level 2 – don’t forget to save your changes.
Exit Level 3 #
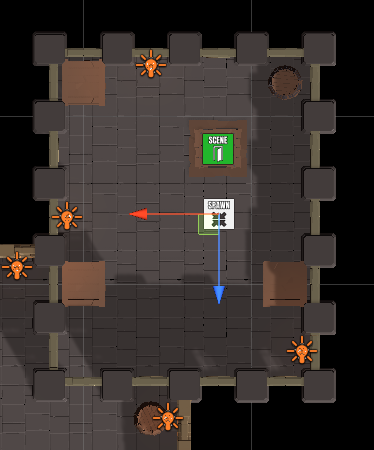
Open Dungeon Level 3 (Assets/Scenes/Dungeon/), we’ll add a spawn point and scene changer to return to level 2.
Adding a Game Starter #
Don’t forget that you need to add a Game Starter to a scene if you want to do a quick playtest right in the scene.
Create an ORK Game Starter either using the scene hierarchy context menu (ORK Framework > ORK Game Starter) or the Makinom scene wizard (Add ORK Game Starter > Add ORK Game Starter).
It doesn’t really matter where you place the game starter, but make sure to enable Start Game for quick game testing.
- Start Game
Enable this setting.
Adding a Spawn Point #
Create a Spawn Point either using the scene hierarchy context menu (Makinom > Spawn Point) or the Makinom scene wizard (Create Game Object > Spawn Point).
Place the spawn point in front of the stairs leading upwards – but not too close, as we’ll also add a scene changer to the stairs.
For once, the spawn point is already rotated in the correct direction, so we don’t need to adjust anything.
Adding a Scene Changer #
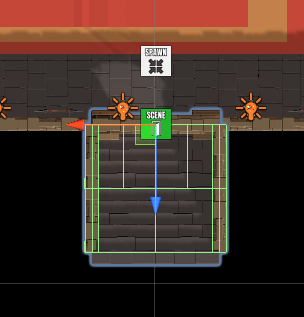
Select the Entrance_Staircase_Block game object – you can easily select it by clicking on the arch of the staircase.
The scene changer has to be added to the root game object (Entrance_Staircase_Block), not one of it’s child objects. Use the component menu to add a Scene Changer component.
Scene Change Settings > Scene Settings > Target Scene 0 #
- Target Scene
Set to Dungeon Level 2. - Position Type
Select Spawn ID. - Spawn ID
Select Value > Value. - Value (Spawn ID)
Set to 1.
And that’s it for level 3 – don’t forget to save your changes.
Testing #
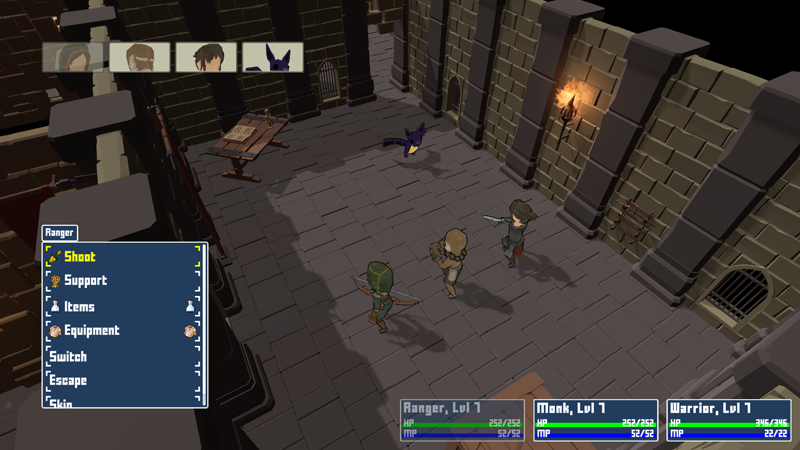
Hit play in one of your scenes (e.g. Dungeon Level 1) and test your battles.
In case the battles are too hard due to starting at level 1, while the dungeon enemies are at least level 5 (and 7 in dungeon level 2), you can either do some leveling (and save the game outside the dungeon) or increase the start level of your combatants.
Next, we’ll watch out for traps on level 3!


