
In this tutorial we’ll set up our quest objects in the scene.
This tutorial continues the sub-series for setting up quests.
With the Forest Ruin Cheese quest and schematics set up, all that’s left to do is add the quest to the scene:
- witch NPC in the town
- witch NPC in the forst ruins
- witch NPC in the outpost
- 3 item collectors for collecting the cheese
After we’ve set up those game objects, we’ll control which are enabled or disabled based on the quest’s state using multiple Game Object Manager components on an empty game object
Let’s get to it!
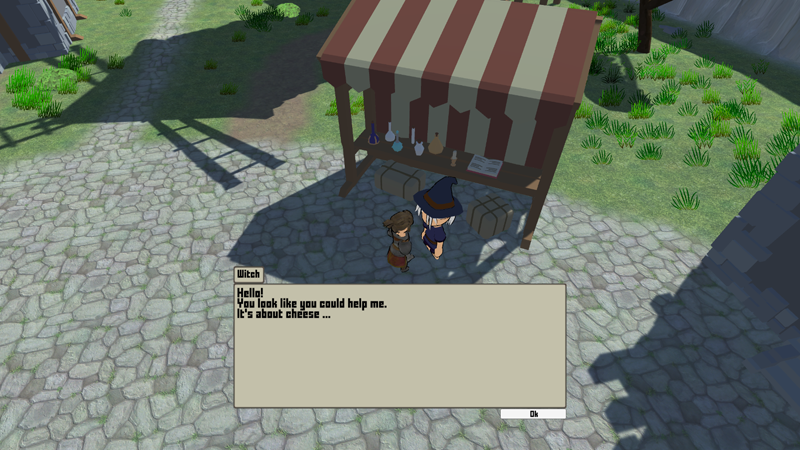
Witch (Town) #
Open the World scene (Assets/Scenes/), we’ll add the first witch NPC in front of the stall with the potions.
You can find the NPC prefabs in Assets/Tutorial Assets/Prefabs/NPCs/ – I’m using the Witch prefab.

Rename the game object to WitchTown to keep things organized (we add 2 more witch NPCs).
Scene Object #
Add an Scene Object component to the NPC’s game object, either using the component menu or the Makinom scene wizard.
- Scene Object
Select Witch.
And with that, our schematics can use the content information of the game object.
Interaction Machine #
Add an Interaction Machine component to the NPC’s game object, either using the component menu or the Makinom scene wizard.
Learn more about interaction machines in this Makinom documentation.
Start Settings #
- Interact
Enable this setting. - Mouse Up As Button
Enable this setting in case you also want to start the interaction by clicking on the NPC.
Machine Execution Settings #
- Schematic Asset
Select the Quest_ForestRuinCheese_Town schematic you created.
Expand the Object Turn Settings, we’ll let the player and NPC turn to each other.
- Turn Starting Object
Enable this setting. - Turn Machine Object
Enable this setting.
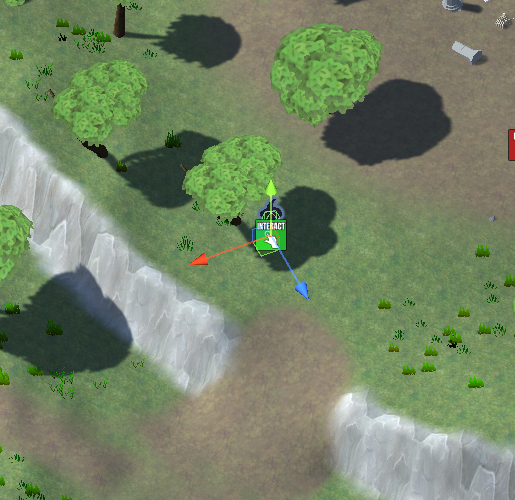
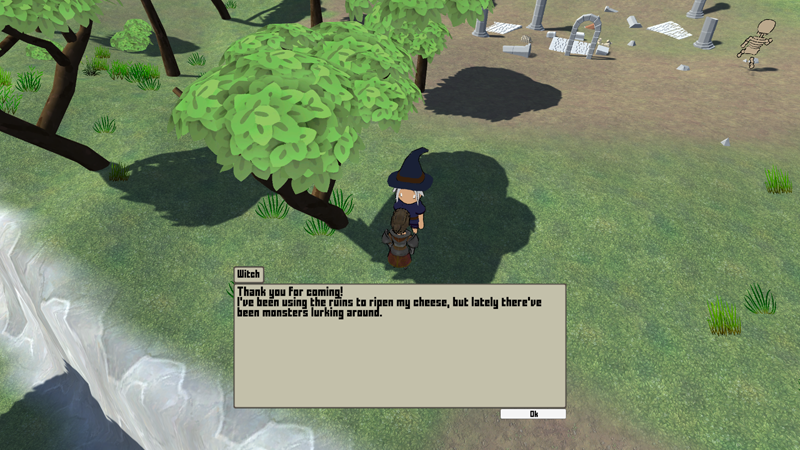
Witch (Forest Ruins) #
Duplicate the town’s witch NPC and rename it to WitchForestRuins.
Move the new witch’s game object over to the ramp that leads up to the forest ruins and place it somehwere, e.g. in the tree’s shade.
Interaction Machine #
We only have to change the used schematic.
Machine Execution Settings #
- Schematic Asset
Select the Quest_ForestRuinCheese_Forest schematic you created.
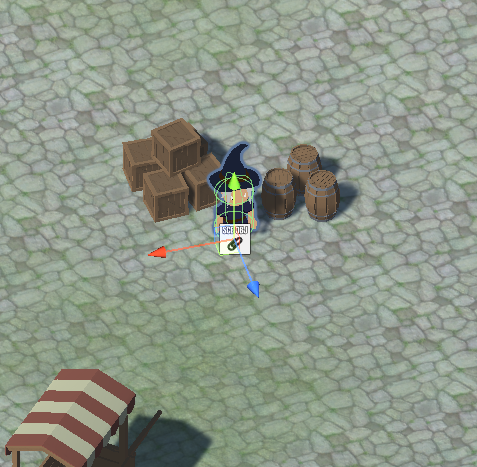
Witch (Outpost) #
Duplicate the forest ruin’s witch NPC and rename it to WitchOutpost.
Move the new witch’s game object over to the outpost and place her near the crates in the center.
Interaction Machine #
Again, we only have to change the used schematic.
Machine Execution Settings #
- Schematic Asset
Select the Quest_ForestRuinCheese_Outpost schematic you created.
Item Collectors #
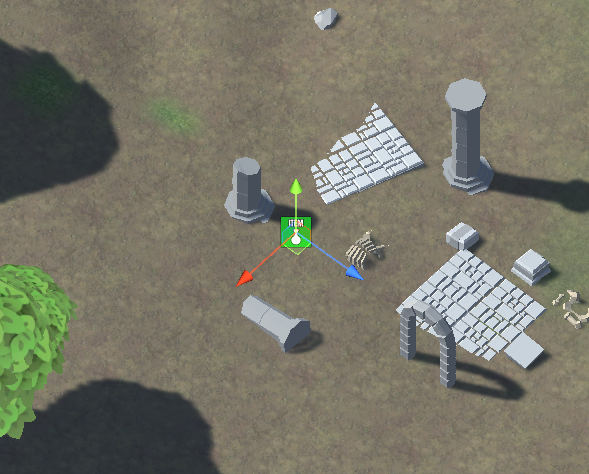
Next, we’ll add the 3 item collectors to spawn our cheese. Move the scene view back to the forest ruins area.
We just need to set up item collectors as usual, the quest conditions will be handled by our Game Object Managers.
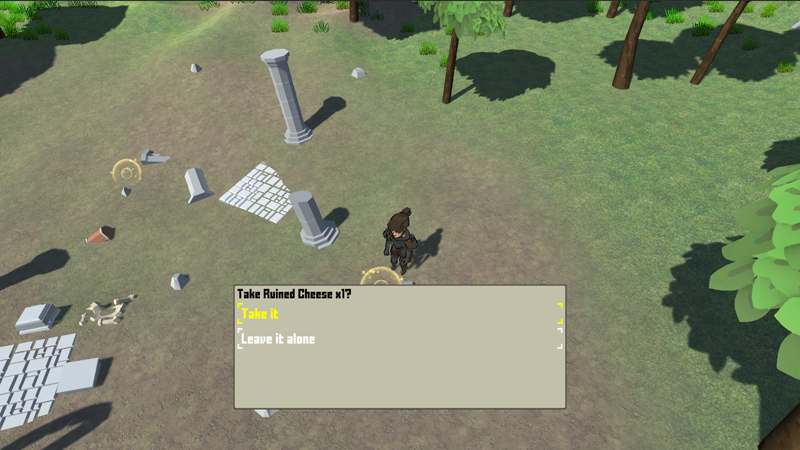
First Cheese #
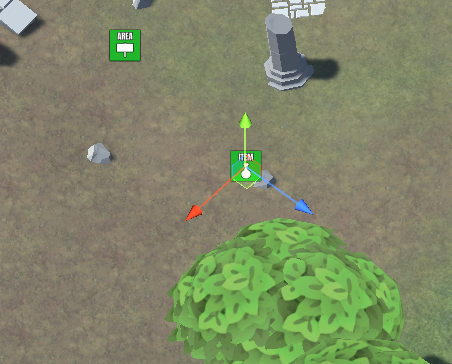
Add an item collector either via the scene hierarchy context menu (ORK Framework > Item Collector) or the Makinom scene wizard (Create Game Object > Item Collector).
The item collector automatically uses the next free Scene ID to keep track of the collected state of the item – we’ll also use this for our quest items.
Item Settings > Item 0 #
All we need to do for single items is to change the item we want to collect, the default setup already handles the rest for us.
- Item
Select Ruined Cheese.
The quantity should also default to 1, so we don’t need to change anything else.
Second Cheese #
Add another item collector and change the item.
Item Settings > Item 0 #
- Item
Select Ruined Cheese.
Third Cheese #
Add another item collector and change the item.
Item Settings > Item 0 #
- Item
Select Ruined Cheese.
Game Object Managers #
Now that we’ve finished setting up our quest game objects, we’re aready to handle the quest conditions to enable and disable the items as needed.
As said, we’ll use multiple Game Object Manager components for this, all placed on a single, empty game object.
Create a new empty game object and rename it to ForestRuinsCheeseManager. It doesn’t really matter where you place it.
Tip!
To keep things organized you can parent the 3 witch NPCs and the 3 cheese item collectors to the manager’s game object.
Tip!
In case you want to keep track of what different manager components do, you can write down some information in the Notes field of the component.
Town Witch Manager #
First, we’ll manage the town’s witch NPC (WitchTown game object).
Add a Game Object Manager to the ForestRuinsCheeseManager game object using the component menu.
Either drag the WitchTown game object on the Game Objects field or click on the plus button and select the game object there.
Condition #
We’ll check for the Forest Ruin Cheese quest not yet being added to the player’s quests. If that’s the case, the NPC will be enabled, otherwise disabled.
Click on Add Condition.
- Condition Type
Select Quest.
Click on Add Quest Condition.
- Is Valid
Enable this setting. - Quest
Select Forest Ruin Cheese. - Check Status
Select Not Added.
Forest Witch Manager #
The next manager we’ll handle the forest ruin’s witch NPC (WitchForestRuins game object).
Add a Game Object Manager to the ForestRuinsCheeseManager game object using the component menu.
Either drag the WitchForestRuins game object on the Game Objects field or click on the plus button and select the game object there.
Condition #
We’ll check for the one of the 3 tasks being active that take place in the ruins, i.e. Meet at the ruins, Collect items or Bring items to the witch.
Click on Add Condition.
- Condition Type
Select Quest Task. - Needed
Select One.
Click on Add Task Condition.
- Is Valid
Enable this setting. - Quest Task
Select Meet at the ruins. - Check Status
Select Active.
Copy Task Status Condition 0.
- Quest Task
Select Collect items.
Copy Task Status Condition 1.
- Quest Task
Select Bring items to the witch.
Cheese Manager #
The next manager we’ll handle the item collectors for our 3 cheese items.
Add a Game Object Manager to the ForestRuinsCheeseManager game object using the component menu.
Either drag the 3 Item Collector game objects on the Game Objects field or click on the plus button and select the game objects there.
You have to drag/add them one by one.
Condition #
We’ll check for the one of Collect items task to be active.
Click on Add Condition.
- Condition Type
Select Quest Task.
Click on Add Task Condition.
- Is Valid
Enable this setting. - Quest Task
Select Collect items. - Check Status
Select Active.
Outpost Witch Manager #
The last manager we’ll handle the outpost’s witch NPC (WitchOutpost game object).
Add a Game Object Manager to the ForestRuinsCheeseManager game object using the component menu.
Either drag the WitchOutpost game object on the Game Objects field or click on the plus button and select the game object there.
Condition #
We’ll check for either the Meet the witch in the outpost task to be active or the Forest Ruin Cheese quest to be finished.
- Needed
Select One.
Click on Add Condition.
- Condition Type
Select Quest Task.
Click on Add Task Condition.
- Is Valid
Enable this setting. - Quest Task
Select Meet the witch in the outpost. - Check Status
Select Active.
Click on Add Condition to add another condition.
- Condition Type
Select Quest.
Click on Add Quest Condition.
- Is Valid
Enable this setting. - Quest
Select Forest Ruin Cheese. - Check Status
Select Finished.
And that’s it for our setup – don’t forget to save your scene.
Testing #
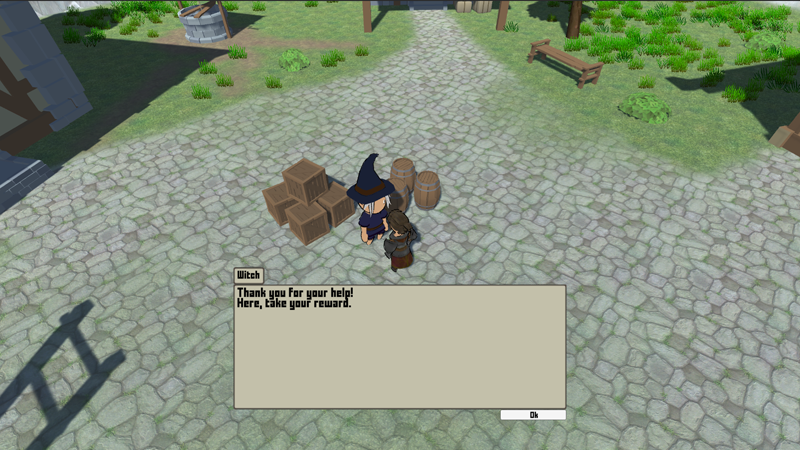
Hit play and run to the witch.
Start the quest and the witch will be removed from town and wait for us in the forest ruins.
After meeting her there, the cheese spawns.
Collect the cheese and bring it to the witch.

Sweet, sweet cheese.
And finally, meet the witch in the outpost.
Next, we’ll add HUDs to mark quest NPCs!


