
In this tutorial we’ll set up a new enemy.
The Spitter is similar to the Chomper, but has another attack – spitting, i.e. a ranged attack.
We’ve already set up all animations we need in the chomper’s setup, so what’s left for us to set up (in this tutorial):
- move AI
- combatant
- prefab (damage dealer/zone)
- scene setup (spawn, etc.)
We’ll set up the spitter’s spit attack in the next tutorial.
Let’s get to it!
Move AI #
The spitter will use the same move AI as the chomper, but with larger ranges – i.e. we can make it easy for ourselfs and just copy the Chomper move AI.
Navigate to Combatants > Move AIs and copy the Chomper move AI.
Base Settings #
- Name
Set to Spitter.
Waypoint Settings #
- Patrol Radius
Set to 10.
Enemy Detection #
- Range (Base Detection Range)
Select Value > Value.
Set the value to 15.
Move Detection 1 #
- Range
Select Value > Value.
Set the value to 2.
Caution Settings > Critical Range #
- Range
Select Value > Value.
Set the value to 3.
Stop Range #
- Range
Select Value > Value.
Set the value to 5. - Use Stop Angle
Disable this setting.
The spitter doesn’t try to get to the target’s back.
Spitter Combatant #
Next, we’ll set up the combatant itself – again, the spitter is very similar to the comper, i.e. we can just copy the Chomper combatant and adjust it.
Navigate to Combatants > Combatants and copy the Chomper combatant.
- Name
Set to Spitter.
Base Settings > Prefab Settings #
- Prefab
Select Spitter Variant.
You can find the prefab in Assets/Tutorial Assets/Prefabs/Combatants/.
Status Settings > Status Value Settings > Status Values #
Adjust the status values, i.e. you need to change the Start Value setting of the corresponding status value.
- Max HP
Set to 8. - Max Stamina
Set to 1. - ATK
Set to 1. - RATK
Set to 10.
Animations & Movement > Movement > Move AI #
- Move AI
Select Spitter.
Save Changes #
That’s it for the setup in the editor – that was quick.
Don’t forget to save your changes by clicking on Save Settings at the bottom of the editor.
Prefab Setup #
Next, we’ll set up the spitter’s prefab to deal and receive damage.
Open the Spitter Variant prefab for editing – you can find it in Assets/Tutorial Assets/Prefabs/Combatants/.
Same as the chomper, we’ll add a Damage Zone and a Radius component to the root, and a Damage Dealer component to it’s Attack child object.
Add Damage Zone #
Add a Damage Zone component to the prefab’s root using the component menu.
The default setup is already correct for us.
Add Radius #
Add a Radius component to the prefab’s root using the component menu.
It should automatically set the radius according to the added colliders.
- Radius
Select Value > Value. - Value
Set to 0.6.
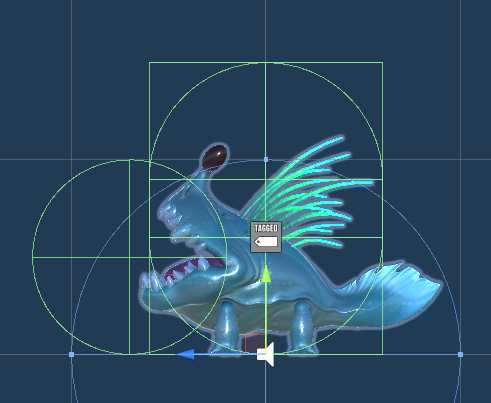
Add Damage Dealer #
Add a Damage Dealer component to the Attack child object (the Sphere Collider in front of it’s mouth) using the component menu.
- Start Type
Select Trigger Stay. - Damage Zone From Children
Enable this setting. - Damage Zone From Parent
Enable this setting. - One Time Damage
Enable this setting.
Activation Settings #
If you remember, we used the activate tag attack in the chomper’s attack ability, so we need to use that here as well.
- Field
Enable this setting. - All Battle Systems
Enable this setting.
Click on Add Activation Tag.
- Activation Tag
Set to attack.
And that’s it for the prefab – save the changes.
Close the prefab editing.
Scene Setup #
Open the Scene scene (found in Assets/Scenes/) if it’s not already opened.
We’ve already added Chomper spawners, so we can just copy one of them and adjust it.
Combatant Spawner #
Select one of the Chomper spawners and duplicate it. Rename the game object to Spitters.
Combatant Settings #
- Combatant
Select Spitter. - Quantity
Set to 3.
Sphere Collider #
Decrease the radius of the spawn area.
- Radius
Set to 8.
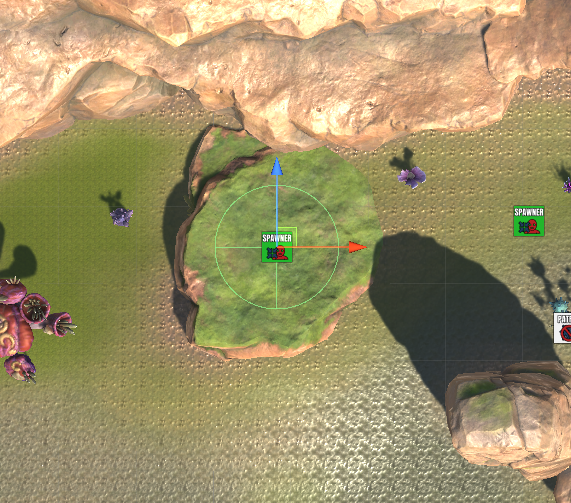
Placement #
Move the game object so that the spitters spawn on the moss-covered rock in the upper center of the scene (left of the current chomper spawners).
More! #
Alright, let’s add some more enemies to the scene.
We’ll create larger packs consisting of 6 chompers and 3 spitters, each spawning in an area with a radius of 20.
Select one of the Chomper spawners again and duplicate it. Rename the game object to Chompers and Spitters.
Combatant Settings #
First, increase the chomper’s quantity to 6.
- Quantity
Set to 6.
We’ll add another combatant to the spawner by duplicating the chomper’s setup.
Copy the Chomper combatant setup.
- Combatant
Select Spitter. - Quantity
Set to 3.
Sphere Collider #
Increase the radius of the spawn area.
- Radius
Set to 20.
Placement #
Place the spawn area somewhere and add multiple more to cover the map with enemy packs.
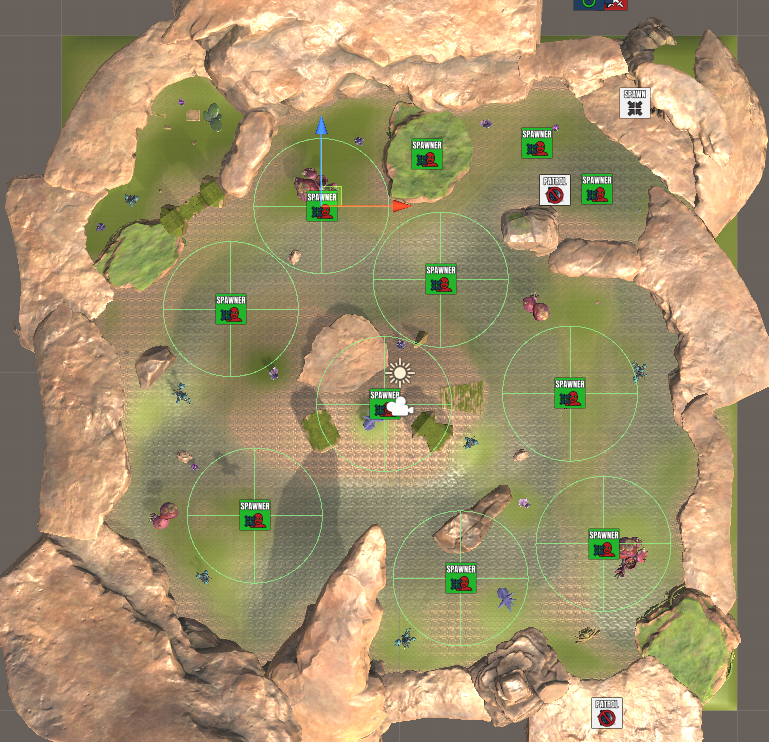
I’ve added 8 of those pack spawners in total.
Make sure to also check their Y-axis position, so that they’re not too low or high in relation to the ground they’re placed on.
That’s it, save the changes we made in the scene.
Testing #
Hit play and take a jog around the scene.
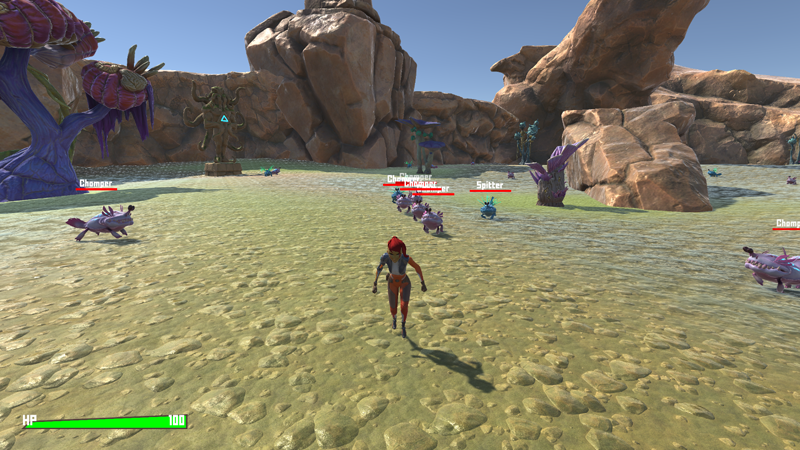
They are everywhere – success!
Next, we’ll set up the spitter’s spit attack.


