We’re done with our status system setup, now what?
With the combatant groups, we’ve finished the setup of a complete status system. You could say, the core status system was already done with setting up formulas, the rest was just putting it to good use.
However, we’re far from done with setting up an actual game, there’s still a lot to do, e.g.:
- scene setups
- player/camera controls
- adding prefabs to our combatants
- animating battle actions using schematics
- UI: HUDs, menus
- interactions, dialogues, quests, etc.
Yeah … developing a game takes time, especially an RPG.
But you did coming this far!
Continuing from here #
This status system setup can be used for different kinds of games.
3D RPG Playground #
You can continue in the 3D RPG Playground tutorial series to build a small game from scratch.
It’ll build upon the status system you’ve just set up and create a 3D RPG with turn based or active time battles.
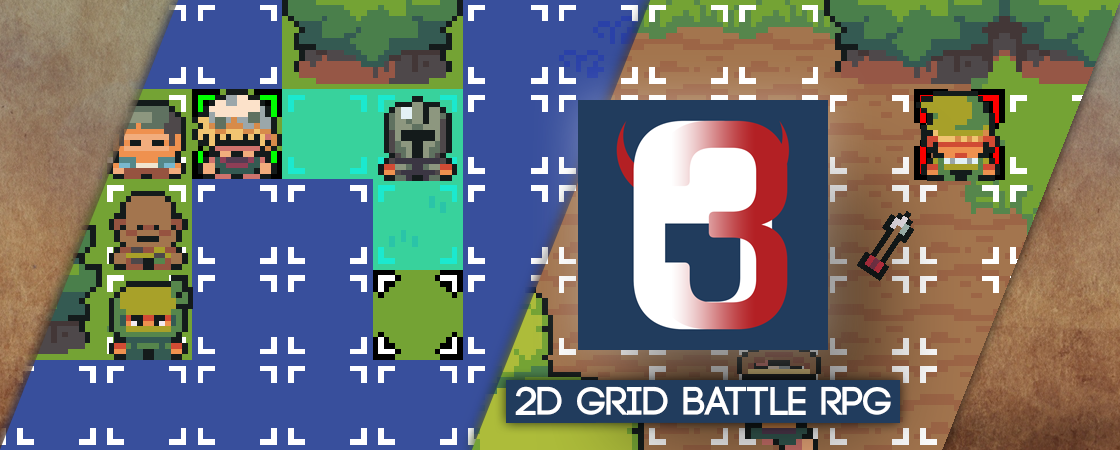
2D Grid Battle RPG #
The short 2D Grid Battle RPG tutorial series builds a small 2D game.
It’ll build upon the status system you’ve set up and creates a 2D RPG with phase battles using battle grids.
Download the Completed Setup #
As said at the START of this status system setup, you can also use a completed status system setup if you don’t have the time to do the setup yourself.
You can download the finished status system setup here:
Please note!
This package requires using at least Unity 2019.4.
It’s recommended to use Unity 2020.3 or higher other LTS (long term support) versions.
The unitypackage file contains:
- ORK/Makinom data assets
- icons and font with TMP setup
- flying text prefab and schematic
You need to import ORK 3 (and Makinom) and TextMesh Pro into your project before importing the status system setup package, i.e. in a new Unity project:
- import TextMesh Pro
usually already part of a new Unity project, otherwise use the Package Manager - import TMP Essential Resources
Window > TextMeshPro > Import TMP Essential Resources - import ORK 3
including Makinom and the Unity UI module - import the status system setup package
If you want to use the font and icons included in the package as TMP’s default setup, you need to select them in the TMP Settings asset (Assets/TextMesh Pro/Resources/). See all details in the TMP setup UI tutorial.
Please Note!
The package import might lose prefab references.
It’s recommended to simply close Unity after finishing the status system setup package import and open it again. This’ll resolve lost references.
Final Words #
This status system setup is just one example to showcase some of ORK’s feature.
You can get as easy or complex as you want it, e.g. just use an attack status value to directly define the damage output without going through a formula – or set up a damage formula taking 20 different status values into account. Whatever fits your game.
The same can be said about all other aspects of the status system. Use multiple attack/defence modifiers or don’t use them at all. Use a large set of interconnected status effects, each ending effect applying another, impacting calculations of other things.


