Create flying texts affected by physics or using a world space canvas (Unity UI module).
Flying texts are displayed at the screen position of a game object in your scene – e.g. a combatant’s position on screen. Did you know that you can also create a new game object in the scene for the flying text’s placement that can be manipulated?
Take a look at the Flying Text Settings in UI > UI Settings, you’ll see the Create Object Type setting, which defaults to None in a new project. This setting is handling if flying texts create new game objects for their placement in scene:
- None
Doesn’t create a game object in the scene, movement is only possible by moving the UI itself.
This is the default setup, where you’ll handle movement only via schematics animating your flying texts. - Empty
Creates an empty game object.
The empty game object can be used in the schematic animating the text – it’s available as Machine Object of the schematic. - Prefab
Creates an instance of a defined prefab.
This allows you to do all sorts of things, the created prefab instance is also available in the schematic as Machine Object.
Each individual flying text can override the default setup with a custom one. Both the Empty and Prefab game objects will be positioned on the game object the flying text is displayed for (e.g. spawned at the combatant’s position), based on the Flying Text Positions you set up (e.g. using random positions around it).
In this tutorial we’ll check out what we can do with Prefabs. You should already have set up a flying text UI, I’ll also use a schematic to fade the text in/out (not change it’s position, but you can also combine that with prefabs). This tutorial is based on the 3D RPG Playground series, but you can use this for any kind of project.
Physics! #
Let’s start with having flying texts bounce due to physics. For this, we’ll create a physic material and a prefab (with collider and rigidbody) – that’s all we need.
Physics Material #
Create a new Physic Material using the context menu in the project hierarchy tab in Unity: Create > Physic Material
Name it Flying Text Bounce or however else you want and change it’s settings.
- Dynamic Friction
Set to 0. - Static Friction
Set to 0. - Bounciness
Set to 1. - Bounce Combine
Set to Maximum.
Prefab Setup #
Create an empty game object in your scene.
Sphere Collider #
Add a Sphere Collider component to the empty game object using the component menu.
- Material
Select the Flying Text Bounce material we just created. - Radius
Set to 0.1.
Rigidbody #
Add a Rigidbody component using the component menu.
We keep the rigidbody’s default setup – but if you want to e.g. prevent the prefab from rotating the text, use the Constraints to Freeze Rotation on all axes.
Create Prefab #
Create a prefab out of the game object, e.g. name it Flying Text Physics.
You can remove the game object from the scene now.
Editor Setup #
We’ll now use our prefab for placing flying texts.
Open the editor and navigate to UI > UI Settings.
Flying Text Settings #
- Create Object Type
Select Prefab. - Prefab
Select the Flying Text Physics prefab we just created.
Save Changes #
And that’s it for the editor setup.
Don’t forget to save your changes by clicking on Save Settings at the bottom of the editor.
Testing #
To test the flying texts, you should already have set up displaying flying texts somewhere, e.g. to display damage or healing of health.
You can quickly test flying texts of status values by selecting a combatant’s game object – the Combatant Component in the inspector allows you to change status values.
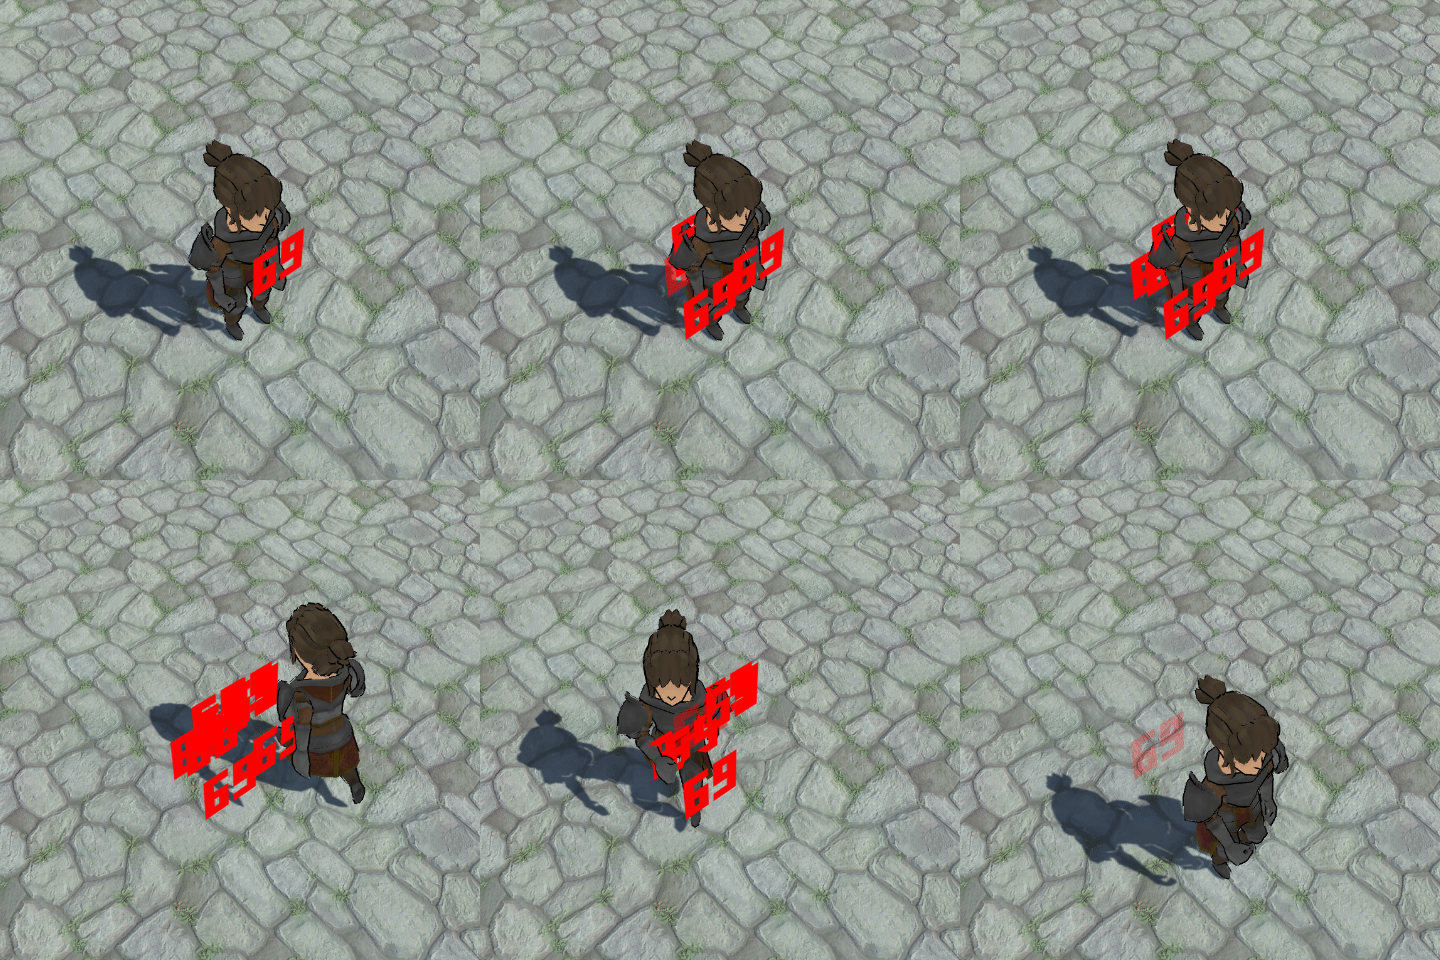
Nice, they bounce around.
If you don’t want the flying text to rotate, enable all axes of Freeze Rotation in the prefab’s Rigidbody constraints.
If you want to prevent them from colliding with each other (or e.g. combatants), you can manage that via Unity’s phyics settings like any other game object. E.g. putting them on their own layer and disabling collision with certain other layers. You can find the physics settings via the Unity menu: Edit > Project Settings… and select the Physics tab (or Physics 2D for 2D environments).
If you want to use this in a 2D environment, simply change to 2D physics material, 2D collider and 2D rigidbody.
Unity UI: World Space Canvas #
Let’s display flying texts at their actual position in the scene instead of on screen, i.e. other game objects in the scene could be in front of them, blocking their view.
For this, all we have to do is add a Canvas to the prefab.
Prefab Setup #
Create an empty game object in your scene.
Canvas #
Add a Canvas component to the empty game object using the component menu.
This’ll turn the game object’s transform into a Rect Transform (we’ll handle it’s setup shortly) and the added canvas should already be a World Space canvas.
- Render Mode
Select World Space.
Rect Transform #
We need to adjust the scale and size of the canvas, or it’ll be gigantic.
- Scale
Set to X=0.02, Y=0.02, Z=0.02. - Width
Set to 200. - Height
Set to 200.
Depending on your project and flying texts (e.g. used font and font size) you might need to adjust those values a bit.
Create Prefab #
Create a prefab out of the game object, e.g. name it Flying Text Canvas.
You can remove the game object from the scene now.
Editor Setup #
We’ll now use our prefab for placing flying texts.
Open the editor and navigate to UI > UI Settings.
Flying Text Settings #
- Create Object Type
Select Prefab. - Prefab
Select the Flying Text Canvas prefab we just created.
Save Changes #
And that’s it for the editor setup.
Don’t forget to save your changes by clicking on Save Settings at the bottom of the editor.
Testing #
Test the new prefab.
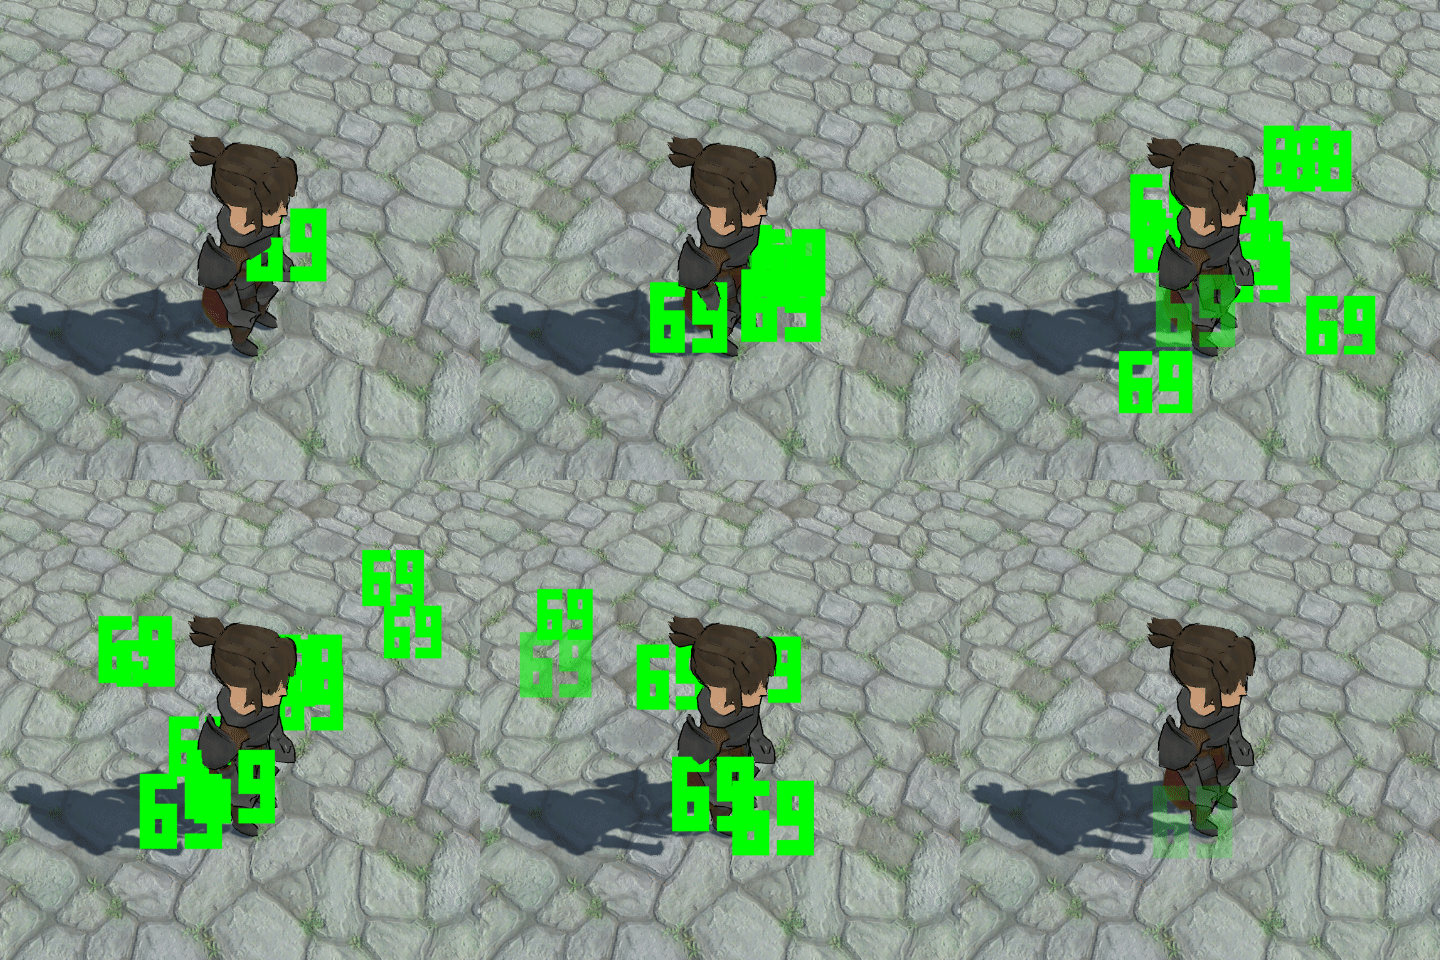
You can walk right through them!
If you still want them to face the camera at all times, add a Face Camera component to the prefab.
Physics Canvas #
You can also combine both – having physics and world space canvas in one go.
For this, just add the Flying Text Canvas prefab as a child object to the Flying Text Physics prefab, or, if you want to set it up from scratch, add the Canvas on a child object of the physics object. Basically, don’t mix physics and canvas on the same game object.
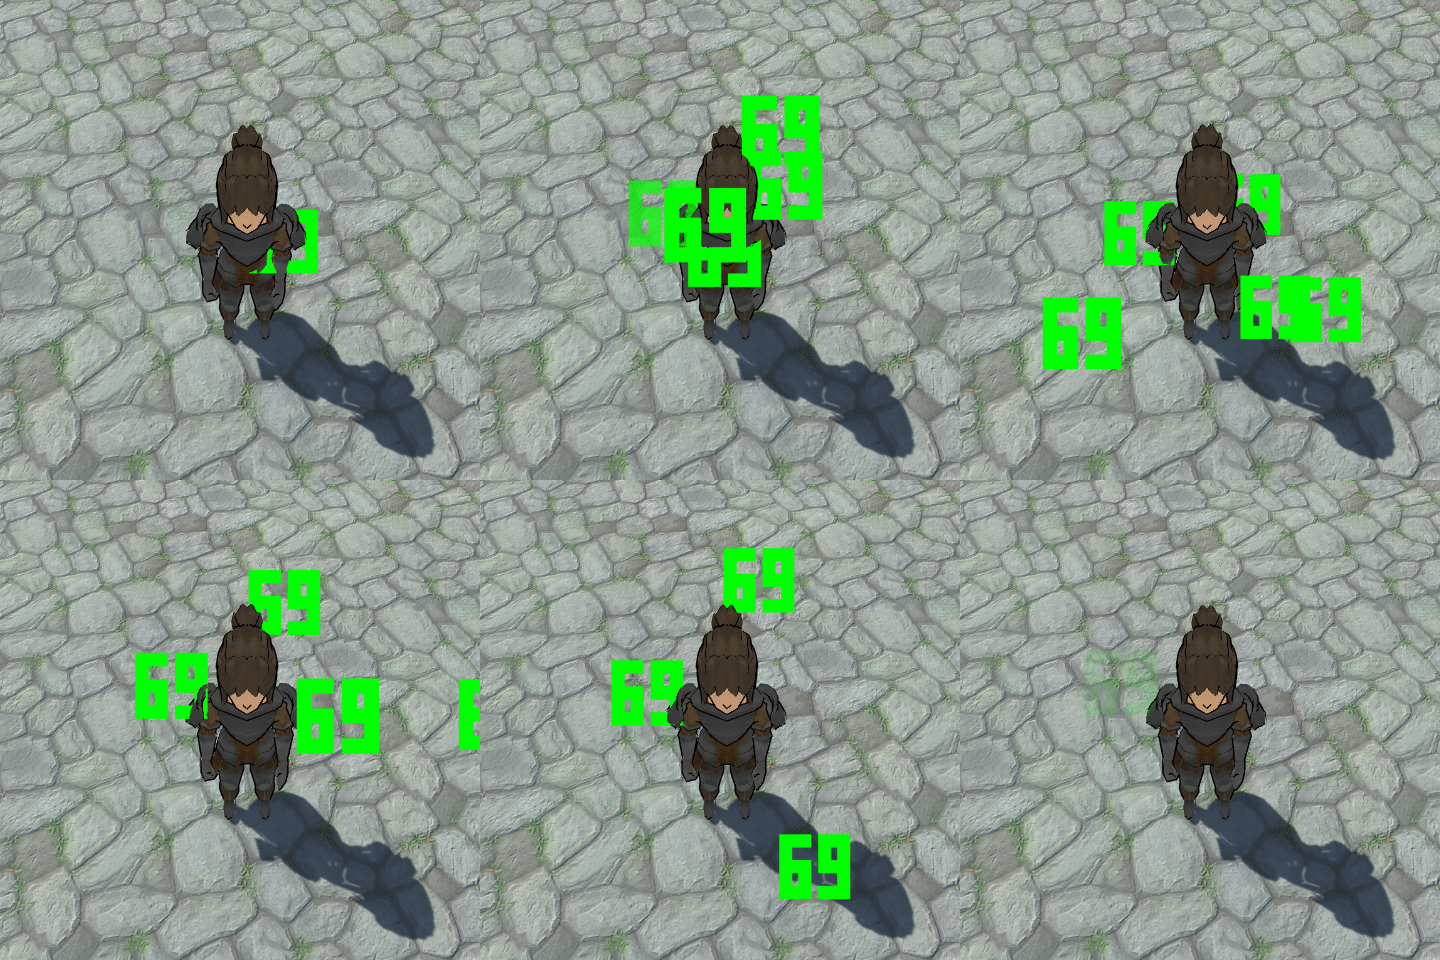
I’m here also using the Face Camera component, which prevents the rotation from before (same as using the Rigidbody constraints).
More Fun With Schematics #
Since the created game object (either from Empty or Prefab) is available as the Machine Object of the schematic you can use to animate a flying text, you can also use that to manipulate the game object.
E.g. add an upward force impulse to let the flying text first jump upwards a bit before falling down – for this, add a Rigidbody Add Force node at the start of your flying text schematic.
Tip!
In case you didn’t know, the game object the flying text is displayed for (e.g. a combatant) is also available in the schematic, it’s the Starting Object.
Rigidbody Add Force #
Add Node > Game Object > Rigidbody > Rigidbody Add Force
We’ll give the rigidbody prefab a slight upward impulse and a minimal random impulse on the other axes.
- Object (Rigidbody Object)
Select Machine Object.
This is the phyiscs prefab instance that was spawned for the flying text. - Vector3 Type (Force)
Select Set Axis.
This’ll let us use float value selections for each axis, allowing us to randomize the values. - X-Axis
Select Value > Random.
Set the first value to -0.1.
Set the second value to 0.1. - Y-Axis
Select Value > Value.
Set the value to 1. - Z-Axis
Select Value > Random.
Set the first value to -0.1.
Set the second value to 0.1. - Force Multiply
Select Value > Value.
Set the value to 5. - Force Mode
Select Impulse.
Save the schematic.
Testing #
Use the schematic in one of your flying texts and test it with either the physics or physics canvas prefab.
The prefab now jumps upwards before falling down!
You can use this to do all sorts of things – the whole range of schematic functionality is available to you. E.g. spawn effect prefabs or have the flying text show additional flying texts …


