In this tutorial we’ll add items to collect to the game.
Item Collectors are used to pick up individual items or access item boxes. We’ll add a few items to the World and Dungeon scene to pick up.
We’ll set up:
- default item prefab
- item collection dialogue (inventory settings)
- item collectors
Let’s get to it!
Item Collection Setup #
Open the Makinom editor and navigate to Inventory > Inventory Settings.
Inventory Settings > Default Item Prefab #
First, we’ll set up the default item prefab that’ll be used by all items, equipment, etc. – individual items/equipment/etc. can optionally override that to use a different prefab.
- Item Prefab
Select the Item prefab.
You can find it in Assets/Tutorial Assets/Prefabs/.
This prefab is a simple game object with a Box Collider (for being able to interact with it) and a particle effect to make it noticable.
If you use a different prefab, check where the game object’s root position is, i.e. local X=0, Y=0, Z=0. The Item prefab used here is set up to have that position at the bottom of the collider. If the prefab’s root position would be somewhere else, e.g. in the center of a collider, you can use the Spawn Offset to adjust for that position, otherwise items could spawn in the ground.
Item Collection #
These settings handle the collection of single items via Item Collector components.
Before Collection #
We’ll play an audio clip.
- Play Sound
Enable this setting. - Audio Clip
Select the chainmail1 audio clip.
Collection Dialogue #
We can stick with the default setup, which displays a message with the name of the thing we found. You can optionally also use a choice dialogue to let the player select if it should be collected.
All we need to do is select the UI box that’s used to display the dialogue.
- UI Box
Select Dialogue.
Item Box > Item List Settings #
We don’t use item boxes in this tutorial series, but we can set it up just to have it working.
Like with the single item collection dialogue, we just need to select the UI box and can stick with the rest of the default settings.
- UI Box
Select Blue Center.
Save Changes #
Save the changes before we set up the schematic.
Don’t forget to save your changes by clicking on Save Settings at the bottom of the editor.
World Scene #
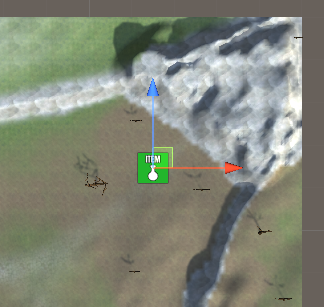
Let’s first add a chest to the World scene in the town.
You can add an item collector either via the scene hierarchy context menu: ORK Framework > Item Collector
I’ve added mine north of the gate, between two bushes.
Item Collector #
Usually, an item should only be collected once – this is automatically handled for us by the Scene ID setup of the item collector. This is by default enabled and each new item collector will automatically receive a new, unused scene ID. When the player collects the item, that scene ID is marked as collected (for the current scene) and the item will not be available again when returning to the scene. When copying item collectors (i.e. duplicating them in the same scene), you’ll need to manually get a new scene ID by clicking on the Get New Scene ID button, or reset all scene ID’s in the scene using the Reset All Scene IDs button.
- Use Scene ID
This should be enabled and have the scene ID 0 assigned, since this is the first item collector added to the scene.
Collection Settings #
- Collection Type
Select Single.
We collect a single item and don’t use this as an item box.
We can use the default setup, but let’s take a look at some of the settings.
- Destroy Object
Enable this setting.
The item collector will be destroyed after collection (or when it is already collected when returning to the scene). - Show Dialogue
Enable this setting.
The item collection dialogue will be displayed.
The Control Block Settings handle blocking player controls as well as blocking the move AI for all combatants – this would e.g. prevent enemies hunting the player from getting closer during item collection (when spawning combatants in the scene and using move AI to move them). They should all be enabled by default, and we keep it that way.
Item Settings #
- Spawn Prefab
Enable this setting.
The item’s prefab will be spawned, the player can also interact with the spawned prefab (or in our setup, only with the spawned prefab, since the item collector itself doesn’t have a collider).
You can add multiple items to an item collector – in Single collection type, one of the added items will be used randomly. We’ll just change the already added item.
- Type
Select Equipment. - Equipment
Select Leather Armor. - Quantity
Select Value >Value.
Set the value to 1.
You can also use the item’s Chance to determine if the item is available for collection or not. The item can be marked as collected if the chance fails when also enabling Set On Fail.
Start Settings #
The item collector is by default set up as an interaction, i.e. using the Interact start type. You can also use different start types, e.g. on trigger enter (requires a collider with Is Trigger enabled).
If you want, you can also enable Mouse Up As Button in the Interaction stetings to open the chest on mouse click.
Another Item Collector #
Duplicate the Item Collector 0 game object we just created and move it to the upper right corner of the scene.
We need to update the Scene ID and also collect a different equipment.
Click on Get New Scene ID.
The scene ID should now be set to 1.
Item 0 #
- Equipment
Select Cloth Vest.
That’s it for the World scene – don’t forget to save the changes.
Dungeon Scene #
We’ll also add some items to the dungeon, so open the Dungeon scene.
Revive Potion #
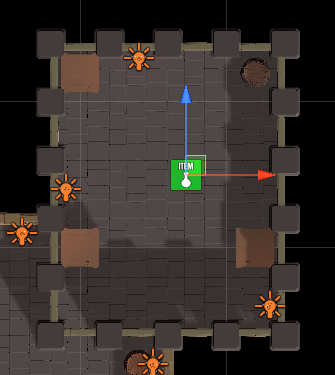
Add a new item collector to the upper right room using the scene hierarchy context menu: ORK Framework > Item Collector
The scene ID should be set to 0. We just need to set up the item, as the rest of the default settings are already correct.
Item Settings > Item 0 #
- Type
Select Item. - Item
Select Revive Potion.
Axe #
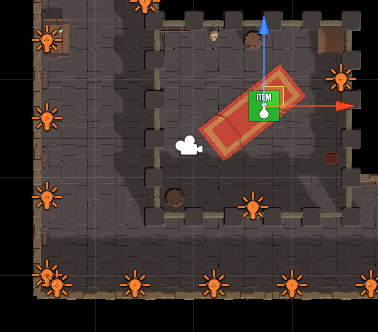
Add another new item collector to the lower left room using the scene hierarchy context menu: ORK Framework > Item Collector
The scene ID should be set to 1.
Item Settings > Item 0 #
- Type
Select Equipment. - Equipment
Select Axe.
Elemental Brooch #
And add a last new item collector to the lower left room using the scene hierarchy context menu: ORK Framework > Item Collector
The scene ID should be set to 2.
Item Settings > Item 0 #
- Type
Select Equipment. - Equipment
Select Elemental Brooch.
And that’s it – save the scene.
Testing #
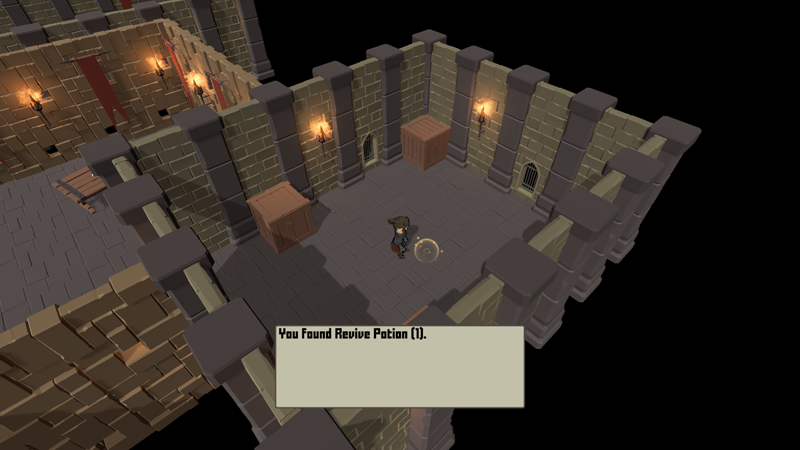
Hit play and walk up to an item collector.
Interacting with it shows the dialogue and collects the item, great!
That’s it – we’re done with the 3D RPG Quickstart tutorials. Allow me to say some final words in the next and final part of this tutorial series.


