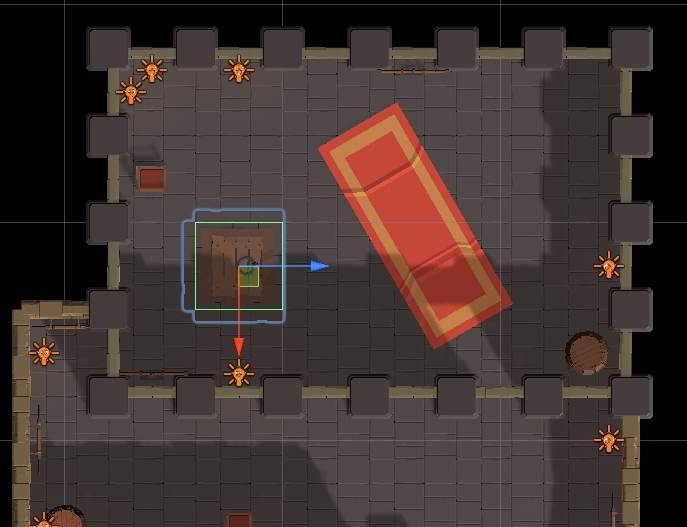
In this tutorial we’ll set up the trapdoor connecting dungeon levels.
This tutorial continues the sub-series for setting up the dungeon.
If you’ve looked around in the Dungeon Level 1 scene, you’ll notice that there isn’t another staircase leading down to the next level of the dungeon – but there’s a trapdoor. And it’ll be locked.
This’ll be the same in all dungeon levels, and the setup will also be the same. So, we’ll make this a one time setup on the trapdoor’s prefab instead of having to redo it each time.
The trapdoor being locked or unlocked will be handled by a bool variable, but to be able to unlock each individual trapdoor, they all need to use their own variables. For this, we’ll use Object variables – usually, they’re bound to a game object using an Object Variables component, but we’ll use them as scene-wide variables instead. We’ll use the name of the current scene (e.g. Dungeon Level 1) as the Object ID for our object variables.
This way, we can use the same setup and game mechanic in various scenes without having to make any changes in each scene.
In this tutorial we’ll:
- set up a schematic to unlock the trapdoor
- set up the game mechanic on the trapdoor’s prefab
- add a key (item collector) to the scene – this is the only thing that needs to be done each scene
Trapdoor Unlock Schematic #
The schematic to unlock the trapdoor will check if the player has a key – if not, it’ll display a short dialogue, otherwise unlock the trapdoor (and remove the key).
Settings #
We’ll block the player controls during this schematic.
- Block Player Control
Enable this setting.
Has In Inventory #
Add Node > Inventory > Inventory > Has In Inventory
This node checks if something is in a combatant’s inventory.
We’ll check if the player has a Small Key.
- Object (Combatant)
Select Player.
There’s already an item added, we’ll change it to our needs.
- Item
Select Small Key. - Quantity
Select Value > Value.
Set the value to 1.
Show Dialogue #
Add Node > UI > Dialogue > Show Dialogue
This node is connected to the Failed slot of the Has In Inventory node.
- Dialogue Type
Select Message. - UI Box
Select Beige Bottom Dialogue. - Text (Message Content)
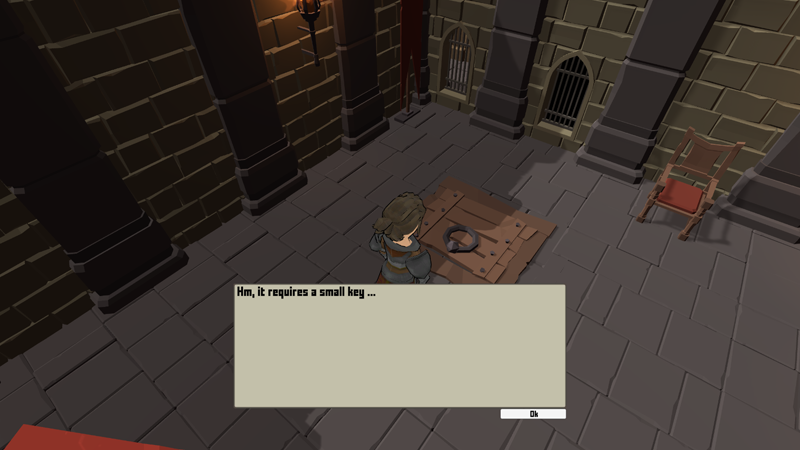
Set to: Hm, it requires a small key …
Play Sound #
Add Node > Audio > Audio > Play Sound
We’ll play an unlock sound.
This node is connected to the Success slot of the Has In Inventory node.
- Object (Play On)
Select Machine Object. - Audio Clip
Select Select Audio Clip.
This allows us to select an audio clip here in the node instead of setting one up in the Settings node. - Audio Clip Asset (Audio Clip)
Select the lock_03 clip. - Play One Shot
Enable this setting.
Remove From Inventory #
Add Node > Inventory > Inventory > Remove From Inventory
We’ll now remove the key from the player’s inventory.
- Object (Combatant)
Select Player.
There’s already an item added, we’ll change it to our needs.
- Item
Select Small Key. - Quantity
Select Value > Value.
Set the value to 1.
Wait #
Add Node > Base > Wait
We’ll wait for a second.
- Time
Select Value > Value.
Set the value to 1.
Play Sound #
Add Node > Audio > Audio > Play Sound
Copy the previous Play Sound node, we’ll now play an opening sound.
- Audio Clip Asset (Audio Clip)
Select the doorOpen_2 clip.
Change Variables #
Add Node > Value > Variable > Change Variables
This node is used to change variables – we’ll set the trapdoor unlock variable.
As explained above, we’ll use object variables, but instead of bound to an object, we’ll access it via the object ID, which will be the scene name of the current scene.
Click on Add Variable.
- Change Type
Select Variable. - Variable Key
Set to trapdoorOpen. - Variable Origin
Select Object ID. - Object ID
Select Value > Scene Name.
In case you don’t see the type popup, it’s on the right end of the field. - Type
Select Bool. - Bool Type
Select Value. - Bool Value
Enable this setting.
And that’s it for the schematic. Click on Save Schematic to save it, e.g. as TrapdoorUnlock.
The Trapdoor Prefab #
We’ll set up the following things on the trapdoor’s prefab:
- add 2 Game Object Manager components to show the trapdoor open or closed based on the trapdoorOpen bool variable
- add an Interaction Machine component using our TrapdoorUnlock schematic
- add a Scene Changer to move to the next level (this needs to be adjusted in each scene)
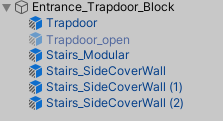
Select the Entrance_Trapdoor_Block game object.
Now, open the trapdoor’s prefab to edit it.
We’ll add components to the root Entrance_Trapdoor_Block game object and use the Trapdoor and Trapdoor_open child objects in the Game Object Manager components
Game Object Manager (Open) #
Select the Entrance_Trapdoor_Block game object and add a Game Object Manager component using the component menu.
Game object managers will enable and disable game objects based on defined conditions – in our case, the trapdoorOpen bool variable.
This first manager will handle the Trapdoor_open child object, i.e. when trapdoorOpen is true/enabled.
Game Objects #
Either drag the Trapdoor_open child object on the Game Objects field or click on the plus button and select the child object there.
Condition #
Click on Add Condition.
- Condition Type
Select Variable.
Click on Add Variable.
- Condition Type
Select Variable. - Variable Key
Set to trapdoorOpen. - Variable Origin
Select Object ID. - String Type (Object ID)
Select Value > Scene Name. - Is Valid
Enable this setting. - Type
Select Bool.
Game Object Manager (Closed) #
Add another Game Object Manager component using the component menu.
This manager will handle the Trapdoor child object, i.e. when trapdoorOpen is false/disabled.
Game Objects #
Either drag the Trapdoor child object on the Game Objects field or click on the plus button and select the child object there.
Condition #
Click on Add Condition.
- Condition Type
Select Variable.
Click on Add Variable.
- Condition Type
Select Variable. - Variable Key
Set to trapdoorOpen. - Variable Origin
Select Object ID. - String Type (Object ID)
Select Value > Scene Name. - Is Valid
Disable this setting. - Type
Select Bool.
Interaction Machine #
Add an Interaction Machine component to the Entrance_Trapdoor_Block game object using the component menu.
Start Settings #
- Interact
Enable this setting. - Mouse Up As Button
Enable this setting in case you also want to start the interaction by clicking on the trapdoor.
Machine Execution Settings #
- Schematic Asset
Select the TrapdoorUnlock schematic.
The rest of the settings should be correct in their default setup:
- Execution Type
Select Single. - Update Type
Select Update.
Expand the Object Turn Settings, we’ll let the player face the trapdoor.
- Turn Starting Object
Enable this setting.
Condition Settings #
We also need to check the trapdoorOpen variable, no need to unlock it again when it’s already unlocked.
Click on Add Condition.
- Condition Type
Select Variable.
Click on Add Variable.
- Condition Type
Select Variable. - Variable Key
Set to trapdoorOpen. - Variable Origin
Select Object ID. - String Type (Object ID)
Select Value > Scene Name. - Is Valid
Disable this setting. - Type
Select Bool.
Scene Changer #
Add a Scene Changer component to the Entrance_Trapdoor_Block game object using the component menu.
Scene Change Settings > Scene Settings > Target Scene 0 #
We’ll leave the Target Scene name blank, as that’ll be set in each individual scene, but we’ll already handle the spawn ID setup.
We always spawn at spawn ID 0, as the first spawn point we’ll place is always the one entering the level.
- Position Type
Select Spawn ID. - Spawn ID
Select Value > Value. - Value (Spawn ID)
Set to 0.
Start Settings #
Instead of Trigger Enter, we’ll Interact with the scene changer.
Click on None to remove all current start types.
Click on Interact to enable interaction. If you also want to use Mouse Up As Button, expand the Interaction foldout and enable it.
Expand the Object Turn Settings, we’ll let the player face the trapdoor.
- Turn Starting Object
Enable this setting.
Condition Settings #
We also need to check the trapdoorOpen variable, we can only change scenes when the trapdoor is unlocked.
Click on Add Condition.
- Condition Type
Select Variable.
Click on Add Variable.
- Condition Type
Select Variable. - Variable Key
Set to trapdoorOpen. - Variable Origin
Select Object ID. - String Type (Object ID)
Select Value > Scene Name. - Is Valid
Enable this setting. - Type
Select Bool.
That’s it for the prefab setup – save the changes and return to the scene (i.e. close editing the prefab).
Enter Level 2 #
We’ll now update the trapdoor in the scene to load Dungeon Level 2 and add a spawn point in front of the trapdoor.
Scene Changer #
Select the Entrance_Trapdoor_Block game object in case it’s no longer selected.
Adjust the following setting.
Scene Change Settings > Scene Settings > Target Scene 0 #
- Target Scene
Set to Dungeon Level 2.
Spawn Point #
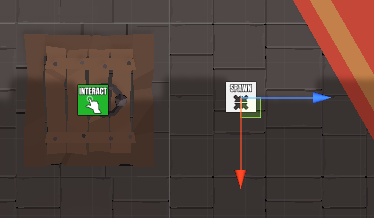
Create a Spawn Point in front of the trapdoor, either using the scene hierarchy context menu (Makinom > Spawn Point) or the Makinom scene wizard (Create Game Object > Spawn Point).
The spawn point automatically receives the spawn ID 1, since this is the next unused spawn ID. We’ll adjust the rotation for our player’s spawn.
Transform #
- Rotation
Set to X=0, Y=90, Z=0.
Spawn Point #
- Use Rotation
Enable Y, disable X and Z.
That’s it for level 1 for now – don’t forget to save your changes. We’ll take a quick look at level 2 now.
Exit Level 2 #
Open Dungeon Level 2 (Assets/Scenes/Dungeon/), we’ll add a spawn point and scene changer to return to level 1.
Adding a Game Starter #
Don’t forget that you need to add a Game Starter to a scene if you want to do a quick playtest right in the scene.
Create an ORK Game Starter either using the scene hierarchy context menu (ORK Framework > ORK Game Starter) or the Makinom scene wizard (Add ORK Game Starter > Add ORK Game Starter).
It doesn’t really matter where you place the game starter, but make sure to enable Start Game for quick game testing.
- Start Game
Enable this setting.
Adding a Spawn Point #
Create a Spawn Point either using the scene hierarchy context menu (Makinom > Spawn Point) or the Makinom scene wizard (Create Game Object > Spawn Point).
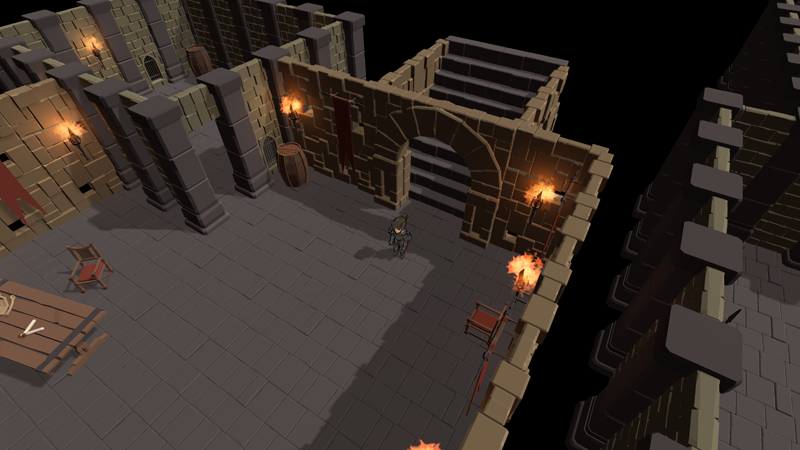
Place the spawn point in front of the stairs leading upwards – but not too close, as we’ll also add a scene changer to the stairs.
Like before, we’ll use the spawn point’s rotation for rotating the player.
Transform #
- Rotation
Set to X=0, Y=-90, Z=0.
Spawn Point #
- Use Rotation
Enable Y, disable X and Z.
Adding a Scene Changer #
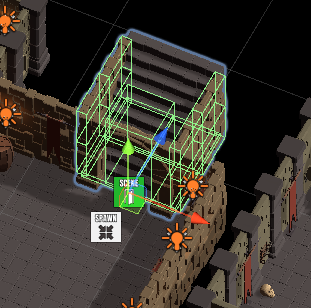
Select the Entrance_Staircase_Block game object – you can easily select it by clicking on the arch of the staircase.
The scene changer has to be added to the root game object (Entrance_Staircase_Block), not one of it’s child objects. Use the component menu to add a Scene Changer component.
Scene Change Settings > Scene Settings > Target Scene 0 #
- Target Scene
Set to Dungeon Level 1. - Position Type
Select Spawn ID. - Spawn ID
Select Value > Value. - Value (Spawn ID)
Set to 1.
And that’s it for level 2 – don’t forget to save your changes.
Item Collector (Small Key) #
Finally, we’ll add an Item Collector to the scene that’ll collect the small key we need to unlock the trapdoor. Open Dungeon Level 1 (Assets/Scenes/Dungeon/) again.
Add an item collector either via the scene hierarchy context menu (ORK Framework > Item Collector) or the Makinom scene wizard (Create Game Object > Item Collector).
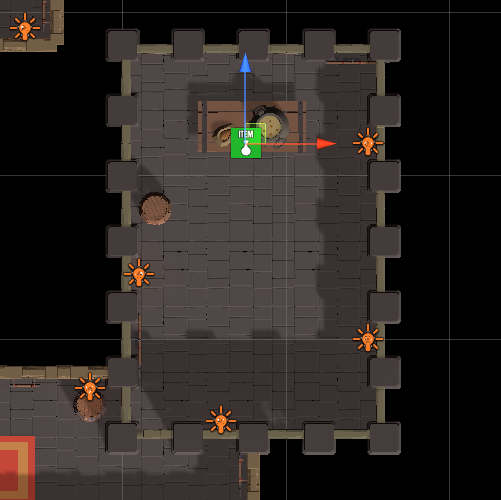
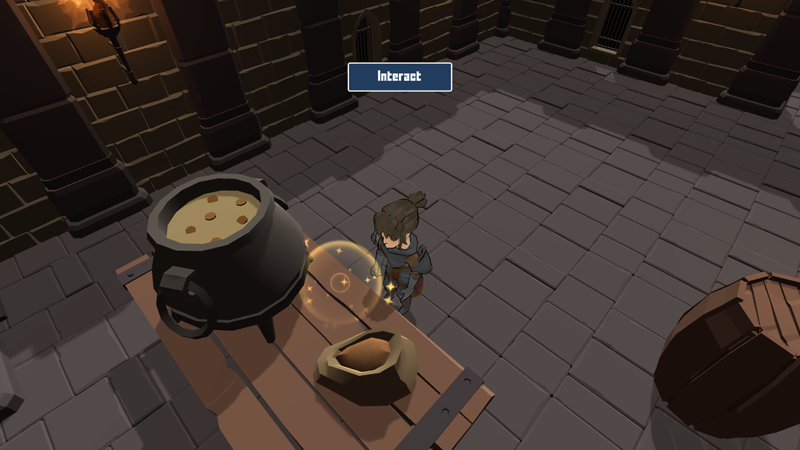
Place the item collector on the table in the lower right room.
- Use Scene ID
This should be enabled and have the scene ID 0 assigned, since this is the first item collector added to the scene.
Collection Settings #
- Collection Type
Select Single.
Item Settings #
- Spawn Prefab
Enable this setting.
Change the already added Item 0.
- Type
Select Item. - Item
Select Small Key. - Quantity
Select Value >Value.
Set the value to 1.
Start Settings #
The item collector is by default set up as an interaction, i.e. using the Interact start type. We’ll keep it that way.
And that’s it – don’t forget to save your changes.
Testing #
Hit play (directly in level 1), run to the trapdoor and interact with it.
It’s locked, great! Run to get the key
Return to the trapdoor and unlock it.
Interact with the unlocked trapdoor to get to level 2.
All seems to be in working – you can also return to level 1 by entering the staircase.
Next, we’ll add enemies to dungeon level 1 and 2.


