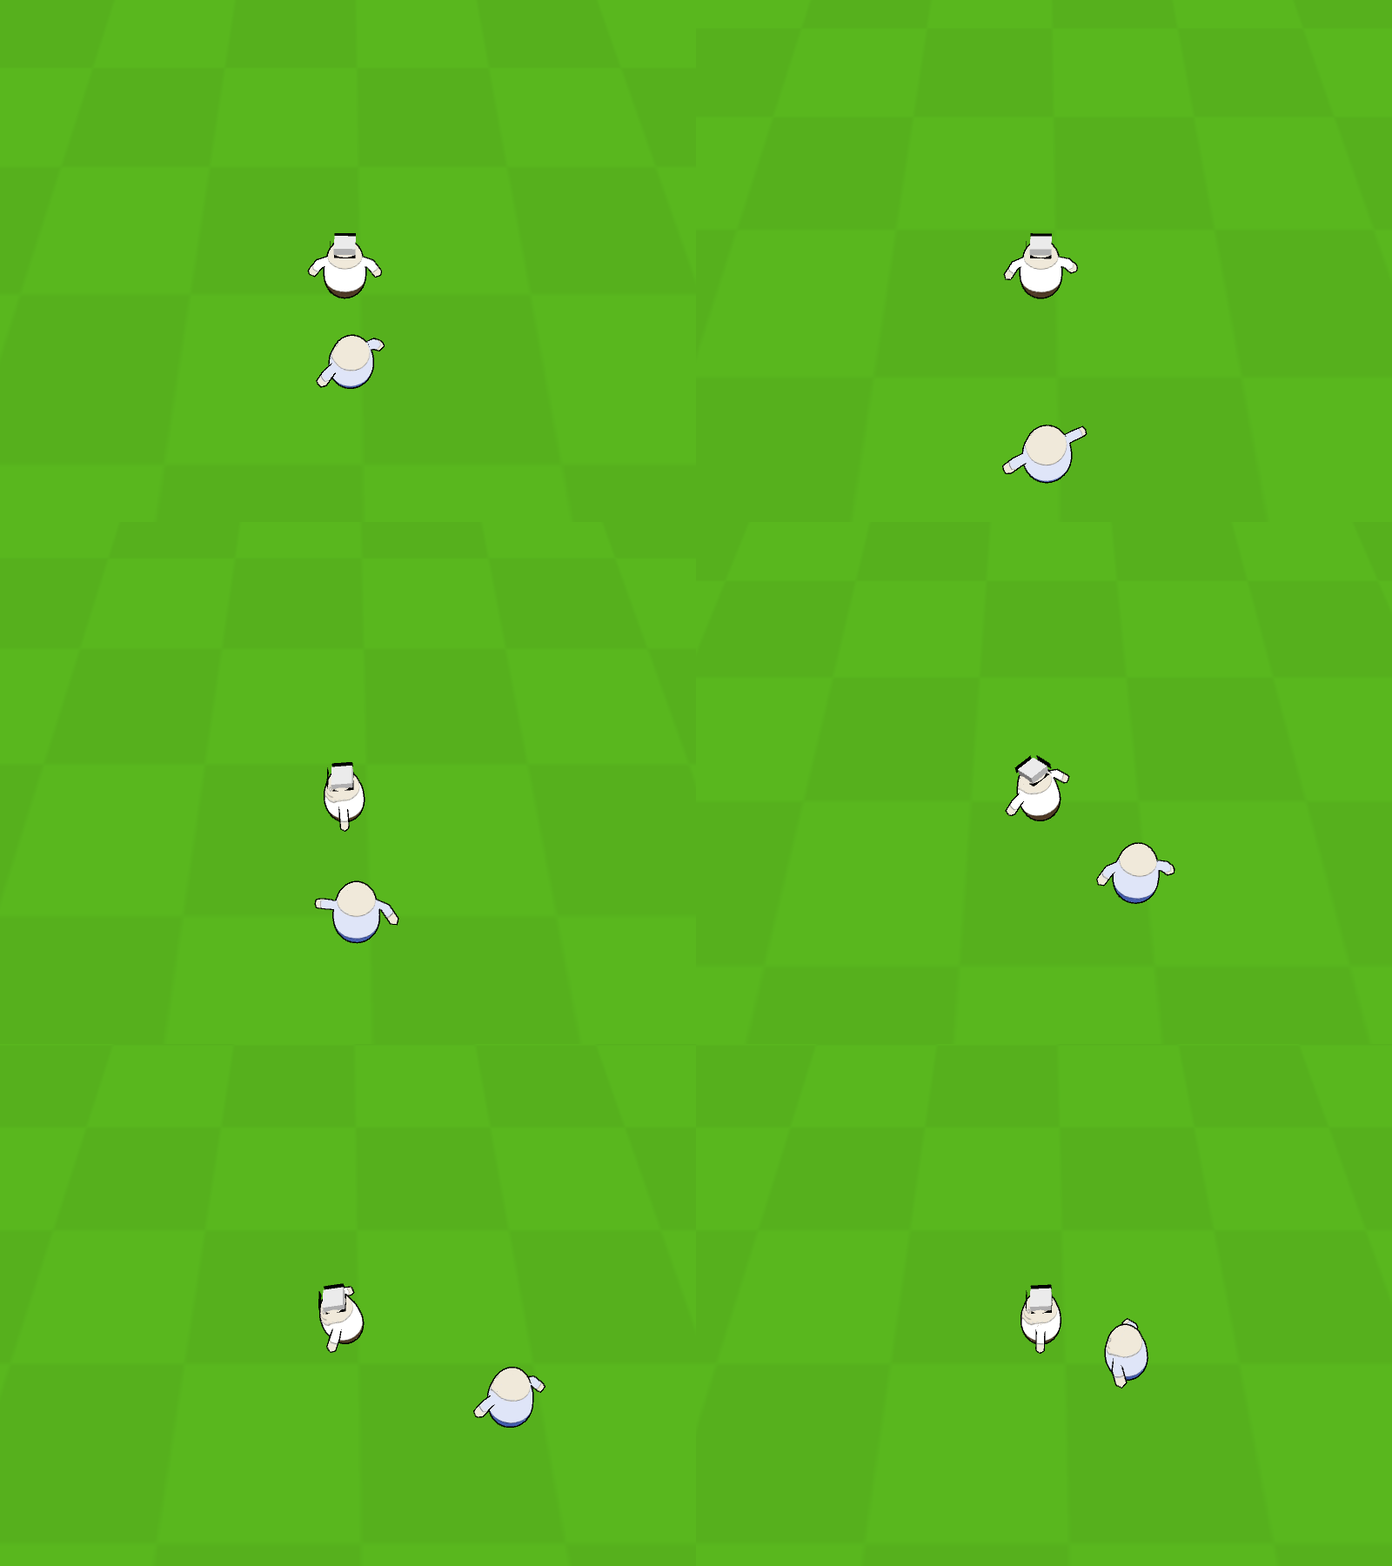
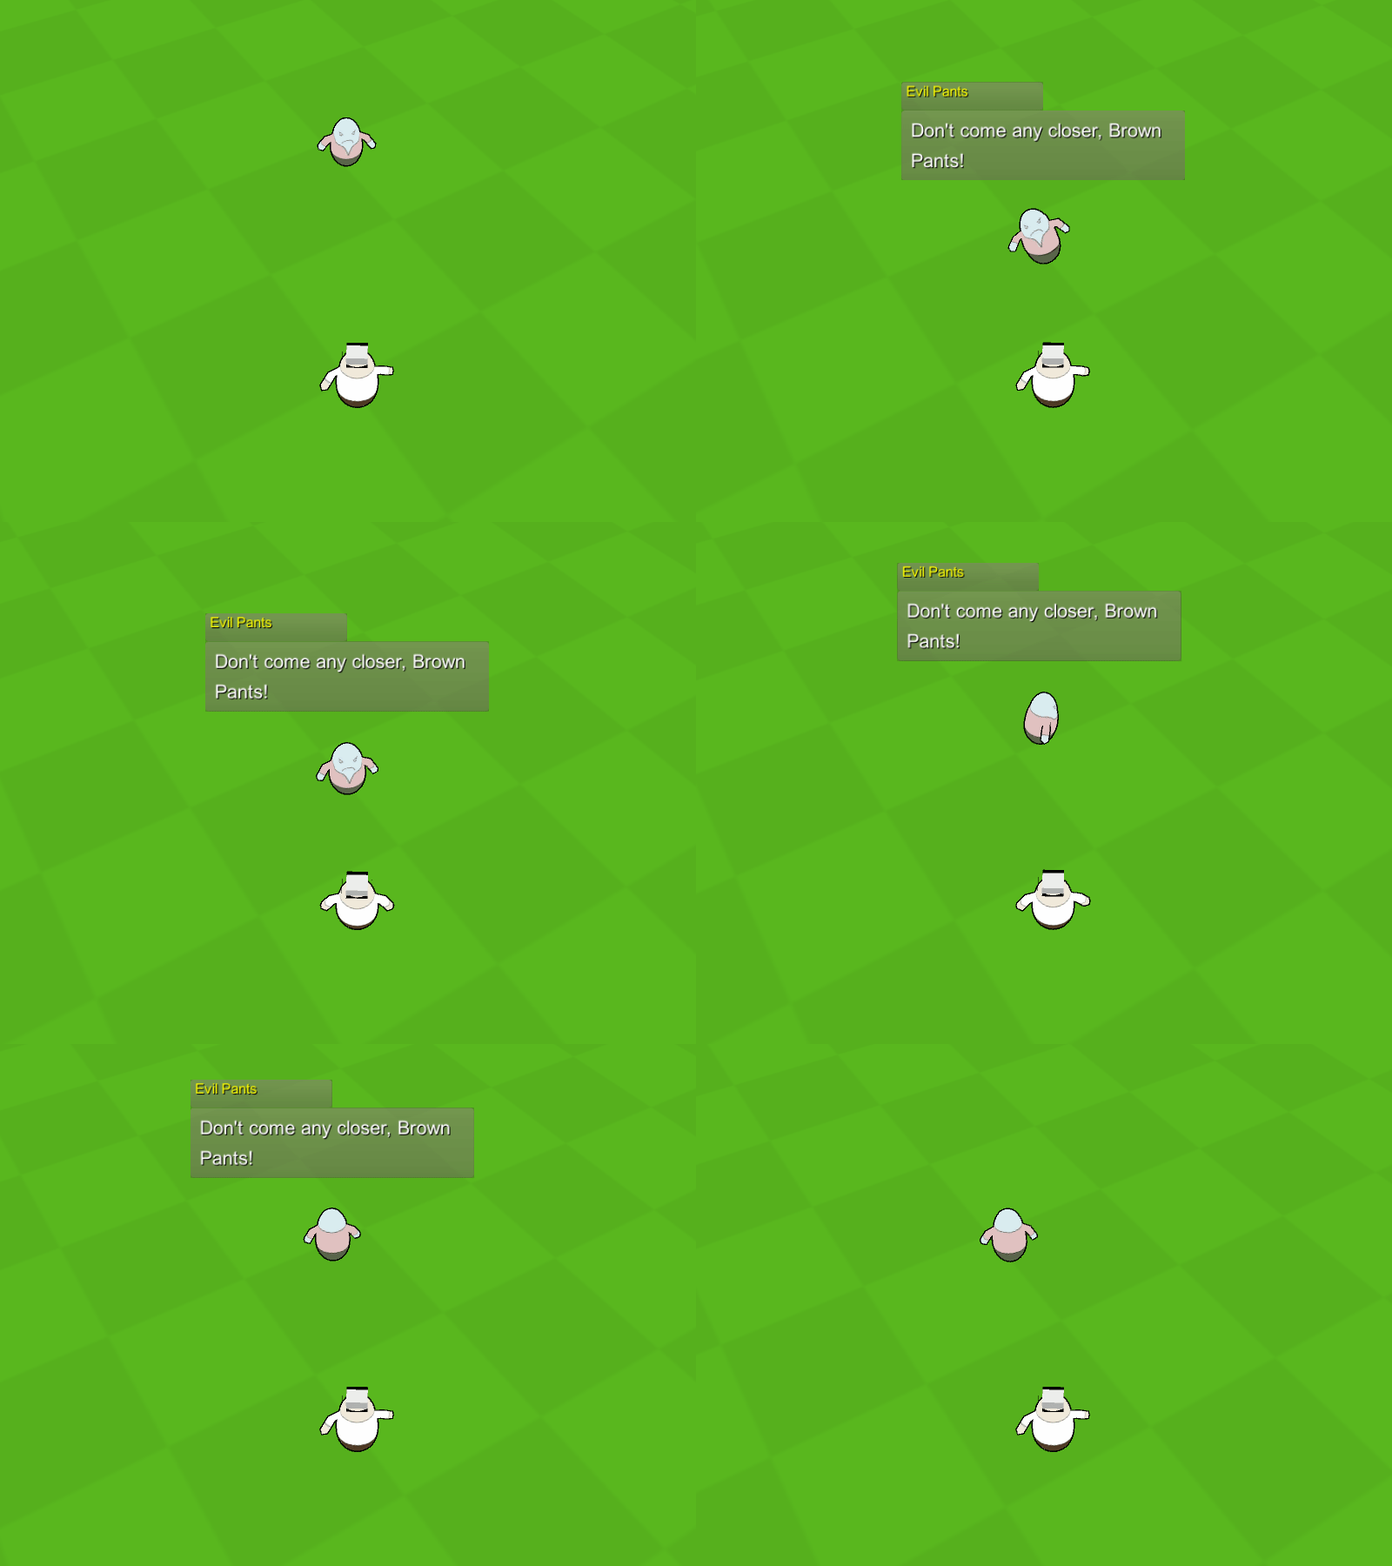
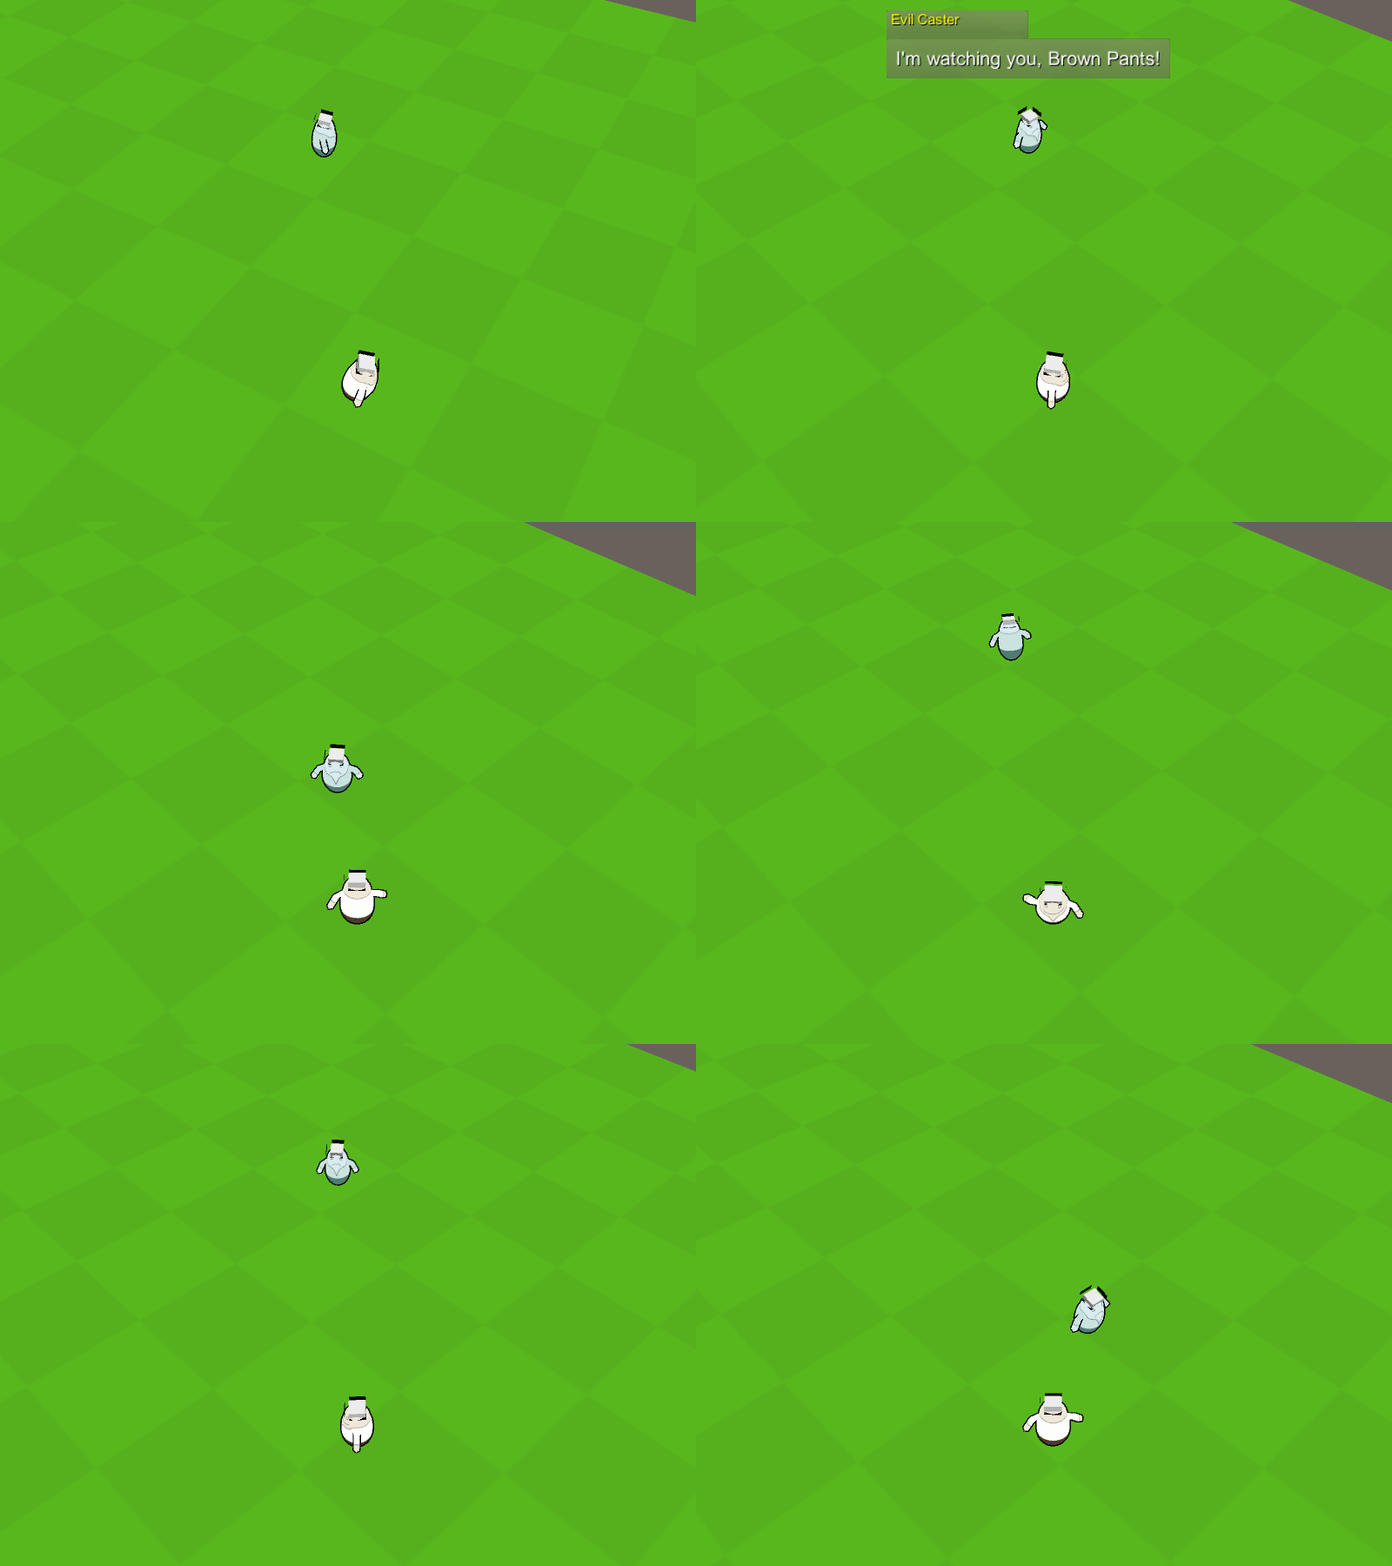
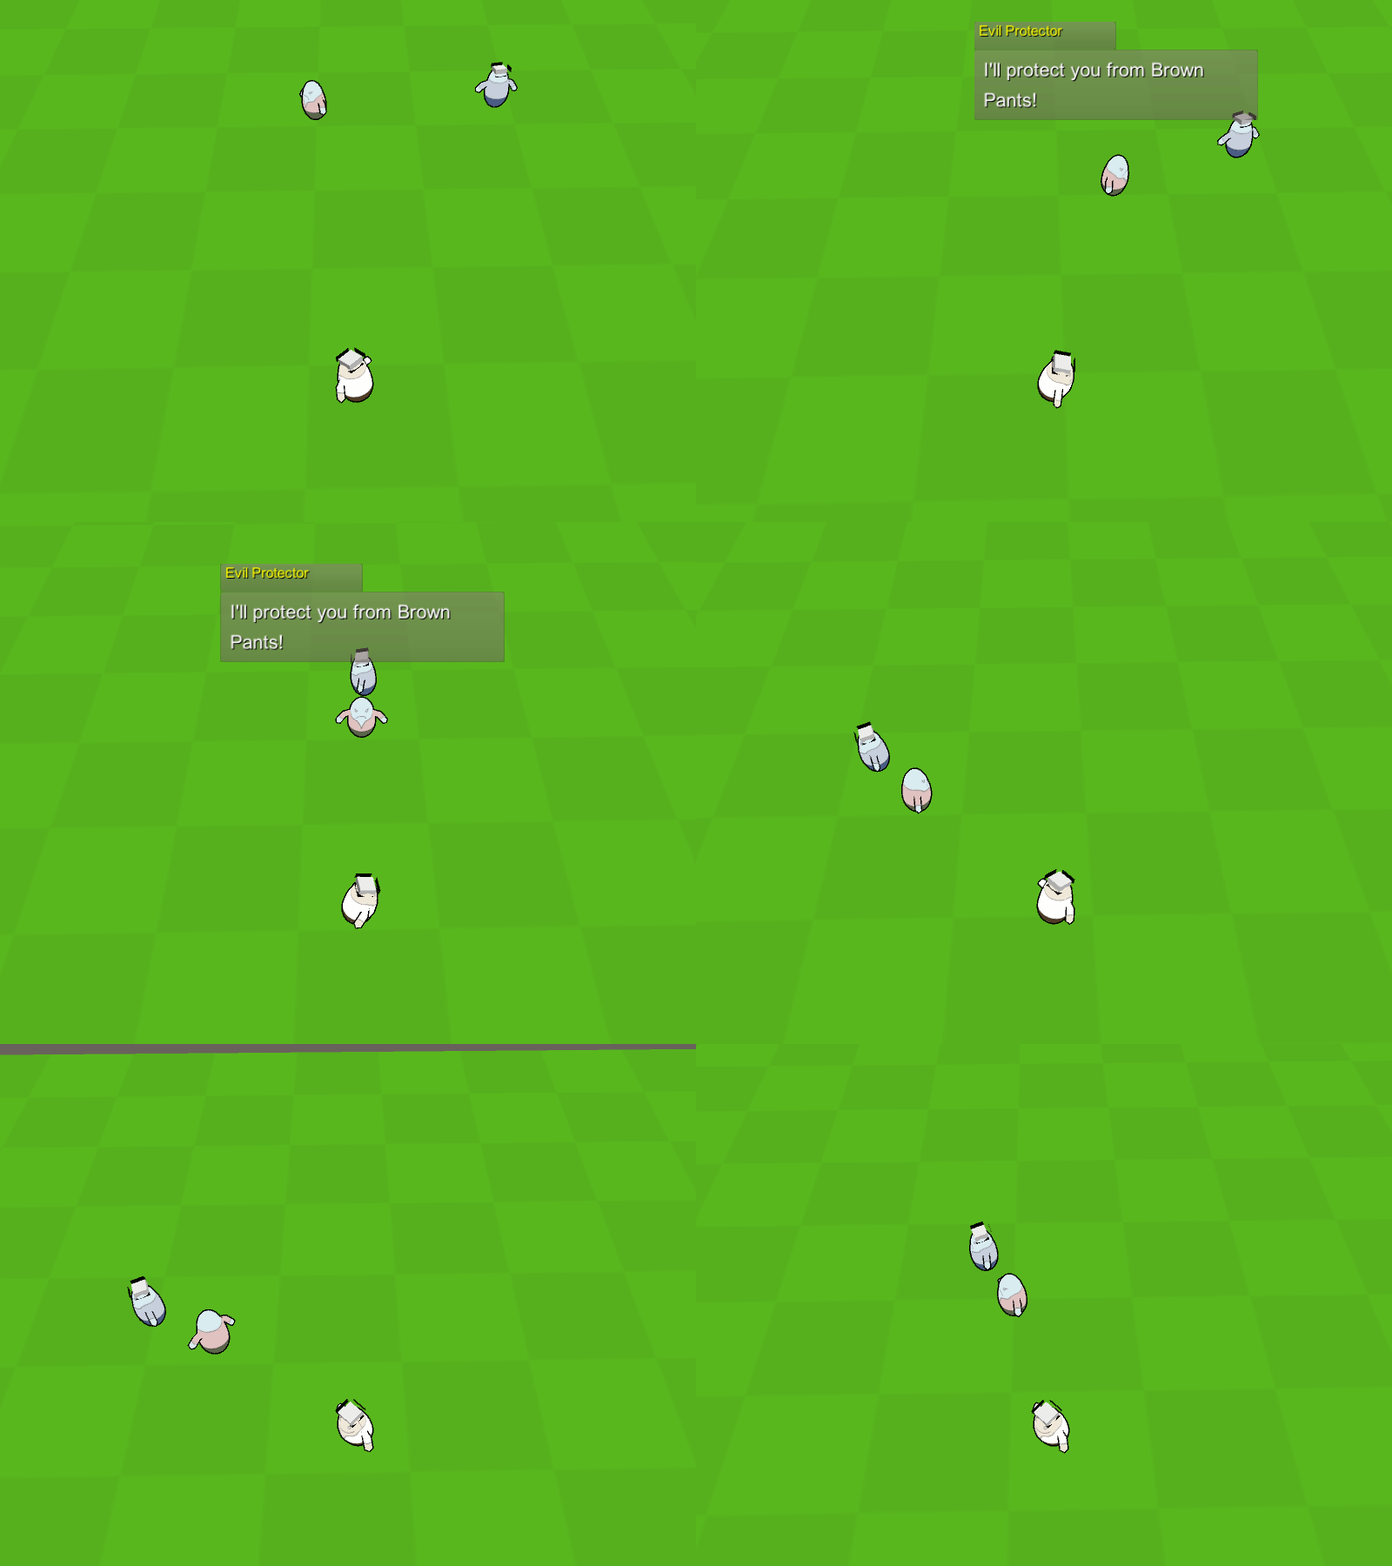
Use the move AI to find target positions for a combatant.
The combatant will use it’s movement component (see below) to move to found target positions.
Move AIs #
Move AIs are used to detect targets and determine positions for a combatant to move to. They are set up in Combatants > Move AIs.
All combatants except the one currently controlled by the player can use move AIs. However, if move AIs are currently available (generally or for a specific combatant) can depend on the current state of the game, e.g. if the battle system allows using the move AI.
A move AI can operate in different modes:
- Auto
Automatically uses the different behaviours (e.g. hunting, fleeing). - Idle
Forces idle mode, only following waypoints (if used). - Hunt
Forces hunting. - Flee
Forces fleeing. - Caution
Forces caution. - Protect
Forces protecting group members.
More on the different modes (e.g. hunting) can be found below.
The move AI of a combatant and it’s current mode can be changed during the game, e.g. via battle AI, AI behaviours/rulesets or schematics.
Base Settings #
The base settings of a move AI define it’s default use mode, move range and other settings.
Move Range #
You can optionally limit the move range of a combatant.
The move range is based around the initial start position of a combatant, e.g. where it was spawned by a Combatant Spawner component.
The move range can also be overruled by using a Move AI Range component to define an area in which a combatant can move. See below for more details.
Auto Stop #
The combatant can automatically stop when not moving farther than a defined distance in a defined amount of time.
This can be useful if a combatant gets stuck trying to reach a position they can’t reach.
Speed #
Define the speed that’ll be used by different movements, e.g. hunting or fleeing speed.
The speed can use the combatant’s own speed settings, as well as use a custom speed. The custom speed is always available to define to be used as a fallback.
Waypoint Settings #
When no target is detected, the move AI will be in Waypoint mode (Idle use mode). The combatant will move from waypoint to waypoint – they can either be random positions (using Enable Random Patrol) or defined waypoints (e.g. via the Combatant Spawner or Add Combatant components used to add the combatant to the scene).
When using random patrol, the area in which a combatant can patrol can be limited using a Move AI Range or No Random Patrol components.
Points of Interest #
Points of interest can only be detected when the move AI is in Waypoint mode.
Learn more about points of interest below.
Idle Settings #
Between waypoints, the combatant can optionally use an idle behaviour, i.e. use a schematic to perform a short animation or do whatever you want them to do.
Once the schematic finished, the combatant will move to the next waypoint.
Group Settings #
Combatants can optionally follow their group leaders instead of moving along their own waypoints.
You can define ranges around the leader in which a combatant will follow them or give way (i.e. move away from the leader). Additionally, combatants can respawn near their leader when getting too far away.
Enemy Detection #
A combatant needs to detect enemy combatants to be able to react to them. The Enemy Detection settings handle how the move AI’s user can detect enemy combatants and points of interest.
You can also automatically detect the user’s group/individual targets, even if they’d otherwise not be detected.
Move Detection #
Enemy combatants can be detected within a defined range and radius. You can add multiple detection options at the same time.
There are different detection types:
- Sight
The combatant only needs to be present.
Can optionally use raycasts for line of sight checks. - Movement
The combatants needs to move. - Combatant Trigger
The combatant needs to be within a Combatant Trigger component of the user.
Can optionally also check the time the combatant is within the trigger, e.g. immediately detecting combatants in a trigger in the combatant’s front, but only after a second in another trigger in the combatant’s back.
Learn more about combatant triggers in this documentation.
Detection can also use additional detection conditions, e.g. checking for status conditions, level differences, a certain quest being active or other things.
Target Position Check #
When the move AI has a target (e.g. hunting another combatant or following the leader), the position of the target will be checked frequently and forwarded to the movement component to react to position changes. You can define several intervals based on different distances, the combatant will move to the position of the last check. The interval between two checks should decrease as the combatant gets closer to the target.
Depending on the movement component and move speed the combatant uses, the check interval can have an impact on performance. E.g. if the position is updated each frame (interval 0), pathfinding to the new position can become costly. A basic setup can look like this:
- Check 0
Interval: 0
Minimum Distance: 0 - Check 1
Interval: 0.1
Minimum Distance: 2 - Check 2
Interval: 0.2
Minimum Distance: 5 - Check 3
Interval: 0.5
Minimum Distance: 10
A detected target can also be lost if it is no longer detected. The Target Lost Interval defines the time until a target is considered lost – this can either keep the combatant moving to the last known position, or still update the target’s position via the defined check intervals.
Hunting #
The combatant will hunt the detected target – i.e. move toward it until reaching a defined range to the target. Hunting can optionally be limited to a range within the combatant’s spawn position, moving back to it when getting out of range.
When using the optional Stop Range to stop at a certain distance before reaching the target, you can use a Stop Angle to e.g. try to move toward the back of the target.
Hunting can be limited to certain conditions, beside simple level and group size checks of the target, you can also use more complex status requirements, checking user and/or target for conditions. E.g. only hunting while the user’s HP are above 50% and the target’s level isn’t over 5 levels higher than the user’s level.
Fleeing #
The combatant will flee from the detected target, moving away from it.
The optional Prevent Cornered setting will try to prevent the combatant from getting stuck or driven into a corner by moving into random directions when no longer being able to move, even if it’s toward the target.
Like hunting, fleeing can also be limited to a defined range of the combatant’s spawn position and certain conditions.
Caution #
The caution mode is a mix between hunting and fleeing.
The combatant will try to stay within a certain distance to the target, moving toward it when out of range and moving away from it when the target comes within a Critical range. This mode is best used for combatants using ranged attacks.
Like hunting, caution can also be limited to a defined range of the combatant’s spawn position and certain conditions.
Protecting #
The combatant will try to protect a member of its own group from a detected target.
This is done by moving the combatant between the target and the group member. The combatant can either move up to the detected target or the protected group member, keeping a defined distance from them.
Like hunting, protection can also be limited to a defined range of the combatant’s spawn position and certain conditions. The conditions are separated by the detected target and the protected group member, e.g. only protecting weak ranged members like mages.
Movement Components #
The movement component is defined by the combatant using the move AI. The combatant settings are found in Combatants > Combatants.
The general settings of the combatants define the default movement component for all combatants in Animations & Movement > Default Movement Component. Each combatant can optionally override the default movement component with their own setup.
The following movement components are available:
- Custom
A custom component is used.
You’ll define the name of the custom component as well as separate fuctions for setting the speed and position, and for stopping movement. - Default
A simple movement component that will move directly to the destination. - Nav Mesh Agent
Unity’s built in NavMesh is used.
You can also add custom movement components by extending from the BaseMovementComponentSetting class.
Additional custom movement components can be downloaded as extensions for Makinom, e.g. the PolyNav 2D movement component.
Points of Interest #
A combatant can detect points of interest (POI) while moving between waypoints (i.e. no detected target).
They’re set up in your scene using Point Of Interest components, which can use an optional schematic when the combatant reaches the POI. The event uses the combatant as Machine Object and the POI as Starting Object. E.g. use this to play an animation or show a dialogue, or do whatever else you want.
The component also defines at which distance the combatant will stop, as well as the speed at which the combatant will move toward it. Additionally, the POI can have a Detection Tag, limiting who can detect it.
The move AI can be set up to use points of interest in the Waypoint Settings, where you can also define tags that can be detected by the combatant (without a defined tag, the combatant will be able to detect all POIs). The actual detection of POIs is handled just like detecting enemies, i.e. via the Enemy Detection settings.
Adding, changing and using move AIs #
The move AI of a combatant is defined in Combatants > Combatants > General Settings for all combatants. Each combatant can optionally define their own move AI (or not use).
Add Combatant, Combatant Spawner #
Components that add or spawn combatants in the scene can optionally override the used move AI or block the move AI.
Additionally, they can use game objects in the scene to define waypoints for the move AI.
AI Behaviours, AI Rulesets, Battle AI #
Equipable AI can change the move AI and the move AI’s use mode.
The battle AI also has nodes available to check and change the move AI and use mode. You can e.g. check if targets are detected by the move AI or can be used as hunted targets.
Schematics #
Schematics can check and change the move AI and use mode.
Additionally, schematics can also change move AI targets and add points of interest.
Additional Components #
You can use additional components to influence the move AI of a combatant.
Move AI Range Component #
The Move AI Range component is used to limit the random patrol and move range of a combatant to a defined area. Requires a trigger component attached to the game object (i.e. a collider with Is Trigger enabled).
Optionally limiting random patrol will only use positions within the bounds of the collider for random patrol.
Optionally limiting the move range will move the combatant back to it’s initial position when it leaves the trigger (i.e. same behaviour as when leaving the optional move range of the move AI). This’ll replace the move AI’s move range setup.
The Move AI Range component has to be selected by a Combatant Spawner or Add Combatant component to be used by a combatant.
Move AI Area Component #
The Move AI Area component is used to allow or block using the move AI within it’s bounds. Requires a trigger component attached to the game object (i.e. a collider with Is Trigger enabled).
The use of the component can be limited to the field or in battle.
No Random Patrol Component #
The No Random Patrol component prevents combatants from using positions within it’s bounds for random patrols. Requires a trigger component attached to the game object (i.e. a collider with Is Trigger enabled).
Can also be used if the component’s game object or it’s child objects where hit by the raycast finding the random patrol position. E.g. add the component at the root of your level’s blocking architecture to prevent combatants from patroling there (game objects still need colliders on them to be able to hit them with the raycast).


