Learn more about the ORK Framework/Makinom editor.
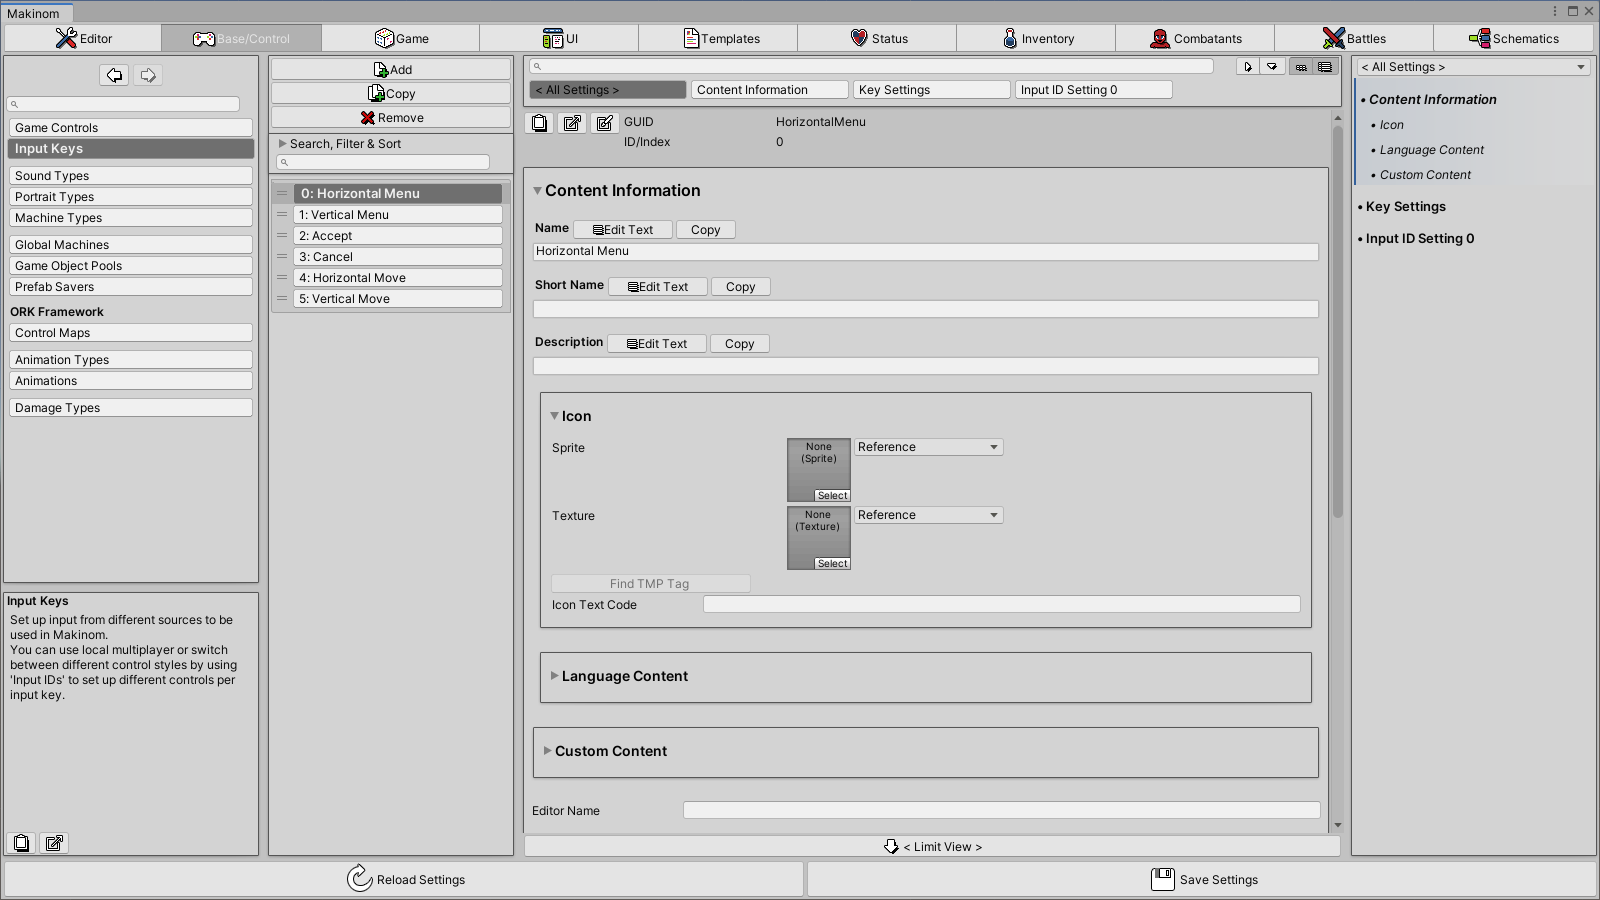
ORK Framework’s editor is integrated in the Makinom 2 editor. The Makinom editor is used to define your game data and create schematics. The editor is separated into multiple sections and sub-sections.
This documentation will only focus on ORK’s new sections and sub-sections. For more details on the Makinom editor, data saving and the Makinom sections and sub-sections, check out the Makinom editor overview documentation.
Opening the Editor #
You can open the Makinom editor using the following methods:
- Unity menu
Using the Unity Menu: Window > Gaming Is Love > Makinom
Or: Window > Gaming Is Love > ORK Framework (same editor) - Hotkeys
Windows: CTRL+ALT+M
Mac OSX: CMD+ALT+M - Makinom Project Asset
Either double click on a Makinom project asset file or select it and click on Open Project in the inspector.
This will open the Makinom editor and load the used project asset. - Schematic Asset
Either double click on a schematic asset file select it and click on Edit Schematic in the inspector.
This will open the Makinom editor, load the last used project and opens the schematic asset in the Schematics section.
Sections #
ORK Framework adds new sections, as well as new sub-sections to existing sections of the Makinom editor.
The following sections have new sub-sections available:
- Base/Control
- Game
- UI
- Templates
The following sections are added by ORK Framework:
- Status
- Inventory
- Combatants
- Battles
See below for more details on the different sections and their sub-sections.
Base/Control #
ORK adds new sub-sections for controls, animations and other things.
Makinom’s Game Controls sub-section also contains new ORK related settings.
Learn more about ORK’s additions here.
Game #
ORK adds new sub-sections for anything related to the game, e.g. difficulty, quests, areas, etc.
Makinom’s Game Settings sub-section also contains new ORK related settings. Formulas received new ORK related nodes.
Learn more about ORK’s additions here.
UI #
ORK adds new sub-sections for all ORK UI, e.g. start menu, menu screens, text display settings, etc.
Makinom’s UI Settings and Save Game Settings sub-sections also contains new ORK related settings. HUDs received new ORK HUD types.
Learn more about ORK’s additions here.
Templates #
ORK adds new sub-sections for ORK tempaltes, e.g. status conditions, status bonuses, battle range, etc..
Learn more about ORK’s additions here.
Status #
The Status section contains settings related to the status system, e.g. status values, abilities, etc.
Learn more about it here.
Inventory #
The Inventory section contains settings related to the inventory system, e.g. item types, items, equipment, etc.
Learn more about it here.
Combatants #
The Combatants section contains settings related to combatants, e.g. factions, combatant groups, research trees, etc.
Learn more about it here.
Battles #
The Battles section contains settings related to the battle system, e.g. battle menus, battle AI, target settings.
Learn more about it here.
Using the editor efficiently #
The Makinom editor has several quality-of-life features to make your setup experience as smooth and easy as possible.
Here are some examples of how you can improve your efficiency when working in the editor.
Searchable Popups #
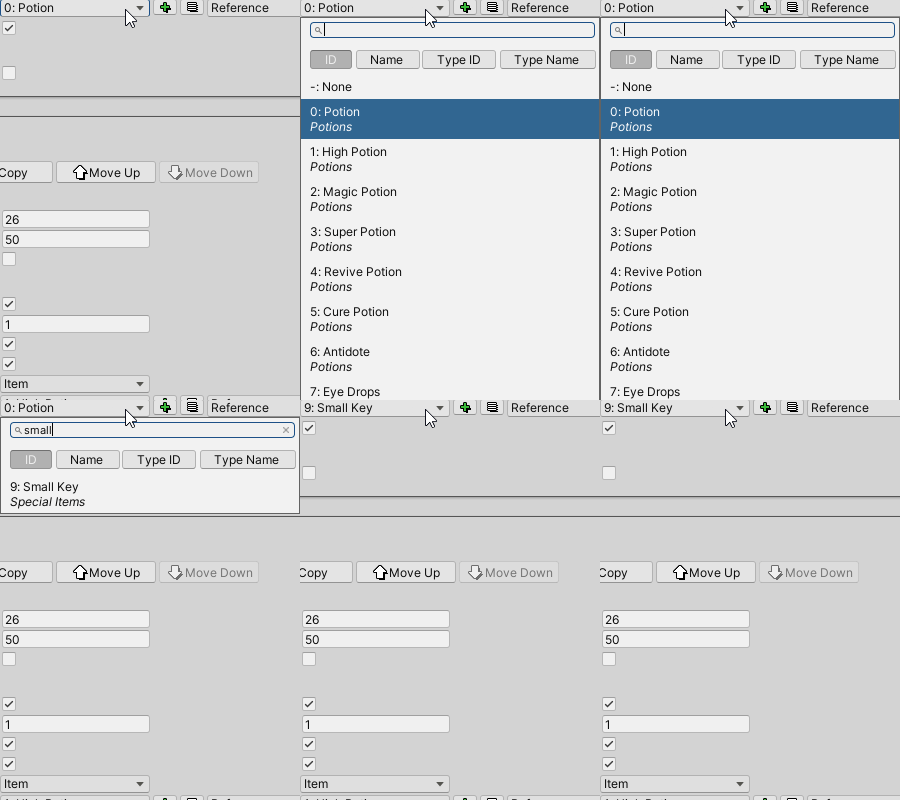
Popups often have a lot of entries available, especially when dealing with data popups (e.g. items) or the context menu in node editors. Some even have layered entries, grouping multiple together into sub-entries.
How are you ever going to find something you’re looking for, if you’re not sure about it’s name – or you’re searching for one specific potion item in a long, long list of various items?
All popups are searchable – use that!
Opening the popup already has the search active, you just need to type what you’re looking for.
You can also use the arrow keys to navigate the popup list, using up/down to navigate the list and left/right to navigate between sub-entries.
Search Bar Buttons #
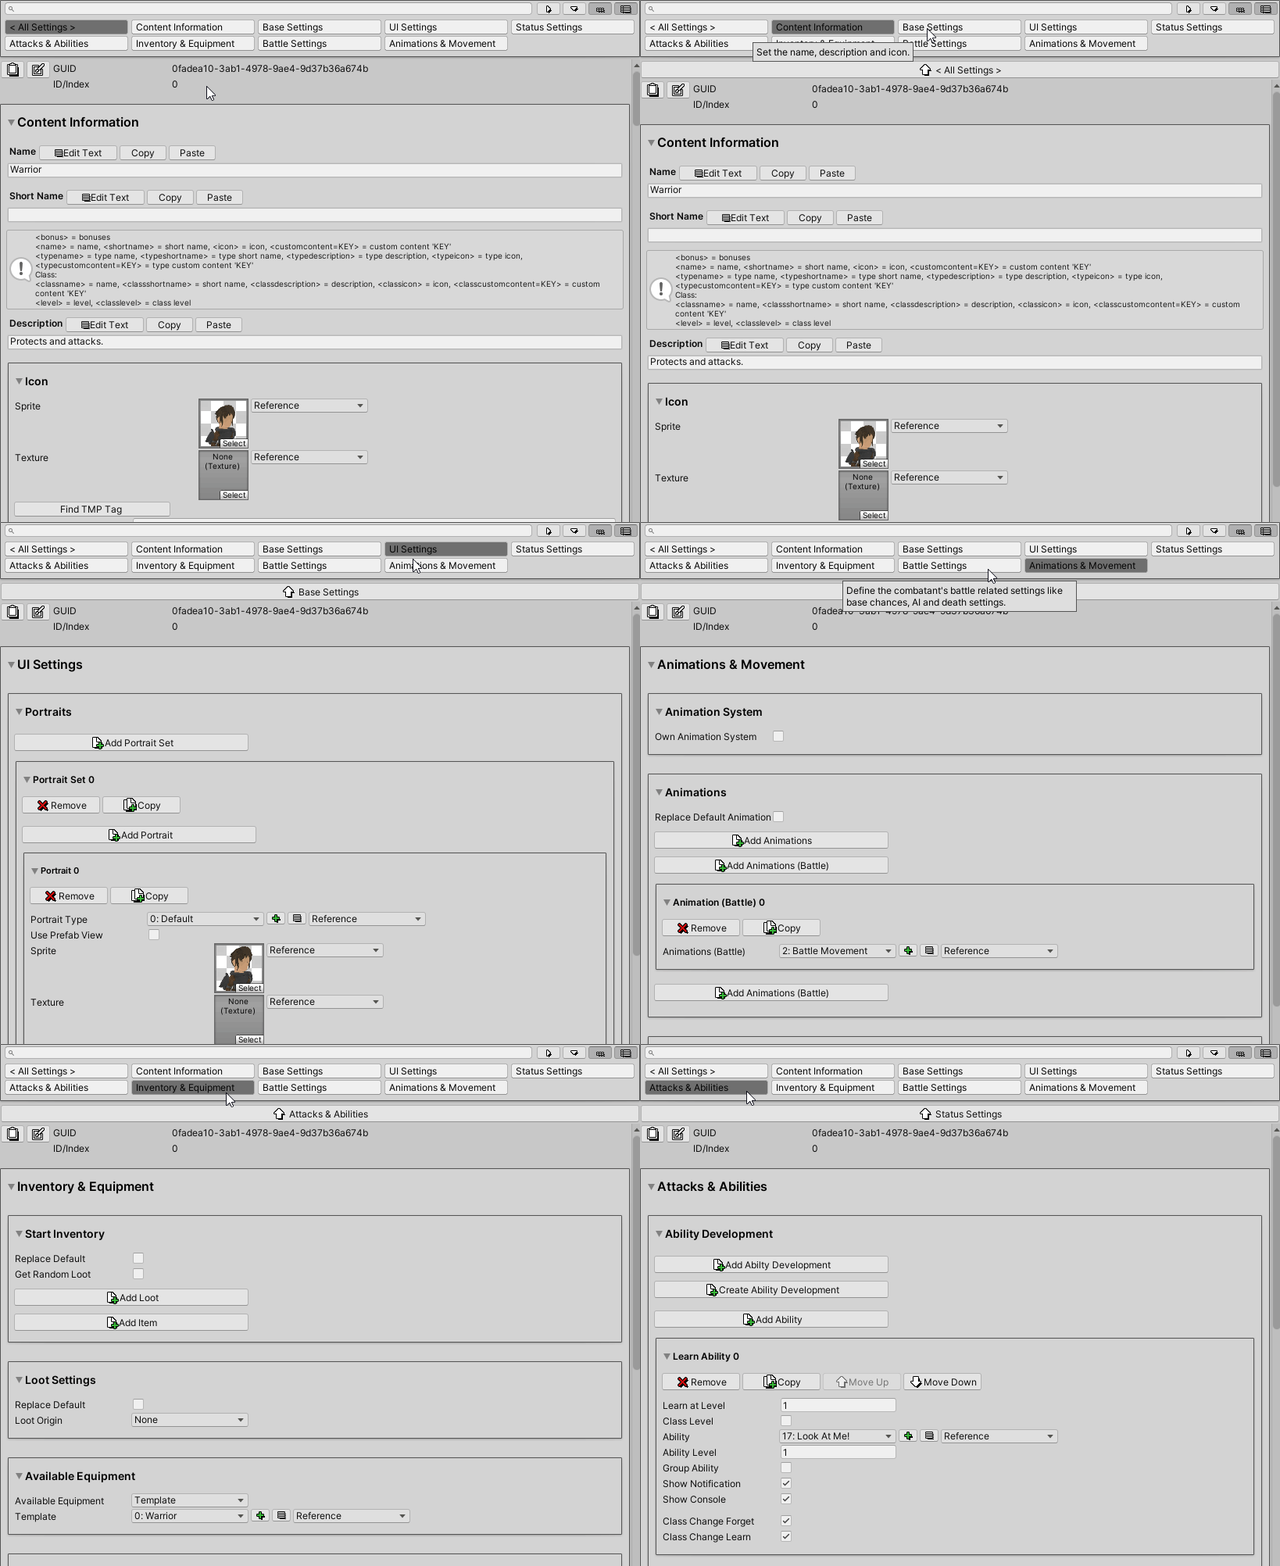
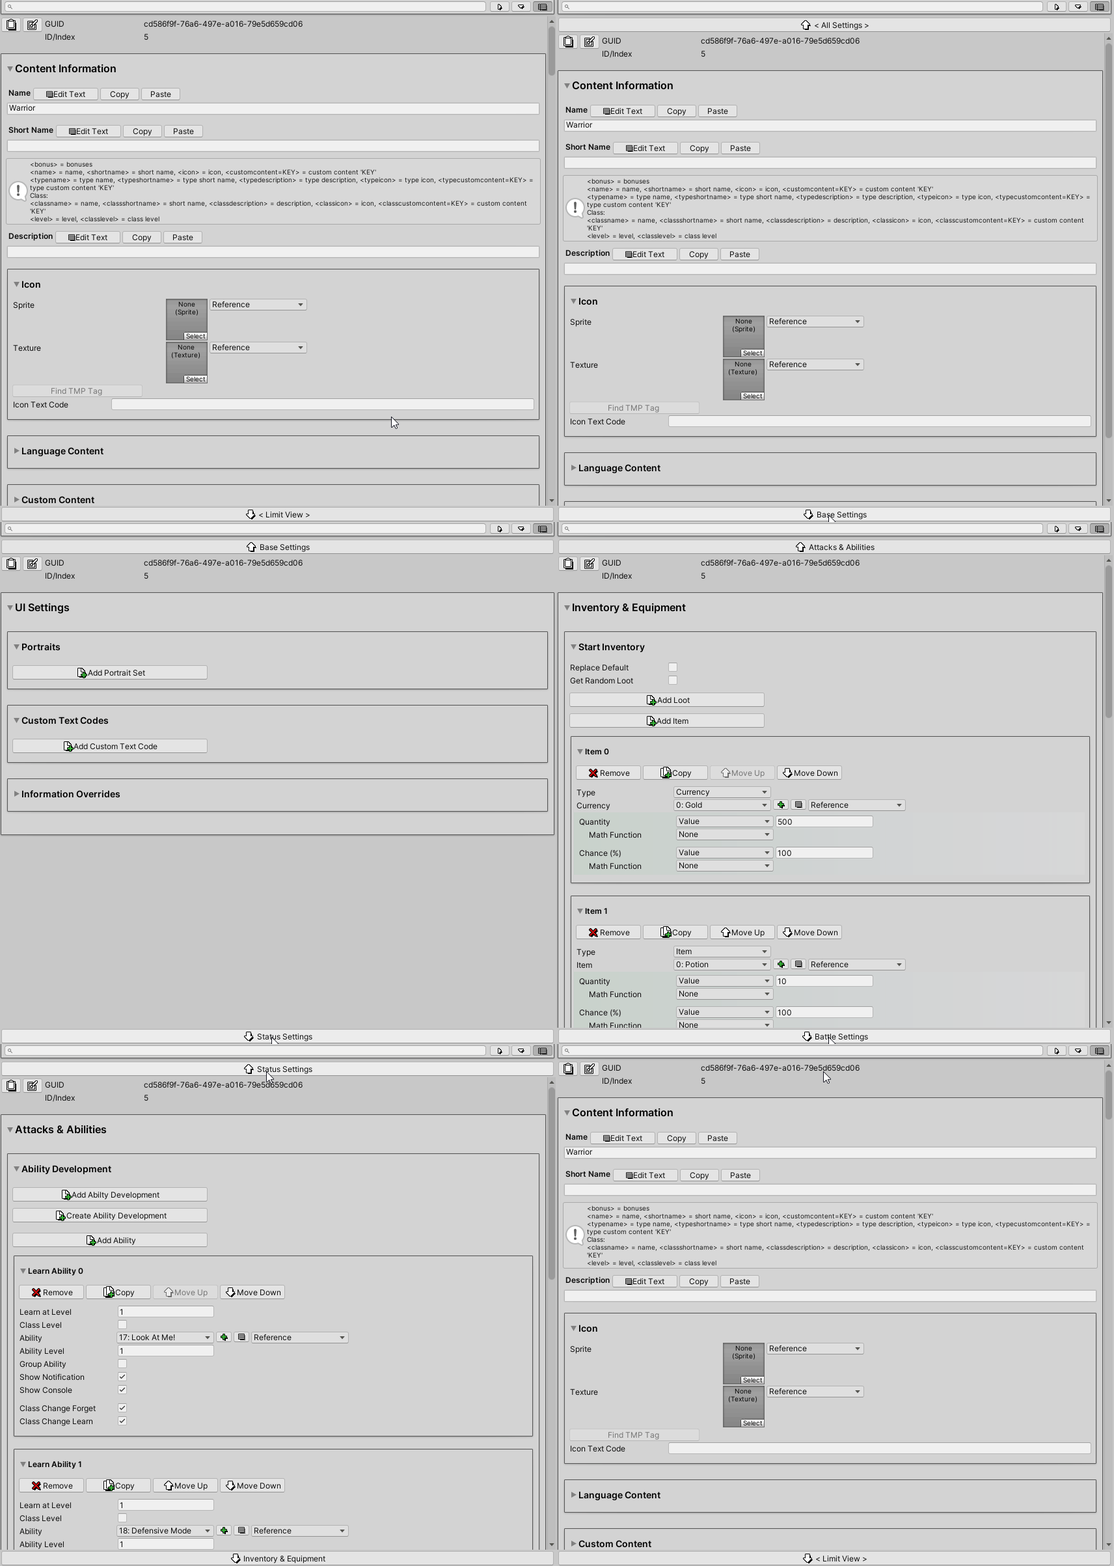
You can display buttons for the root foldout settings below the search bar on top of the settings.
This allows you to quickly navigate between different main settings.
This is the same functionality as using the Jump List or Limited View and will only show the settings of the selected button.
You can turn this feature on and off in the Editor > Editor Settings (Allow View Limiting and Search Bar Buttons settings), as well as with the Show Foldout Buttons button on the right side of the search bar (2nd button from right).
Jump List #
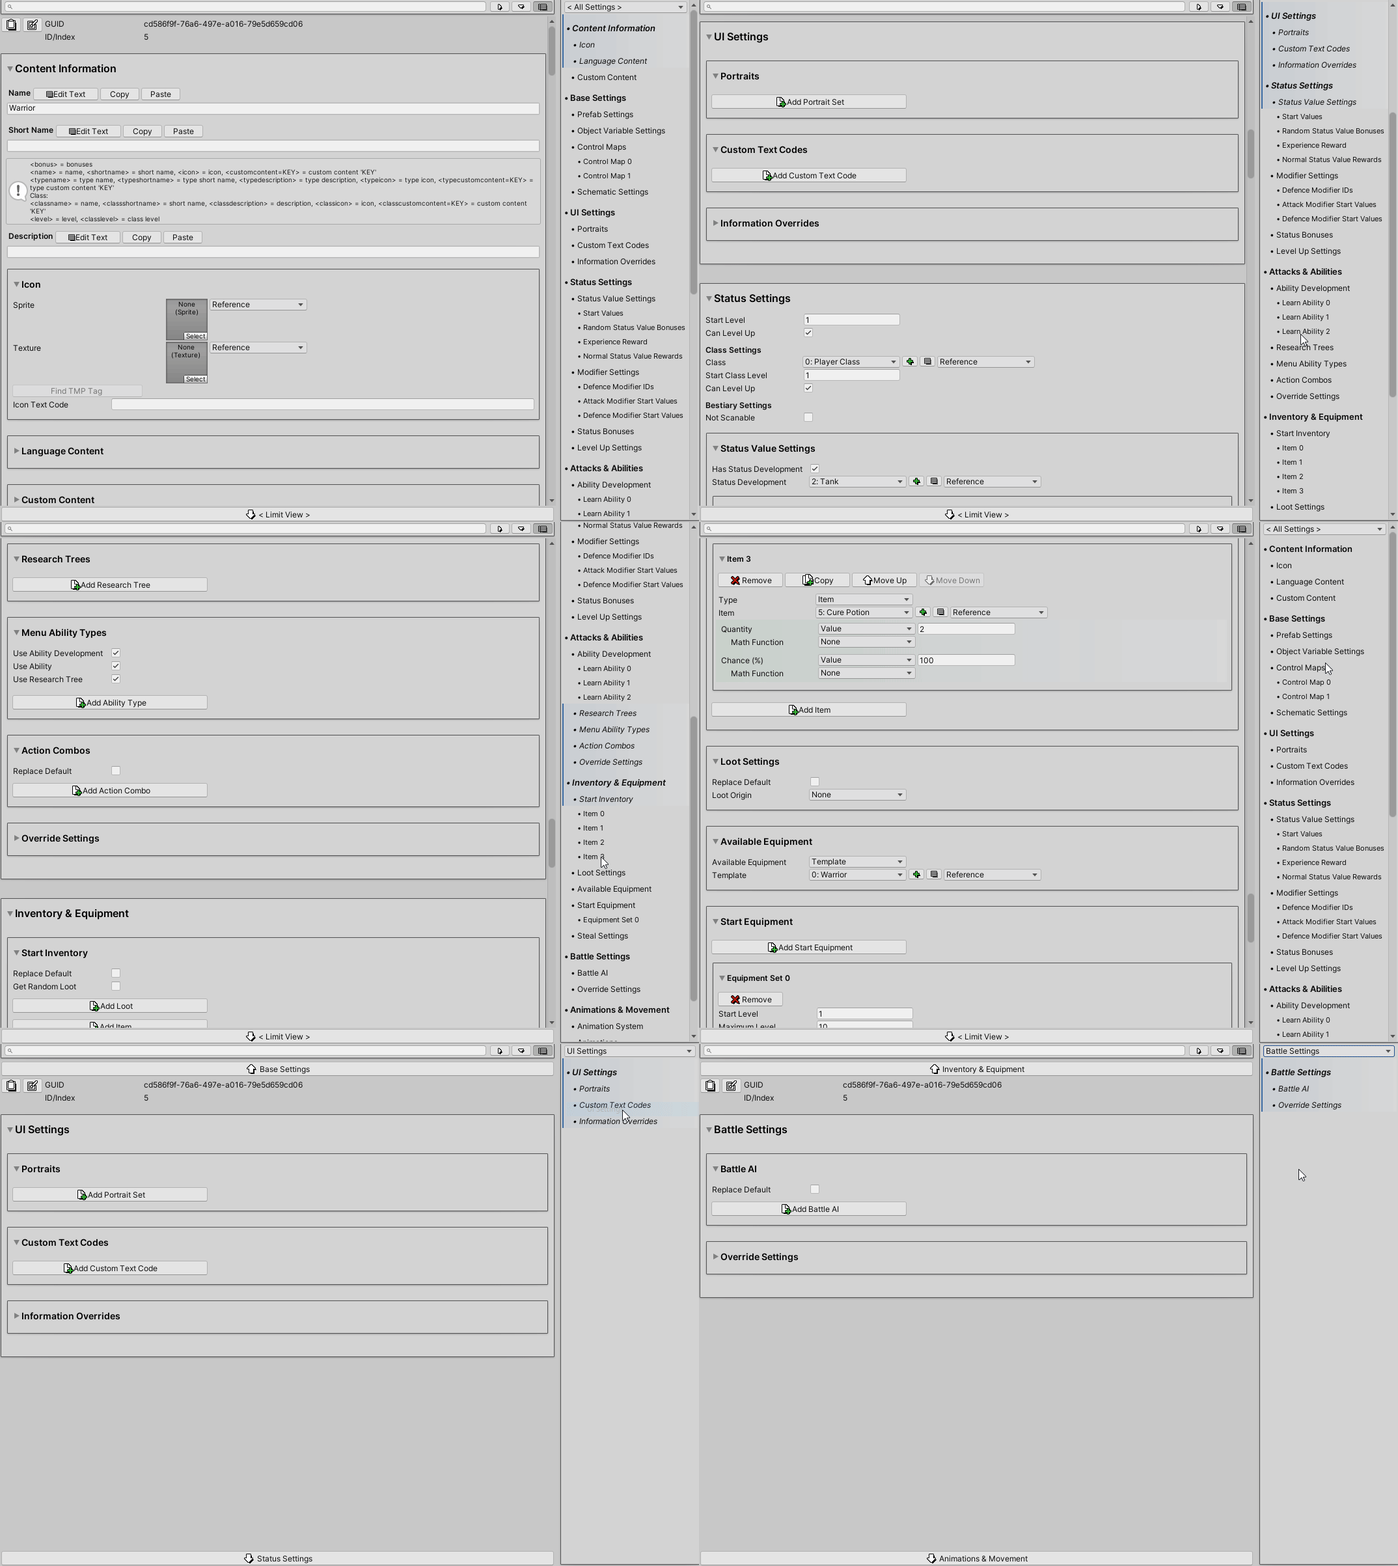
The jump list shows foldouts of the currently displayed settings on the right side of the settings area. You can control the depth, i.e. how far into sub-foldouts this’ll display in the Editor > Editor Settings.
Use the jump list to quickly navigate to the part of the settings you want to change, or just to get an overview of what’s available and where you’re currently at.
The jump list highlights the settings you are currently seeing in the settings area.
You can also quickly limit the view to (see below) via the selection on top of the jump list, or by double clicking on an entry in the jump list.
Limited View #
Sometimes there are just … so many settings. That can make it hard to navigate, and even impact editor performance.
You can limit the displayed settings by using the < Limit View > button at the bottom of the settings area. This’ll only display a single main foldout with it’s settings and sub-foldouts.
Once in limited view, you can navigate between the main foldouts by the buttons on top and bottom of the settings area (as well as return to showing < All Settings > when reaching the 1st foldout).
The jump list also allows limiting the view, either via it’s popup selelction on top or by double clicking on an entry in the list.
Faster Saving #
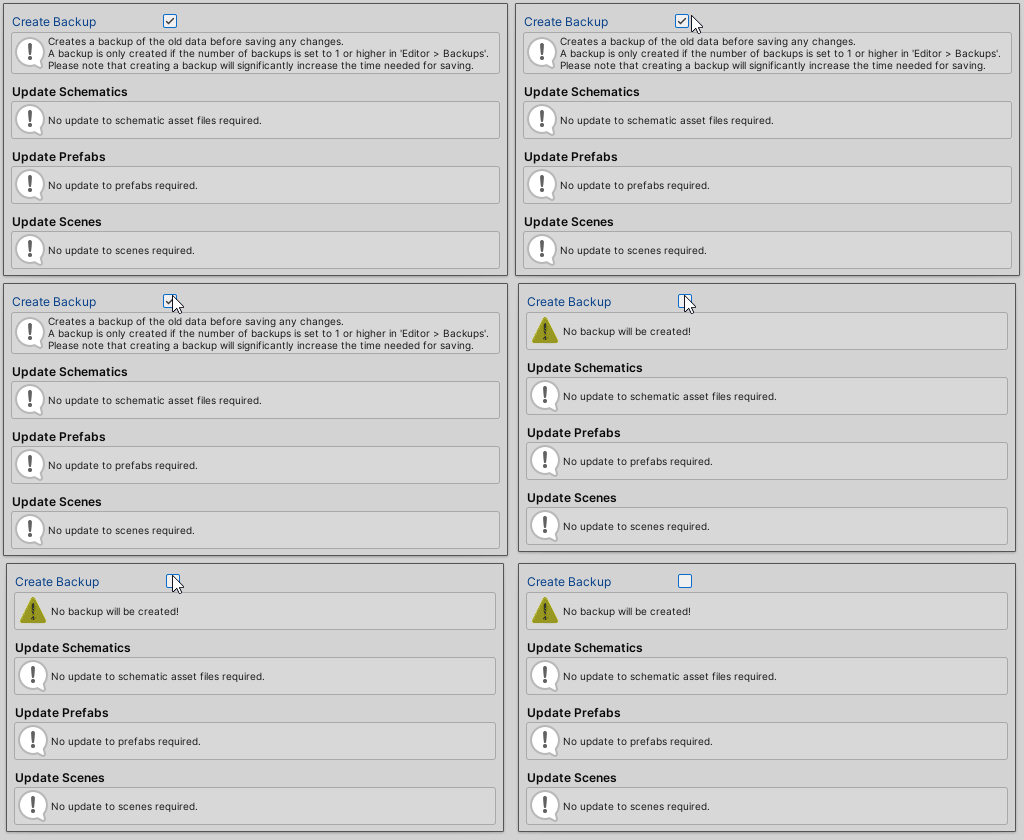
Saving your project can take some time when you use Makinom’s backup functionality. A backup creates a unitypackage file containing all your data assets, and this takes time.
Often you just do some minor changes, tweak a setting or change an image – or you just want to do a quick save in the middle of setting up multiple new things.
Don’t create a backup every time you save!
When saving, disable the Create Backup option – this setting will be remembered between saves.
However, keep in mind to create a backup from time to time. E.g. create a backup the first time you save the project on each day, or when beginning some major changes in your setup.
Copy/Paste Settings #
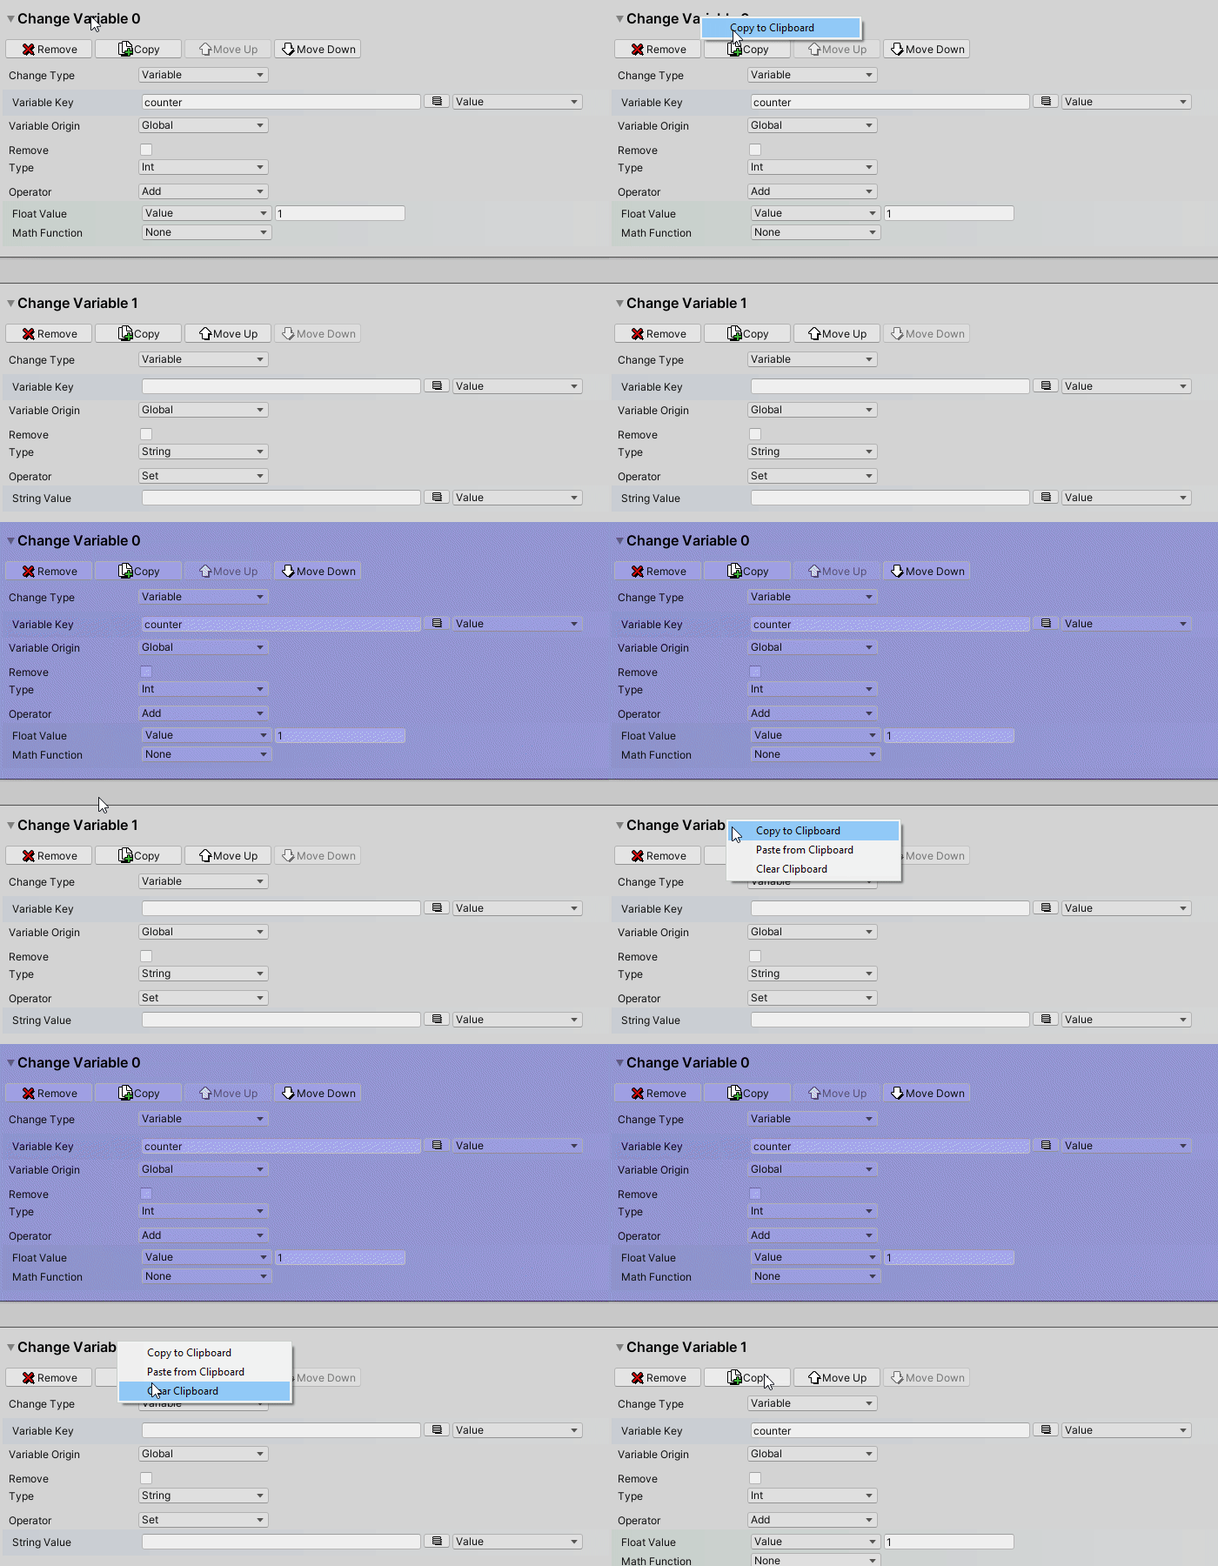
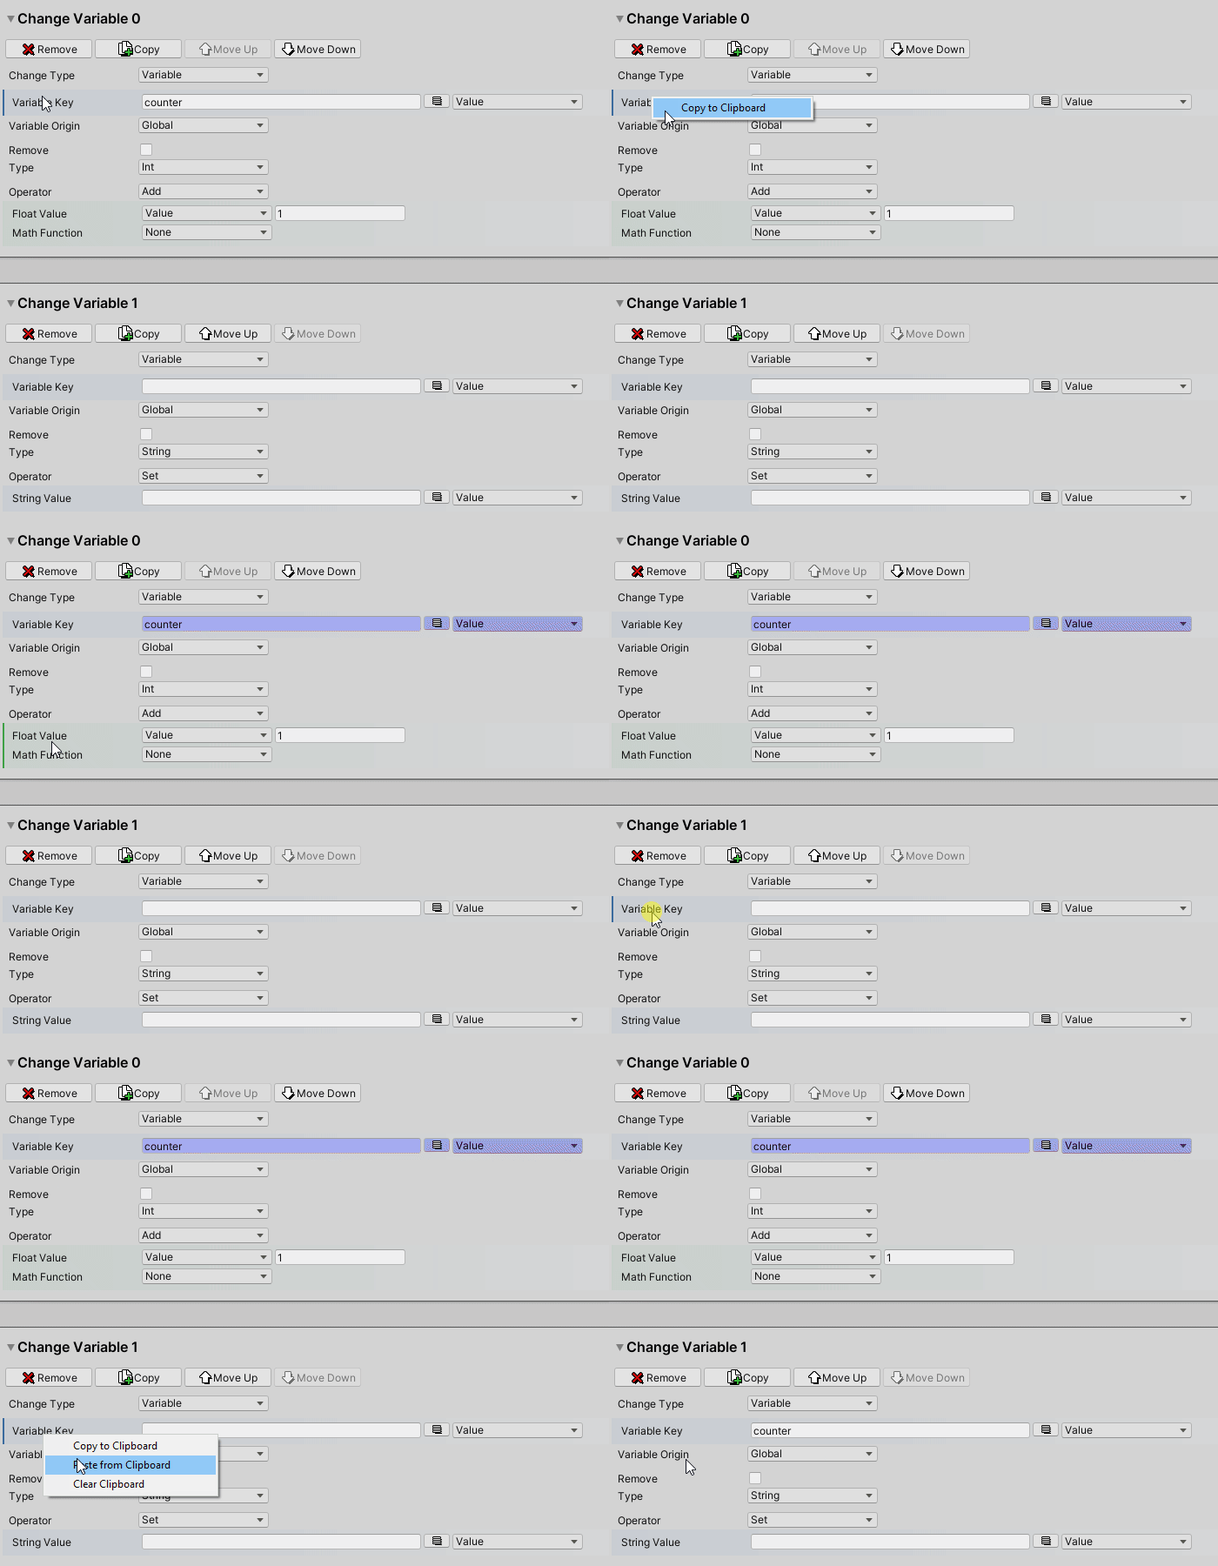
You can use a context menu to copy settings into the clipboard and paste them on other, compatible settings.
Which settings are part of the copied data are highlighted by a blue color (the color can be changed in Editor > Editor Settings).
This can be useful if you have to redo the same setup on multiple things, even if you need to change a setting or 2 of the copied setup.
The settings stored in the clipboard will stay as they are when they where copied, even if you change the settings you copied.
Depending on the settings, this can also be used to copy some individual fields/settings instead of a whole setup, e.g. value fields:


