ORK Framework Logo - RPG Editor for Unity
  • Features
  • Showcase
  • Guide
    • Documentation
    • Tutorials
    • API
  • ORK 2
    • Tutorials
    • Plugins
    • API
  • Support
  • Forum
  • Get ORK

Getting Started

  • Introduction
  • First Steps
  • Game Starters
  • Components Overview
  • Player/Camera Controls
  • Game Over

Editor

  • Editor Overview
  • Base/Control Section
  • Game Section
  • UI Section
  • Templates Section
  • Status Section
  • Inventory Section
  • Combatants Section
  • Battles Section

Features

  • Animations
  • Areas & Teleports
  • Combatant Triggers
  • Control Maps
  • Difficulties
  • Factions
  • Formations
  • Formula Nodes
  • Logs
  • Loot
  • Move AI
  • Quests
  • Research Trees
  • Schematic Nodes
  • Shortcut Slots

Status System

  • Status Values
  • Status Effects
  • Attack/Defence Modifiers
  • Abilities
  • Combatants
  • Classes
  • Status Bonuses
  • Status Conditions

Inventory System

  • Inventory System Overview
  • Currencies
  • Items
  • Equipment
  • AI Behaviours/Rulesets
  • Crafting Recipes
  • Shops

Battle System

  • Battle Systems
  • Adding Battles to Scenes
  • Calculating Action Results
  • Battle Menus
  • Battle AI
  • Battle AI Nodes
  • Battle Ranges
  • Battle Camera
  • Target Selection
  • Battle Spots
  • Battle Texts
  • Battle End & Loot Dialogues
  • Action Combos
  • Damage Types
  • Cursor Prefab Components
  • Grid Battles
  • Adding Battle Grids to Scenes
  • Battle Grid Highlights
  • Battle Grid Formations

UI System

  • UI System Overview
  • Start Menu
  • Menu Screens
  • Notifications
  • Combatant Selections
  • Quantity Selections
  • Text Display Settings
  • Cursor Settings
  • Console (In-Game)
  • Menu Requirements
  • HUDs: Content Providers
  • HUDs: Conditions
  • HUDs: Click Actions
  • HUDs: Text Content
  • HUDs: Value Bar Content
  • HUDs: Status Values
  • HUDs: Status Effects
  • HUDs: Attack Modifiers
  • HUDs: Defence Modifiers
  • HUDs: Shortcuts
  • HUDs: Abilities
  • HUDs: Equipment
  • HUDs: Class Slots
  • HUDs: AI Behaviours
  • HUDs: AI Rulesets
  • HUDs: Quests
  • Timebar HUD

Scripting

  • Scripting Overview
  • Access Handler
  • Code Extensions
  • Combatant Scripting
  • Custom Nodes
  • Custom Component Save Data
  • Home
  • Guide
  • Documentation
  • Getting Started
  • Game Starters

Game Starters

Table of Contents
  • Using Game Starters
    • Adding a Game Starter
    • Quick Game Testing

Game starters are crucial to starting ORK Framework and your game – learn more about them and where they’re used.

Game starters are Unity components that are added to game objects. They’re used to initialize ORK Framework and Makinom and load a selected project’s data.

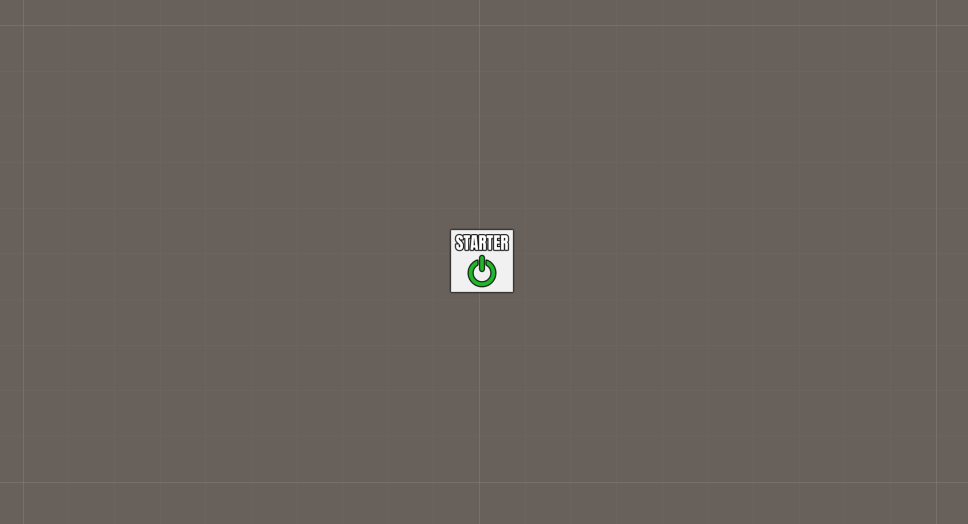
A game object with a game starter is represented in the Unity scene view by these gizmo icon:

You can’t use machines or any other ORK/Makinom functionality without first initializing ORK and Makinom with a game starter.

Using Game Starters #

The game starter should be added to the first scene of your game, or at least the first scene that uses ORK/Makinom features (e.g. machines).

The most important setting of the game starter is the Project Asset:

  • Project Asset
    Select the Makinom project asset file that you want to use here.
    The default project asset file can be found at Assets/Gaming Is Love/_Data/Project.asset.

There are 2 versions of game starters available:

  • Game Starter
    The standard Makinom game starter.
  • ORK Game Starter
    Has additional settings to load ORK’s start menu scene or display the start menu directly in the current scene after initialization.

It doesn’t matter which game starter you use – both will initialize Makinom and ORK.

Adding a Game Starter #

When using the scene wizard to add a game starter (Add Game Starter or Add ORK Game Starter), you’ll first be able to select the Makinom project asset you want to use. The default project asset file will be automatically selected (found at Assets/Gaming Is Love/_Data/Project.asset). Clicking on Add Game Starter again will create a new game object and add the game starter component.

Otherwise, you can add a game starter component to a game object through the components menu (Makinom > Makinom Game Starter or ORK Framework > ORK Game Starter).

Quick Game Testing #

Since you’ll often just want to test a scene you’re currently building, you’ll also need to add a game starter to that scene as well. Otherwise, you’d need to go through your start scene where you’ve added the game starter.

Having multiple game starters in your game isn’t a problem – the first game starter that’s used will initialize Makinom and load the project. Once Makinom is initialized, other game starters wont be started.

Enable Start Game in the game starter’s inspector to start a new game when initializing ORK/Makinom – this will be the same as starting a new game (e.g. via ORK’s start menu) and use ORK’s start schematic (UI > Start Menu), but without loading ORK’s new game scene.

You can also execute a schematic after Makinom is initialized, select it in the Start Schematic Asset setting of the game starter.

Share This Article :
  • Facebook
  • Twitter
  • LinkedIn
  • Pinterest
Updated on December 8, 2021
Table of Contents
  • Using Game Starters
    • Adding a Game Starter
    • Quick Game Testing
Sitemap
  • Features
  • Showcase
  • Guide
    • Documentation
    • Tutorials
    • API
  • ORK 2 Hub
    • Tutorials
    • Plugins
    • API
  • Support
  • Forum
  • Get ORK
  • Contact
  • Blog
  • Makinom
  • gamingislove.com
Categories
  • News (59)
  • ORK 2 (137)
    • Tutorial (137)
      • Game tutorial (50)
      • Gameplay (32)
      • How-to (55)
  • Release (129)
Search

© 2015 Gaming is Love e.U.

Disclosure: This site may contain affiliate links, which means I may receive a commission if you click a link and purchase something that I have recommended. While clicking these links won’t cost you any money, they will help me fund my development projects while recommending great assets!