

In this tutorial we’ll add materials as enemy loot and set up an NPC that’ll give the player the initial recipes and materials.
This tutorial is part 3 of a mini-series covering crafting. You can find the start of this series here.
We’ll set up:
- new loot giving materials
- NPC schematic
- NPC object
This tutorial is based on the ORK 4 Unity Quickstart 3D tutorials and the previous crafting tutorials, but can be used in any project.
New Loot #
Open the ORK editor and navigate to Inventory > Loot, we’ll add new loot.
Materials #
Add a new loot setup – it’ll randomly drop one of the regular crafting materials:
- empty bottle (35% chance)
- strange liquid (45% chance)
- iron (20% chance)
That’s a total of 100%, so we’ll get one of these items in any case.
- Name
Set to: Materials
Click on Add Loot Table.
Loot Settings #
- Draw Type
Select: Random
We’ll get one of the added items randomly. - Use Chance Selection
Enable
The random selection will be based on the chance values of the individual items.
Otherwise, it’d randomly select an item and use it’s chance check to see if that item will be dropped (no other is checked).
Click on Add Item.
- Item
Select: Empty Bottle - Chance
Select: Value > Value
Set the value to: 35
Copy the previous item.
- Item
Select: Strange Liquid - Chance
Set the value to: 45
Copy the previous item.
- Item
Select: Iron - Chance
Set the value to: 20
Slime #
Add a new loot setup, we’ll drop slime at 100% chance.
- Name
Set to: Slime
Click on Add Loot Table.
Loot Settings #
Click on Add Item.
- Item
Select: Slime
Bone #
Copy the Slime loot, we’ll drop a bone at 100% chance.
- Name
Set to: Bone
Loot Table 0 > Loot Settings > Item 0 #
- Item
Select: Bone
Venom #
Copy the Bone loot, we’ll drop venom at 100% chance.
- Name
Set to: Venom
Loot Table 0 > Loot Settings > Item 0 #
- Item
Select: Venom
Adding Loot to Combatants #
Next, we’ll add the loot we set up to the enemies.
Navigate to Combatants > Combatants and select the General Settings – we’ll first add the Materials loot as a default loot for all combatants.
Inventory & Equipment > Loot Settings #
Click on Add Loot.
- Loot
Select: Materials
Now we’ll add the specific loot to their combatants.
Wasp #
Select the Wasp combatant.
Inventory & Equipment > Loot Settings #
- Loot Origin
Select: Loot
Click on Add Loot.
- Loot
Select: Venom
Snake #
Select the Snake combatant.
Inventory & Equipment > Loot Settings #
- Loot Origin
Select: Loot
Click on Add Loot.
- Loot
Select: Venom
Skeleton #
Select the Skeleton combatant.
Inventory & Equipment > Loot Settings #
Click on Add Loot.
- Loot
Select: Bone
Slime #
Select the Slime combatant.
Inventory & Equipment > Loot Settings #
Click on Add Loot.
- Loot
Select Slime.
Save Changes #
And that’s it for the loot!
Don’t forget to save your changes by clicking on Save Settings at the bottom of the editor.
NPC Schematic #
Instead of giving the player crafting recipes from the start, we’ll use an NPC to introduce the player to crafting.
We’ll create a schematic with a bit of dialogue and give the player the first crafting recipe (potion) and some materials. We’ll use a global bool variable (CraftingIntroduction) to mark the initial introduction as finished.
Open the schematic editor.

Settings #
- Block Player Control
Enable
Speakers #
We’ll add speaker content information for the NPC.
Click on Add Speaker.
- Object
Select: Machine Object - Custom Object Content
Enable
We’ll define the content information in the schematic instead of using an object content set up in the ORK editor. - Name
Set to: Crafting Enthusiast
Check Variables #
Add Node > Value > Variable > Check Variables
We’ll check if the global bool variable CraftingIntroduction is set to true, i.e. the player already spoke to the NPC and received a recipe and materials.
Click on Add Variable.
- Variable Key
Set the value to: CraftingIntroduction - Variable Origin
Select: Global - Is Valid
Enable - Variable Type
Select: Bool
Show Dialogue #
Add Node > UI > Dialogue > Show Dialogue
In case the player already spoke to the NPC, we’ll just show a message.
This node is connected to the Success slot of the Check Variables node.
- Dialogue Type
Select: Message - UI Box
Select: Dialogue - Use Speaker
Enable - Show Name
Enable - Text (Message Content)
Set to: Crafting is fantastic, isn’t it?
Show Dialogue #
Add Node > UI > Dialogue > Show Dialogue
If this is the first time speaking to the NPC, we’ll show a different dialogue.
Copy the previous Show Dialogue node, this time it’s connected to the Failed slot of the Check Variables node.
- Text (Message Content)
Set to: Have you ever created something with your own hands?
It’s a wonderful feeling, why don’t you give it a try?
<#>Here, take this recipe and these materials.
Don’t worry, it’s completely free!
Notice the use of the text code <#>? This moves the text after it to the next page of the dialogue.
If you have longer messages, you don’t need to use multiple Show Dialogue nodes to split it up, you can use the <#> text code instead.
Add Recipe #
Add Node > Inventory > Crafting > Add Recipe
We’ll add the potion recipe.
- Object (Combatant)
Select: Player - Crafting Recipe
Select: Potion Recipe
Add Needed Ingredients #
Add Node > Inventory > Crafting > Add Recipe
We’ll add the ingredients needed for the potion recipe.
- Object (Combatant)
Select: Player - Crafting Recipe
Select: Potion Recipe
You can also use an Add To Inventory node instead, but you’ll have to manually define the items.
Show Dialogue #
Add Node > UI > Dialogue > Show Dialogue
Copy one of the Show Dialogue nodes again and connect it to the Next slot of the Add Needed Ingredients node.
- Text (Message Content)
Set to: To craft something, open your menu and select <i>Crafting</i>.
Change Variables #
Add Node > Value > Variable > Change Variables
And finally, we’ll set the variable we checked at the start.
Click on Add Variable.
- Variable Key
Set to: CraftingIntroduction - Variable Origin
Select: Global - Variable Type
Select: Bool - Bool Value
Enable
And that’s it for the schematic – click on Save Schematic and save it as CraftingNPC.
Adding the NPC #
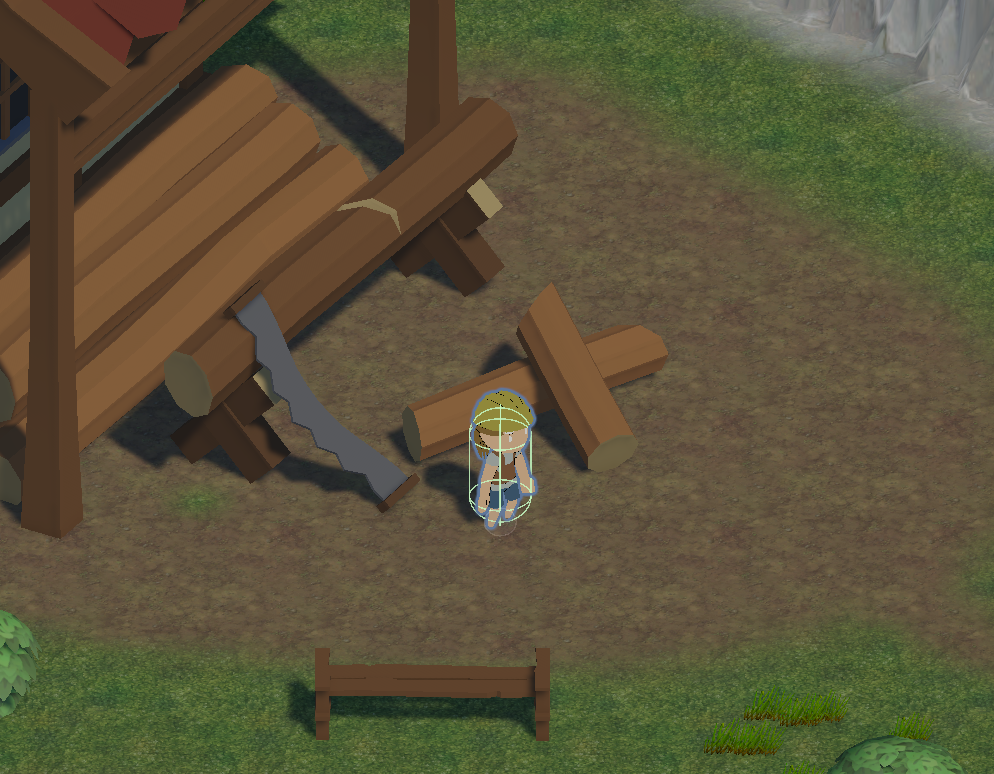
Let’s add an NPC to the World scene. You can find the NPC prefabs at Assets/Tutorial Assets/Prefabs/NPCs/ – I’m using the Worker_Female prefab.
I’m placing my NPC at wood workshop – the building with the logs and saw next to it.
Machine (Schematic) #
Add a Machine (Schematic) component to the NPC’s object using the component menu.
Start Settings #
Click on Interact, this will add the Interact start type.
If you want, you can also add mouse interaction, click on Add Start Type.
- Start Type
Select: Interaction > Mouse Up As Button
In case you’ve followed the interaction HUD tutorial, you can also set the organizer type to use the correct HUD.
- Organizer Type
Select: Talk Interaction
Expand the Object Turn Settings, we’ll let the player and NPC face each other.
- Turn Starting Object
Enable - Turn Component Object
Enable
Asset Settings #
- Schematic Asset
Select: CraftingNPC
And that’s it – save the scene.
Testing #
Hit play, run to the crafting NPC and interact with it.

We get our first recipe and materials.

And we can finally craft something, but we only have enough materials for one potion.
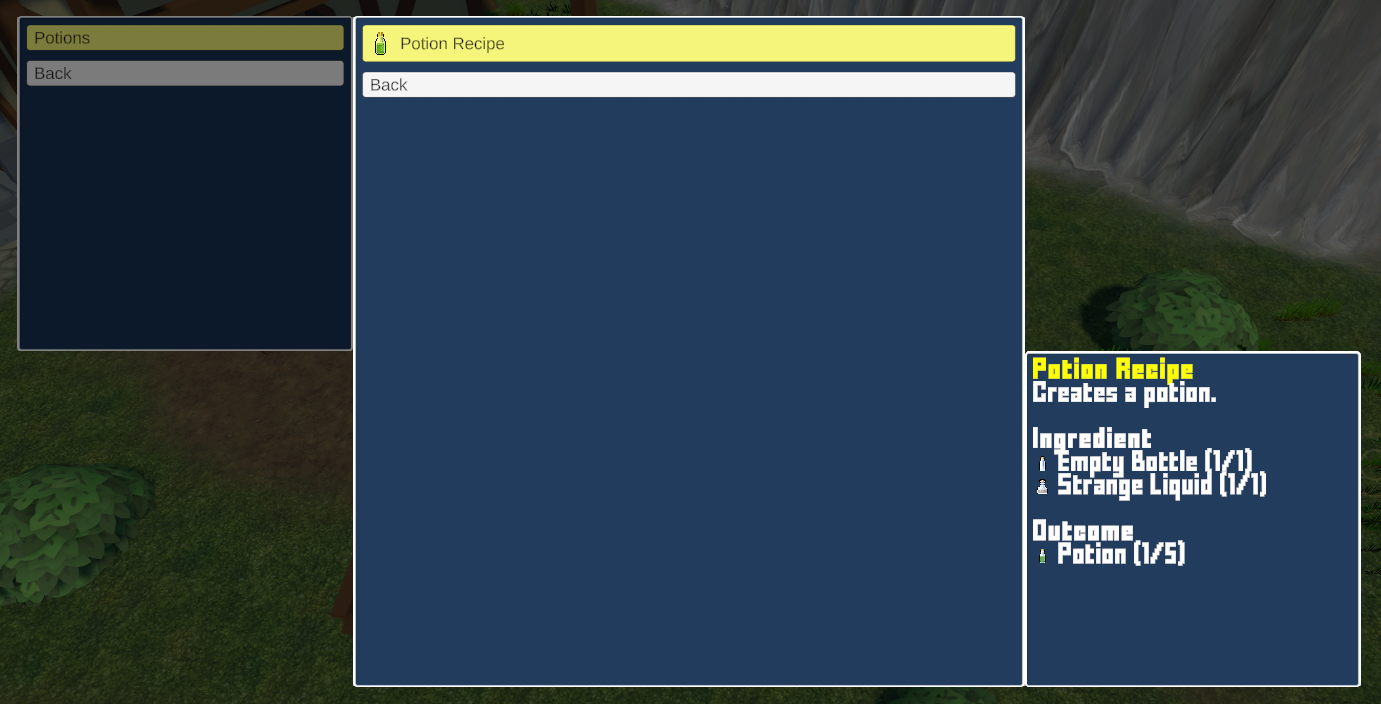

To get more materials, we’ll need to fight some monsters and hope they drop what we need.
You can also add a shop to the game to sell materials and crafting recipes to the player.
The other crafting recipes will be available to the player through other tutorials in the future, i.e. a quest from the crafting NPC to get the equipment recipes. If you can’t wait for this (or don’t want to set it up), you can just add the rest of the recipes in the schematic we’ve set up in this tutorial.
The next part of the crafting mini-series will add crafting proficiency and critical outcomes.