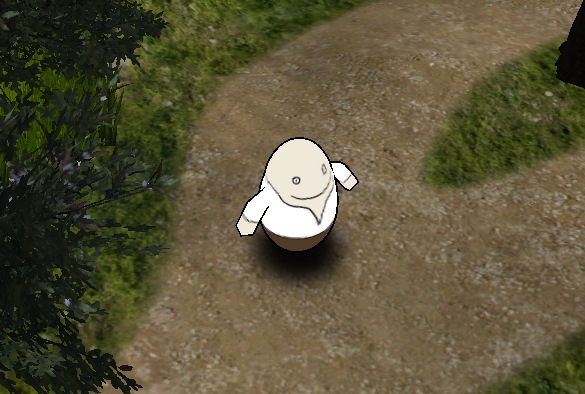
The game controls define how the player and camera controlled – let’s take a look how to change them.
New input keys
First we’ll add two new input keys, one to pause the game and one to call the menu (for the next tutorial). Open the ORK Framework editor and navigate to Base/Control > Input Keys.
7: Pause
Simply copy the Attack input key and change the following settings.
- Name
Set to Pause. - Positive Key
Select P.
Simply copy the Pause input key and change the following settings.
- Name
Set to Menu. - Positive Key
Select Escape.
That’s it for the input keys.
Game Controls
Navigate to Base/Control > Game Controls. ORK Framework comes with some built-in player and camera controls, but you can also use your own control scripts.
Pause Settings
- Pause Key
Select Pause. - Pause Time
Enable this setting.
The game time wont progress in pause. - Freeze Pause
Enable this setting.
The game will freeze (i.e. no animations, etc.) while in pause.
Player Controls
The built-in player controls offer:
- Button
The player is controlled by input keys. - Mouse
The player is controlled by mouse/touch input.
We’ll stick with the Button controls, which are the default controls when creating a new project. The default settings are good enough for our little game, but let’s check them anyway.
- Type
Select Button. - Move Dead
Enable this setting.
The player can still be controlled even if the combatant is dead and game over hasn’t been called. - Use Combatant Speed
Enable this setting.
The actual speed value of the combatant will be used to move the player . - Speed
This setting will only be used when Use Combatant Speed is disabled or there’s a problem with the combatant of the player. - Gravity
Set to -9.81 (the default physics gravity of Unity®). - Speed Smoothing
Set to 10. - Rotation Speed
Set to 500. - First Person
Disable this setting. - Use Camera Direction
Enable this setting.
The forward direction of the player will depend on the camera. - Vertical Axis
Select Vertical (a default input key). - Horizontal Axis
Select Horizontal (a default input key). - Use Jump
Disable this setting.
The Button control optionally allows jumping. - Use Sprint
Disable this setting.
The Button control optionally allows sprinting.
Camera Controls
The built-in camera controls offer:
- Follow
The camera follows the player.
This is the default control when creating a new project. - Look At
The camera looks at the player (without following). - Mouse
The camera follows the player, the position can be changed by mouse/touch input. - First Person
The camera is linked to the player, the looking axis can be changed. - Top Down Border
The camera follows the player from a top down perspective.
Following the player can be limited to a defined area in the scene by a game object with a Camera Border component attached – a Box Collider defines the area the camera will follow the player.
We’ll use the Mouse controls, so change the following settings.
- Type
Select Mouse. - Distance
Set to 10. - Height
Set to 15. - Minimum Height
Set to 5. - Maximum Height
Set to 30. - Height Damping
Set to 2. - Use Click
Enable this setting.
The camera can be changed using the mouse. - Mouse Button
Set to 1.
This is the right mouse button. - Mode
Select Move.
The camera position will be changed when the mouse is moved (while being pressed). - Allow Rotation
Enable this setting.
The camera can be rotated. - Start Rotation
Set to 0. - Rotation Damping
Set to 3. - Rotation Factor
Set to 1.
You can use negative values (e.g. -1) to invert the rotation. - Allow Zoom
Enable this setting.
The camera can zoom in and out (i.e. change the height). - Zoom Factor
Set to 1.
You can use negative values (e.g. -1) to invert the zoom. - Zoom Plus/Minus Key
Select None.
We’ll zoom only using the mouse. - Limit Change
Enable this setting.
The camera change is limited to either rotation or zoom, not both at once.
And that’s it – click on Save Settings and close the ORK Framework editor.
Testing the controls
You know the drill, open the main menu scene (0 Main Menu) and hit play. You’ll now be able to change the camera using the mouse.
Hold the right mouse button and move the mouse around to see how it’s reacting.
And that’s it for now – the next lesson will cover menu screens.
Tip: Using other control scripts
You can also use other player and camera controls (i.e. your own scripts) with ORK Framework.
For this to work, you need to select the control type None to disable the built-in controls. Now, all you have to do is to let ORK know the name of your control component – you can do this by clicking on Add Behaviour in the player or camera controls (depending on what control you want to add) and define the component’s name.
As long as ORK knows the name of the component, it can automatically enable/disable the controls when needed. If you need to do anything special when enabling/disabling control, you can do this in the OnEnable and OnDisable methods of the component.
Learn more about using custom player/camera controls in this how-to.


