
Usually, an RPG has more than one member fighting in the group – so let’s add a 2nd member to the player group.
We’ll let Blue Pants join the player after we finished his quest. The new member should also spawn in the scenes and follow the player around. Additionally, we’ll add a new menu screen to manage the battle group.
We’ll need to do several things:
- create a new move AI
- create a new combatant
- create a new menu screen
- change some settings
- update Blue Pants‘ quest event
- update the town scene
Seems like a lot of work, but it’s actually not that much – let’s get to it!
Follow Move AI
First, we’ll create a new Move AI to let the new group member follow the player around. Open the ORK Framework editor and navigate to Combatants > Move AI. Create a new move AI and change the following settings.
- Name
Set to Follow Leader. - Component Type
Select Default. - Add Component
Enable this setting.
Group Settings
- Follow Leader
Enable this setting. - Follow Range
Set Range to 2.
Set Threshold to 0.5. - Give Way
Enable this setting.
Set Range to 0.5.
Set Threshold to 0.5.
Target Position Check
Change the first Check settings.
- Interval (s)
Set to 0. - Minimum Distance
Set to 0.
Add another check.
- Interval (s)
Set to 0.2. - Minimum Distance
Set to 2.
Add another check.
- Interval (s)
Set to 0.5. - Minimum Distance
Set to 5.
Add a last check.
- Interval (s)
Set to 1. - Minimum Distance
Set to 10.
That’s it for the move AI.
Adding a new combatant
Now, we need to add a new combatant for Blue Pants – to make things easier, we’ll just copy Brown Pants and do some changes. Navigate to Combatants > Combatants, copy Brown Pants and make the following changes to the new combatant.
- Name
Set to Blue Pants.
Prefab Settings
- Prefab
Select Blue Pants.
The prefab can be found in Assets/Tutorial Resources/Prefabs/Combatants/.
Ability Development
We’ll give Blue Pants some other abilities, so remove all abilities first. Now add a new ability to the ability development.
- Learn at Level
Set to 1. - Ability
Select Mug Attack.
Add another ability.
- Learn at Level
Set to 4. - Ability
Select Water.
Add another ability.
- Learn at Level
Set to 6. - Ability
Select Health Bonus.
Add another ability.
- Learn at Level
Set to 8. - Ability
Select Immune.
Start Inventory
- Gold
Set to 0.
Remove all items from the start inventory.
Start Equipment
Change the Right Hand equipment.
- Equipment
Select Long Sword.
Change the Armor equipment.
- Type
Select Armor. - Equipment
Select Jacket.
Movement Settings
- Use Move AI
Enable this setting. - Move AI
Select Follow Leader.
That’s it for Blue Pants.
We need a new Menu Screen to be able to change the group members. Navigate to Menus > Menu Screens, add a new menu screen and change the following settings.
- Name
Set to Group. - Block Control
Enable this setting. - Single Screen
Enable this setting.
Click on Add Menu Part and select Group. This will add a Group menu part.
The action menu is used to select what to do with the group, e.g. change a member, remove a member or call a menu screen using a member.
- Show Action Box
Enable this setting. - Display (Action>Battle)
Select Multi. - Action Box
Select Menu Small.
The action menu displays menu items that are added to it – the menu items define the action that will be used, e.g. changing a member. There’ll already be some menu items added to the action menu, we want three menu items in total.
Change the following settings on Menu Item 0.
- Menu Item
Select Change.
This will change a battle group member. - Name
Set to Change.
Change the following settings on Menu Item 1.
- Menu Item
Select Remove.
This will remove a battle group member.
The Remove item will use the settings (text, icon) defined in the Menu Settings.
Change the following settings on Menu Item 2.
- Menu Item
Select Back.
This will close the menu screen.
The Back item will use the settings (text, icon) defined in the Menu Settings.
Battle Group Box Settings
This box will display the current members of the battle group – if the battle group isn’t full, it will display empty slots.
- Display (Battle-Non-Battle)
Select One. - Battle Group Box
Select Menu Big. - Add Back Button
Select Last. - Show Title
Enable this setting. - Title
Set to: %n
This will use the selected action’s menu item as title. - Empty Slot Text
Set to Empty.
Non-Battle Group Box Settings
This box will display the remaining group members that are currently not part of the battle group.
- Non-Battle Group Box
Select Menu Big. - Add Back Button
Select Last. - Show Title
Enable this setting. - Title
Set to %n.
That’s it for the new menu screen – now we need to add it to our Overview menu screen. Select it and change the following settings.
Click on Add Menu Item to add a new menu item and change its settings.
- Type
Select Menu Screen. - Menu Screen
Select Group. - Name
Set to: Group - Description
Set to: Manage your battle group.
Click on Move Up to move the new menu item above the Exit menu item. We only want to display this menu item when we have more than one player group member – for this we’ll need a new requirement. In the new menu item, change the following settings.
- Use Requirement
Enable this setting. - Hide
Enable this setting.
Click on the green plus button beside the Requirement field, this will add a new requirement and select it. Now, click on the edit button beside the plus button – this will take you to the Requirement you just created. Change the following settings.
- Name
Set to Group>1. - Check Group Size
Enable this setting. - Minimum Size
Set to 2.
Game Settings
We need to turn on spawning the other members of the player group – navigate to Game > Game Settings and change the following setting.
Player/Group Settings
- Spawn Group
Enable this setting.
And that’s it – click on Save Settings to save the changes
Updating Blue Pants’ game event
Now we need to do some small changes to the bluePantsDialogue event we created for the earlier quest of Blue Pants lost underpants. Navigate to Events and open the bluePantsDialogue event file by clicking on Open Game Event and selecting the event file.
We’ll extend the event at the last dialogue of the quest, where Blue Pants says “Thanks for finding my Underpants!”.

Show Dialogue
Add > UI > Dialogue > Show Dialogue
Let Blue Pants ask if he should join us.
- Dialogue Type
Select Choice. - GUI Box
Select Bottom Dialogue. - Use Speaker
Enable this setting. - Actor
Select Blue Pants. - Show Name
Enable this setting. - Message
Set to: Hey, how about I join you for some time?
Click on Add Choice to add a new choice.
- Text
Set to: Sure
Click on Add Choice to add a new choice.
- Text
Set to: No thanks
Add Combatant
Add > Combatant > Combatant > Add Combatant
Now, we’ll add a combatant to the Blue Pants actor, in order to use the actor for joining the player.
By doing it that way, the actor’s game object will become the new player group member and follow the player around right away.
- Object
Select Actor. - Actor
Select Blue Pants. - Faction
Select Allies.
You could also select Player. - Combatant
Select Blue Pants.
If you want, you can use the Level Settings to initialize the new combatant to a different level.
Join Active Group
Add > Game > Active Group > Join Active Group
We already used this step to add the player at the start of the game. This time, we’ll use it to join the Blue Pants actor to the player group.
You can also use this step to add new members like we did in the start event to add Brown Pants.
- Use Game Object
Enable this setting. - Object
Select Actor. - Actor
Select Blue Pants.
Change Game Variables
Add > Value > Variable > Change Game Variables
Finally, we’ll set a bool game variable to remember that Blue Pants joined the player group.
We’ll use the variable in the Event Interaction of this event to remove Blue Pants‘ game object when returning to the scene.
- Variable Origin
Select Global.
Click on Add Game Variable.
- Value Type (Variable Key)
Select Value. - Value (Variable Key)
Set to bluePantsJoined. - Type
Select Bool. - Value
Enable this setting.
And that’s it – click on Save Event to save the changes.
Updating the town scene
As a last step, we need to make sure that the NPC_blue game object will be removed when we return to the scene after Blue Pants joined the player group. While the event will make the game object a combatant (which will follow the player around) when he joins us, this only happens when we play the event. When we return to the scene, the NPC’s game object will be there again and allow us to start the event. To prevent this, we’ll use the game variable we set at the end of the event to remove the game object.
Open the town scene (1 Town, can be found in Assets/Tutorial Resources/Scenes/) and select NPC_blue in the scene hierarchy. Change the following settings in the Event Interaction‘s inspector.
Variable Settings
- Auto Destroy
Enable this setting.
This will destroy the game object if the variable conditions aren’t met when loading the scene.
Click on Add Game Variable to add a variable condition.
- Value Type (Variable Key)
Select Value. - Value (Variable Key)
Set to bluePantsJoined. - Is Valid
Disable this setting. - Type
Select Bool.
And that’s all – the NPC’s game object will automatically be removed when we return to the scene after Blue Pants joined the player group.
Save the scene.
Testing the game
Open the main menu scene (0 Main Menu) and hit play. After finishing Blue Pants‘ quest (or loading a save game where you already completed it), he will ask to join you.
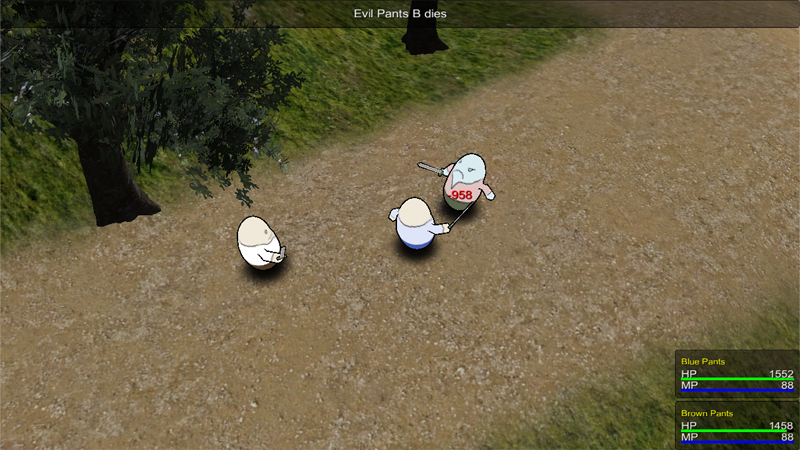
If you accept, he joins the player group and follows you around – and battles will get a lot easier!
And that’s it – this concludes the game tutorial series.
Now what?
While this is the end for the game tutorials, this isn’t the end of what you can do with ORK Framework!
Want to check out some of the other features? Take a look at the various how-tos on specific ORK freatures.
Need help or inspiration for game mechanics? You can extend the game in various ways, take a look at the gameplay tutorials.
Want more tactical battles? Look into the grid battle feature and go through this 10 part gameplay tutorial series.