This tutorial teaches how to create a new project and import ORK Framework, or update an existing project to a new version.
To use ORK Framework, you need a Unity® project. Either create a new project or open an already existing project in Unity®.
The ORK Framework package
ORK Framework comes in a zip file, so you need to extract it first. You’ll receive a unitypackage file – these files are used to import assets in Unity®.
The ORKFramework.unitypackage file contains everything you need to get ORK running – the DLLs containting ORK Framework and the gizmo icons that are used to display ORK components in a scene.
Importing ORK Framework
Follow these steps both for creating a new project and updating an existing project.
Import ORKFramework.unitypackage into your Unity® project by simply dragging it into the project window. Alternatively you can import the package using the menu: Assets > Import Package > Custom Package…
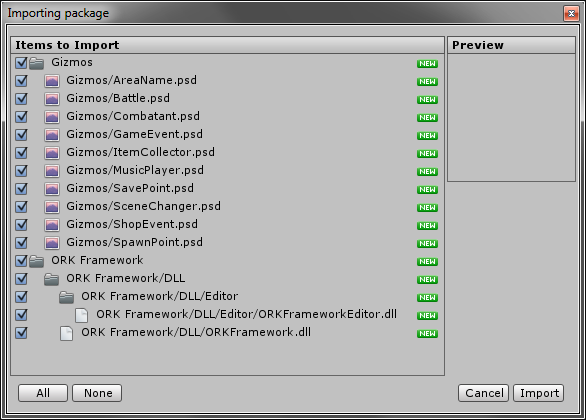
You’ll see a dialog displaying the files that will be added/changed in your project.
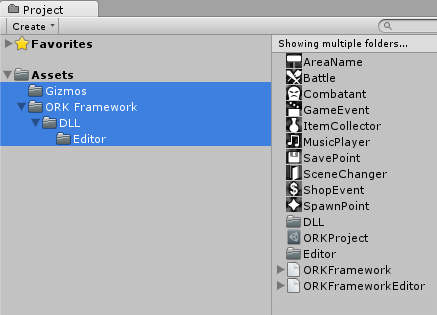
Select all files (if not already selected) and click on Import. All files you need to run ORK are now imported and your project window should contain those folders and files afterwards.
Now you’re ready to go!
Update extra …
If you’re updating an existing project with a newer version of ORK Framework you should check if your ORK Project Asset is still recognized.
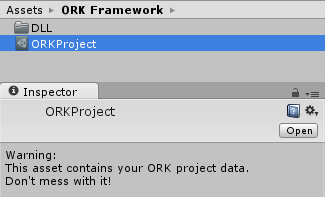
When selecting your ORKProject (the file containing your ORK project’s data), the inspector should look like this.
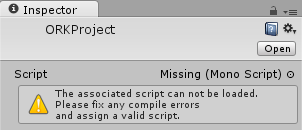
If the inspector looks like this, you need to reconnect the file with the correct script.
To reconnect the script, click on Missing (Mono Script), search for the ORKProjectAsset script and select it.


