
The loot system can be used for more complex, level based item gains and special condition loot.
Until now we’ve used the start inventory of the combatants for item loot. In this tutorial, we’ll change Evil Pant‘s loot from the start inventory to loot tables and add a special one time item loot.
Loot 0: Standard
Open the ORK Framework editor and navigate to Combatants > Loot. Here, we’ll change the default loot settings to match Evil Pant‘s start inventory – change the following settings.
- Name
Set to Standard.
The Loot settings consist of different Loot Tables. A loot table defines the loot (i.e. items, weapons, armors and currency) when the combatant is within a defined level range. Each loot table defines a level range – the first loot table matching the combatant’s level will be used.
There is already a default loot table added, so let’s change its settings. The level range settings are already good as they are, but let’s check them anyway.
- Minimum Level
Set to 1. - Maximum Level
Set to 99. - Use Class Level
Disable this setting.
You can base the loot also on the combatant’s class level.
Loot tables can also depend on Variable Conditions and set variables after dropping – we’ll look into that for the special loot, but first let’s finish the standard loot.
Loot Settings
Here we’ll define the actual loot of the loot table. We want to set it up to match Evil Pant‘s start inventory, so change the following settings.
- Gold
Set to 50.
Click on Add Item to add an item to the loot table.
- Type
Select Item. - Selection
Set to Potion. - Quantity
Set to 1. - Chance
Set to 75.
Click on Add Item again to add another item.
- Type
Select Item. - Selection
Set to Cure Potion. - Quantity
Set to 1. - Chance
Set to 25.
And that’s it for the standard loot for Evil Pants.
Loot 1: Special
Now we’ll add a special one time loot – we’ll add a valuable, rare item that is dropped with a low chance and will only be dropped once in the entire game (we’ll do that using game variables). Add a new Loot setting and change the following settings.
- Name
Set to Special.
Click on Add Loot Table to add a loot table.
- Minimum Level
Set to 1. - Maximum Level
Set to 99. - Use Class Level
Disable this setting.
Variable Conditions
The variable conditions make sure that this loot is only dropped when the conditions are valid – in our case, it will only be dropped once in the game.
- Check Variables
Enable this setting. - Variable Origin
Select Global.
You can also use object game variables of the combatant or its spawn point.
Click on Add Game Variable to add a condition. We’ll check for the global bool game variable tokanDropped to be false in order to use this loot table.
- Value Type (Variable Key)
Select Value. - Value
Set to tokenDropped. - Is Valid
Disable this setting. - Type
Select Bool.
Set After Drop
Here we can define game variables to be set after the loot table has been used/dropped.
- Set Variables
Enable this setting. - Only On Drop
Enable this setting.
This makes sure the game variable will only be set if something was dropped. - Variable Origin
Select Global.
Click on Add Game Variable to add a condition. We’ll set the global bool game variable tokanDropped to true.
- Value Type (Variable Key)
Select Value. - Value
Set to tokenDropped. - Type
Select Bool. - Value
Enable this setting.
Loot Settings
- Gold
Set to 0.
Click on Add Item to add an item to the loot table.
- Type
Select Armor. - Selection
Set to Mammoth Token. - Level
Set to 1. - Quantity
Set to 1. - Chance
Set to 5.
And that’s it for the loot settings.
Updating Evil Pants
Now it’s time to update the loot settings of Evil Pants. Navigate to Combatants > Combatants and select Evil Pants and change the following settings.
Inventory & Equipment > Loot Settings
- Loot Origin
Select Loot. - Random
Disable this setting.
If enabled, a random loot setting out of the added loot will be used.
In our case, we want the standard loot and special loot to be used at the same time.
Click on Add Loot to add a loot setting.
- Loot
Select Standard.
Click on Add Loot again.
- Loot
Select Special.
And that’s it – click on Save Settings to save the changes.
Testing
Open the main menu scene (0 Main Menu) and hit play. Leave town and get into some battles with Evil Pants.
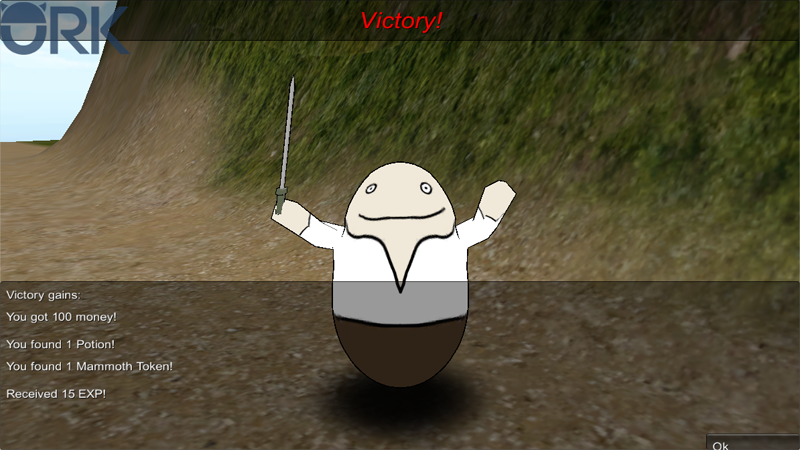
If you’re lucky, you’ll get a Mammoth Token, but only once.
And that’s it for now – the next lesson will cover the bestiary system.
Tip: You can also use Loot in Box type Item Collectors to fill the item box using the combatant for level and status requirements.