
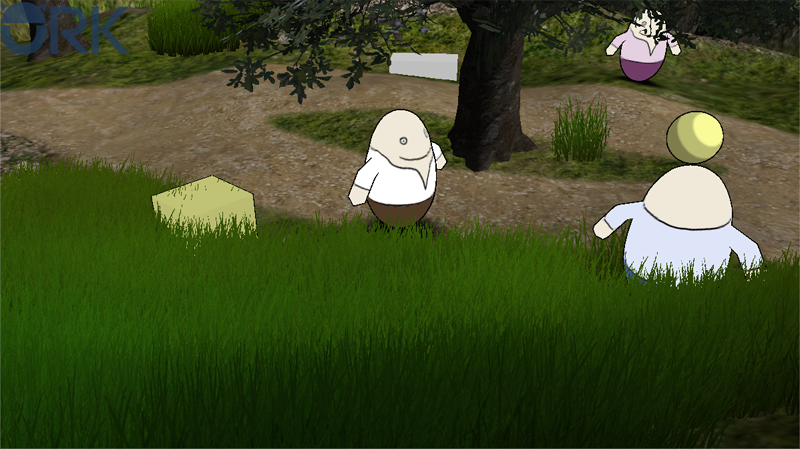
The simple Camera Event component allows us to change the camera while the player is within a certain area of a scene.
Camera Events will do two things:
- When the player enters their trigger, it’ll block the camera control and change the camera according to it’s settings.
- When the player leaves their trigger, it’ll return the camera control.
The camera can be changed by either using a Camera Position or a game object in the scene. We’ll use both methods.
A new camera position
First, we’ll create a new camera position – I’ve created mine using the ORK Scene Wizard’s Create Camera Position option. I wanted a distant view from the left side of the scene, here’s the result, but feel free to create your own.
To copy my settings, open the ORK Framework editor and navigate to World > Camera Positions. Add a new camera position and change the following settings.
- Name
Set to Side View. - Local Position
Disable this setting. - Position Offset
Set to X=-6, Y=5, Z=-6.5. - Rotation Offset
Set to X=29.5, Y=42, Z=0. - Look At
Enable this setting. - Ignore X/Y/Z Rotation
Disable this settings. - Set Field of View
Enable this setting. - Field of View
Set to 40.
And that’s it for the camera position.
Click on Save Settings and close the ORK Framework editor.
Town scene cameras
Open the town scene (1 Town, can be found in Assets/Tutorial Resources/Scenes/) – it’s time to make it a little bit more interesting.
We’ll add 4 Camera Events to our town scene.
Shop camera
First, we’ll add a camera event in the backyard by our shop. Use the ORK Scene Wizard to add a camera event: Create Object > Camera Event
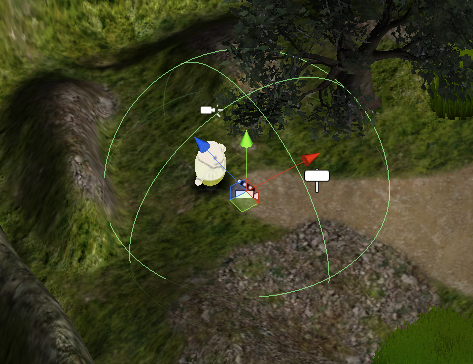
The scene wizard will create a new game object with a Sphere Collider component (used as trigger) and the Camera Event component attached.
The Transform settings are:
- Position
Set to X=15.8, Y=3.9, Z=35.7.
The Sphere Collider settings are:
- Is Trigger
Enable this setting. - Radius
Set to 5.
Finally, the Camera Event settings:
- Use Main Camera
Enable this setting. - On Object
Disable this setting.
We’re using a Camera Position here.
Else, we’d use the position and rotation of a game object in the scene. - Camera Position
Select Battle View. - Reset Position
Disable this setting.
This would restore the camera’s position and rotation after the player leaves the trigger of the event. - Use Event Object
Enable this setting.
The camera will use the event’s object for camera placement.
Else, the player would be used. - Interpolate
Enable this setting.
We’ll change the camera position over time. - Interpolation
Select Ease In Out Quad. - Time (s)
Set to 1.
And that’s it for the first camera event.
Item box camera
We’ll continue with a camera change at the item box we added last time. Add a new camera event using the scene wizard.
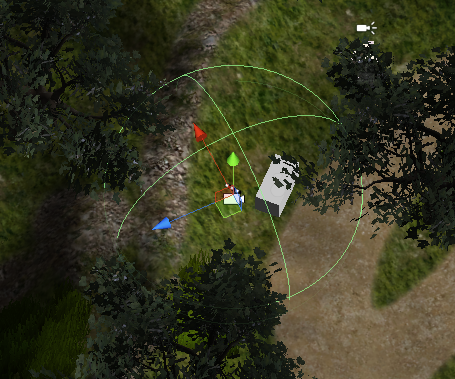
This time we’ll use a game object in the scene to place the camera – we’ll need to add a new game object for that. Add it using the Unity® menu: Game Object > Create Empty
The new game object’s Transform settings are:
- Position
Set to X=30.8, Y=7.6, Z=34.
Don’t forget to give it a useful name, like BoxCamPos.
Now, select the new camera event object again. The Transform settings are:
- Position
Set to X=29.7, Y=4, Z=31.
The Sphere Collider settings are:
- Is Trigger
Enable this setting. - Radius
Set to 5.
Finally, the Camera Event settings:
- Use Main Camera
Enable this setting. - On Object
Enable this setting. - Placement Object
Select BoxCamPos (or however you named your object). - Field of View
Set to 40.
When using a game object for placement, we need to define the field of view. - Reset Position
Disable this setting. - Look At
Enable this setting.
The camera will look at the player/target. - Update Position
Enable this setting.
The camera position will be updated, i.e. it will continue looking at the player when he moves.
And that’s it for this camera event.
Green Pants camera
The first NPC we added to the game hasn’t much to say, but he still gets a shiny new camera event. Add it using the scene wizard.

Again, we’re using a game object in the scene for placement, so add a new, empty object like before. The new object’s Transform settings are:
- Position
Set to X=31.8, Y=7.7, Z=13.4. - Rotation
Set to X=30.3, Y=39, Z=359.5.
Name the new object GPCamPos.
Select the new camera event again. The Transform settings are:
- Position
Set to X=35.3, Y=4, Z=16.7.
The Sphere Collider settings are:
- Is Trigger
Enable this setting. - Radius
Set to 3.
Finally, the Camera Event settings:
- Use Main Camera
Enable this setting. - On Object
Enable this setting. - Placement Object
Select GPCamPos. - Field of View
Set to 40. - Reset Position
Disable this setting. - Look At
Disable this setting. - Interpolate
Enable this setting. - Interpolation
Select Ease In Out Cubic. - Time (s)
Set to 2.
And that’s it for this camera event.
Blue Pants camera
Finally, we’ll add a camera event on the way between Blue Pants and the shop – it’ll be a corridor using a camera position. Add a new camera event.
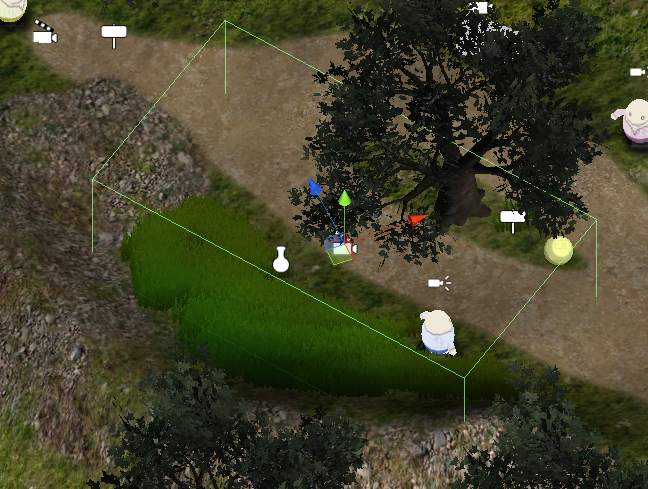
Remove the Sphere Collider and add a Box Collider component instead.
The Transform settings are:
- Position
Set to X=21.2, Y=5.1, Z=22.8. - Rotation
Set to X=0, Y=327.1, Z=0.
The Box Collider settings are:
- Is Trigger
Enable this setting. - Size
Set to X=8, Y=5, Z=15.
Finally, the Camera Event settings:
- Use Main Camera
Enable this setting. - On Object
Disable this setting. - Camera Position
Select Side View. - Reset Position
Disable this setting. - Use Event Object
Disable this setting. - Update Position
Enable this setting.
The camera will continue updating the position using the selected Camera Position.
And that’s it for this camera event.
Save the scene.
Testing
Open the main menu scene (0 Main Menu) and hit play.

When you walk into the triggers of our new camera events, you’ll see the camera changing – and returning to the player’s camera control when leaving the triggers.
And that’s it for now – the next lesson will cover an interaction HUD.